 | ||||
|
| ||||
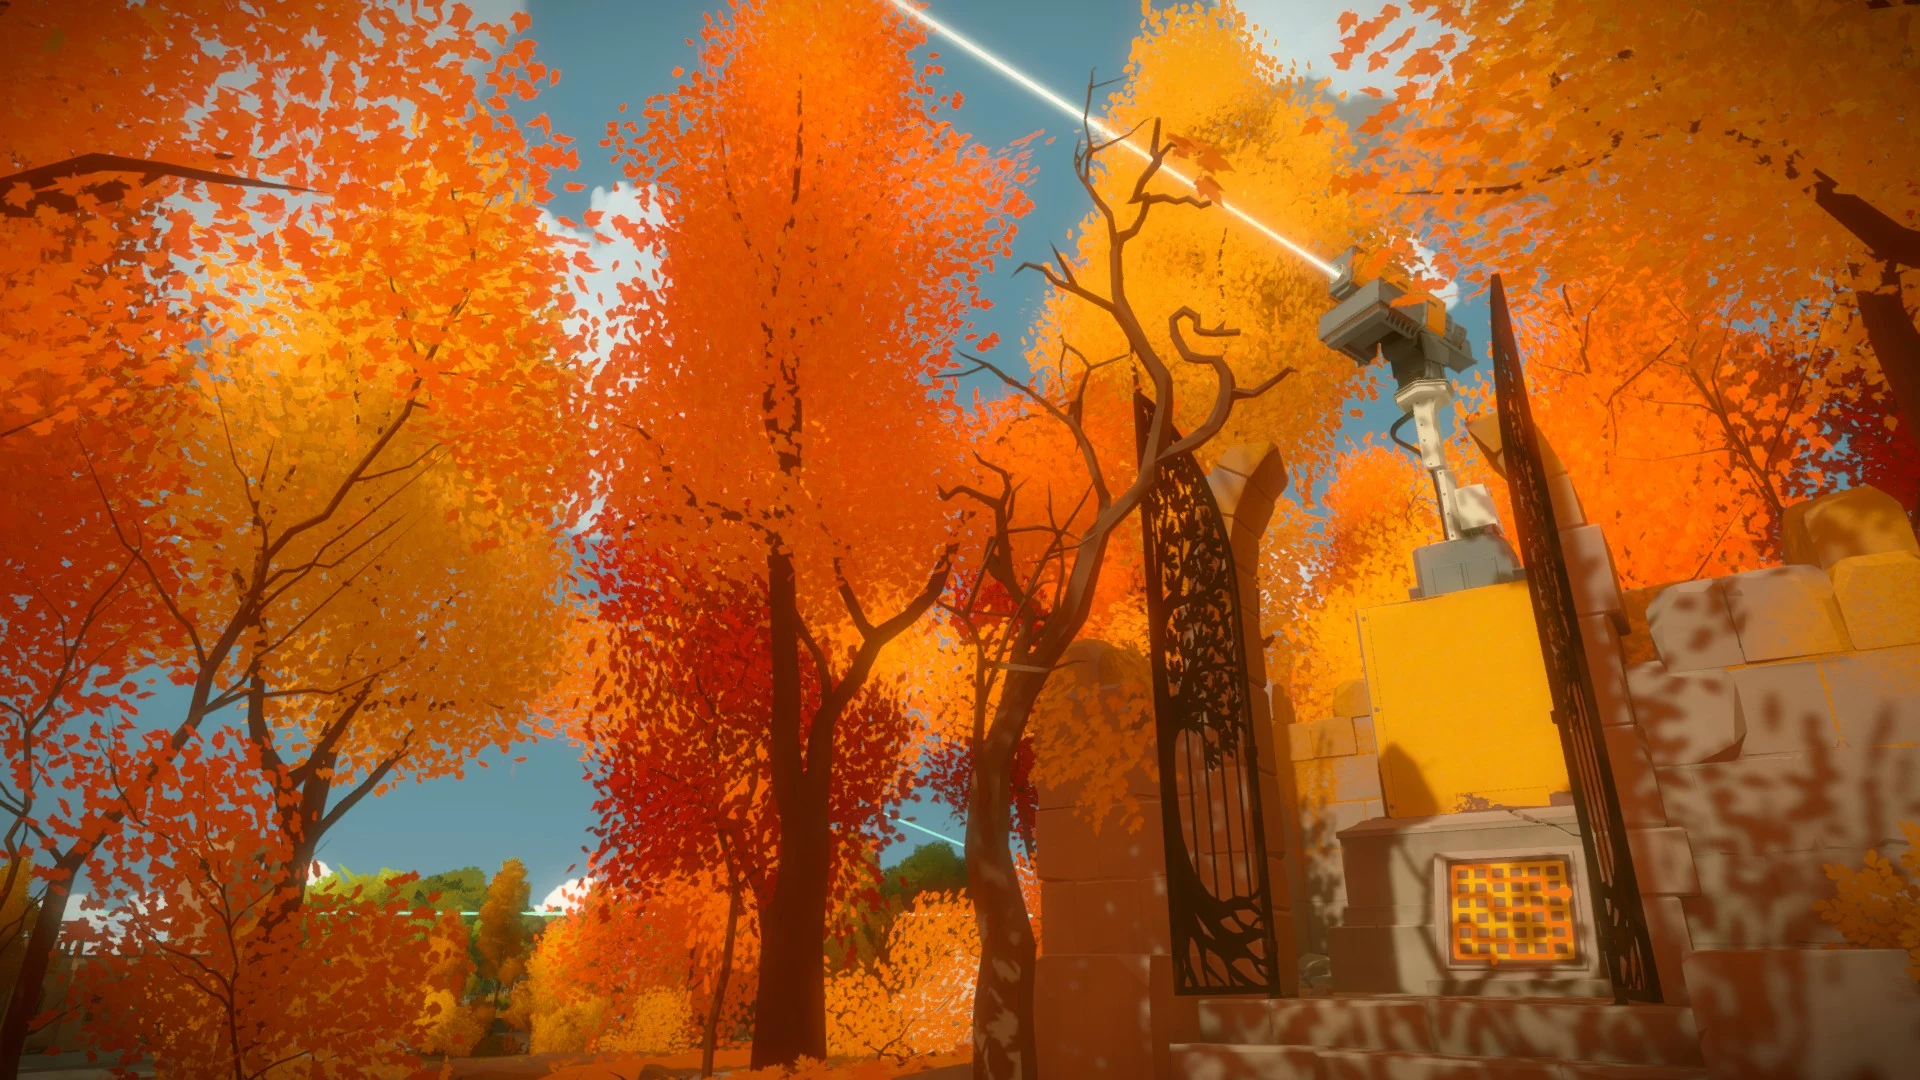
The Shady Trees are a puzzle area in The Witness.
Shady Trees Hints
[ | ]
- Hint 1: Shadows: Pretty obvious, right? The shadows cast by the branches show the correct path. You can't cross any shady spots.
- Hint 2: Perspective: If the shadow maze doesn't line up perfectly, change your perspective.
- Hint 3: Nature vs. Man-Made: The branches tell the story - some of the man-made iron structures cast shadows, but you should ignore them.
- Hint 4: So Simple: If the only thing blocking the path is a shadow from a man-made structure - even if the path is short - that's the solution.
- Hint 5: Embrace the Shadows: When the shadows don't block the path, they mark the path. Follow the shadows for some puzzles instead of avoiding them - even if they're not exact.
- Hint 7: Leaf Mazes: The solution is always visible - but part of the solution may be on a nearby object, off-set, or should be viewed from a different angle. You should never have to guess. It's all there somewhere. Use pen and paper to help!
- Hint 8: Touching Branches: When shadows of branches touch, they form a path. When a branch is cracked, the path is broken.
- Hint 9: The Final Puzzle: The puzzle is literally cut in half - the left side is based on the branch shadows concept, the right is based on the leaf maze concept.
Shady Trees Solutions[ | ]
Left Gate[ | ]
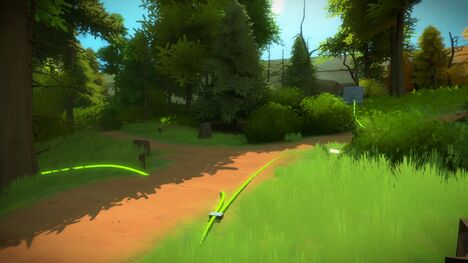
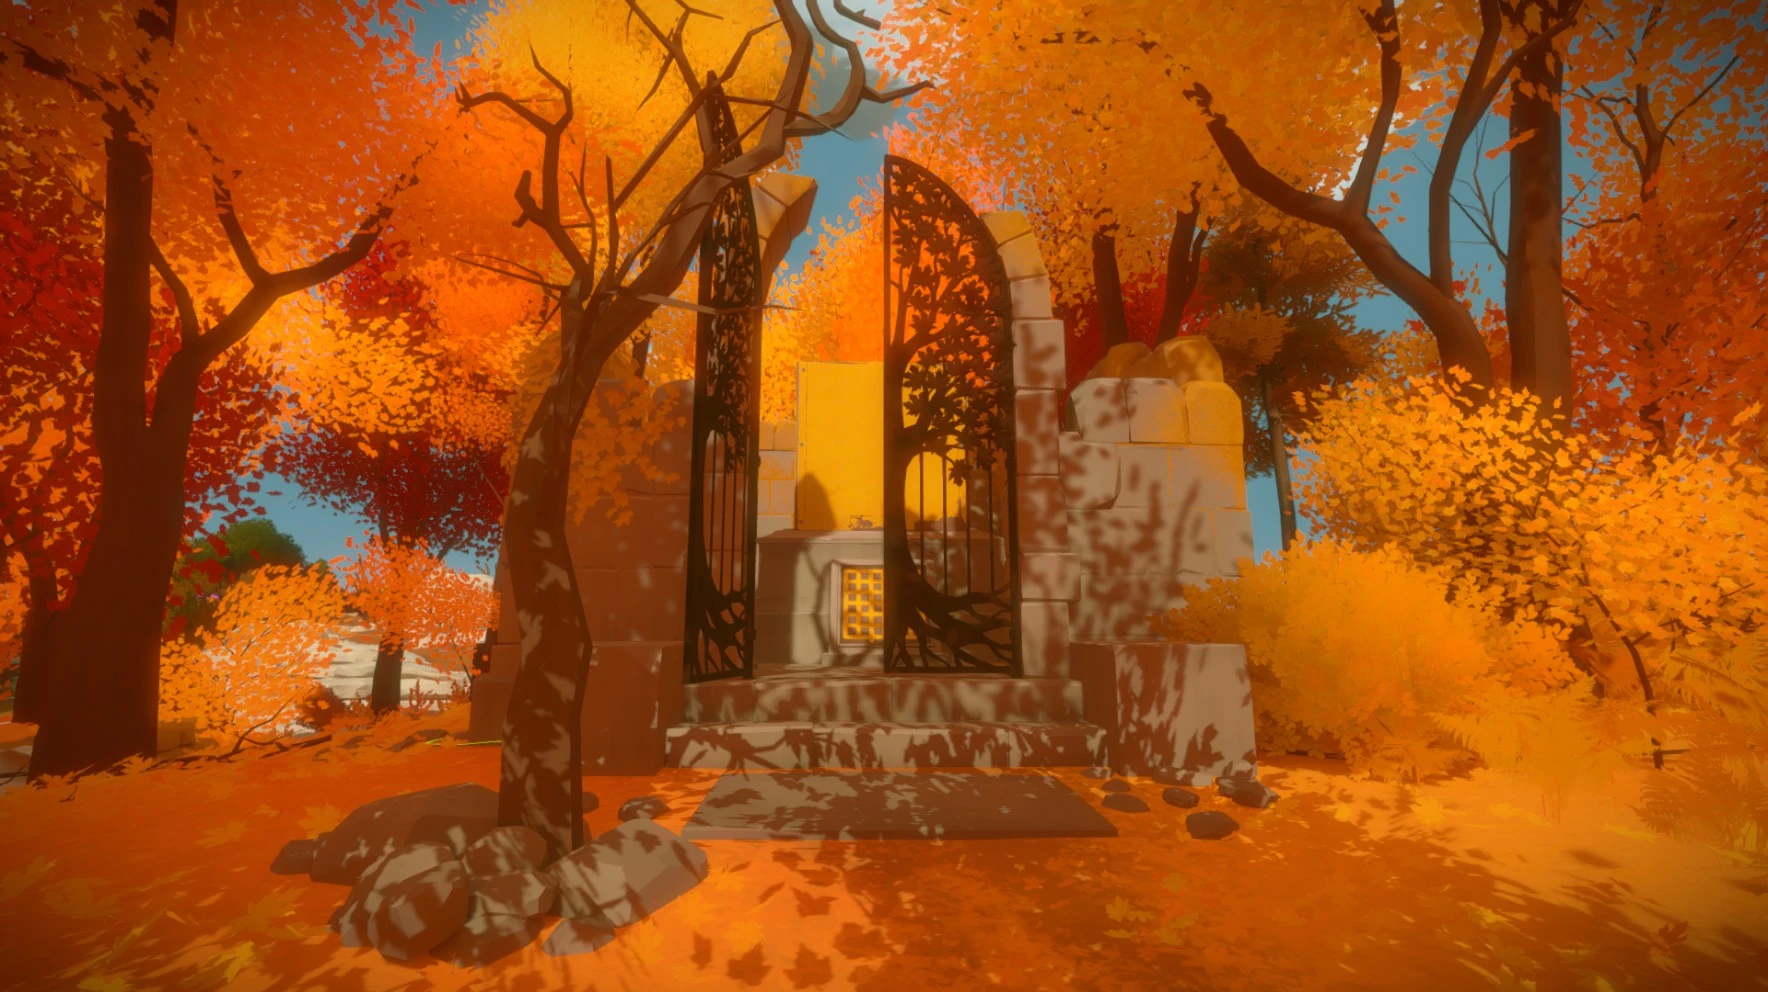
Entering from the autumn forest area, go straight down the path, past the gated room containing the laser, and make a left once you get to the green wooded area with all the tree stumps.
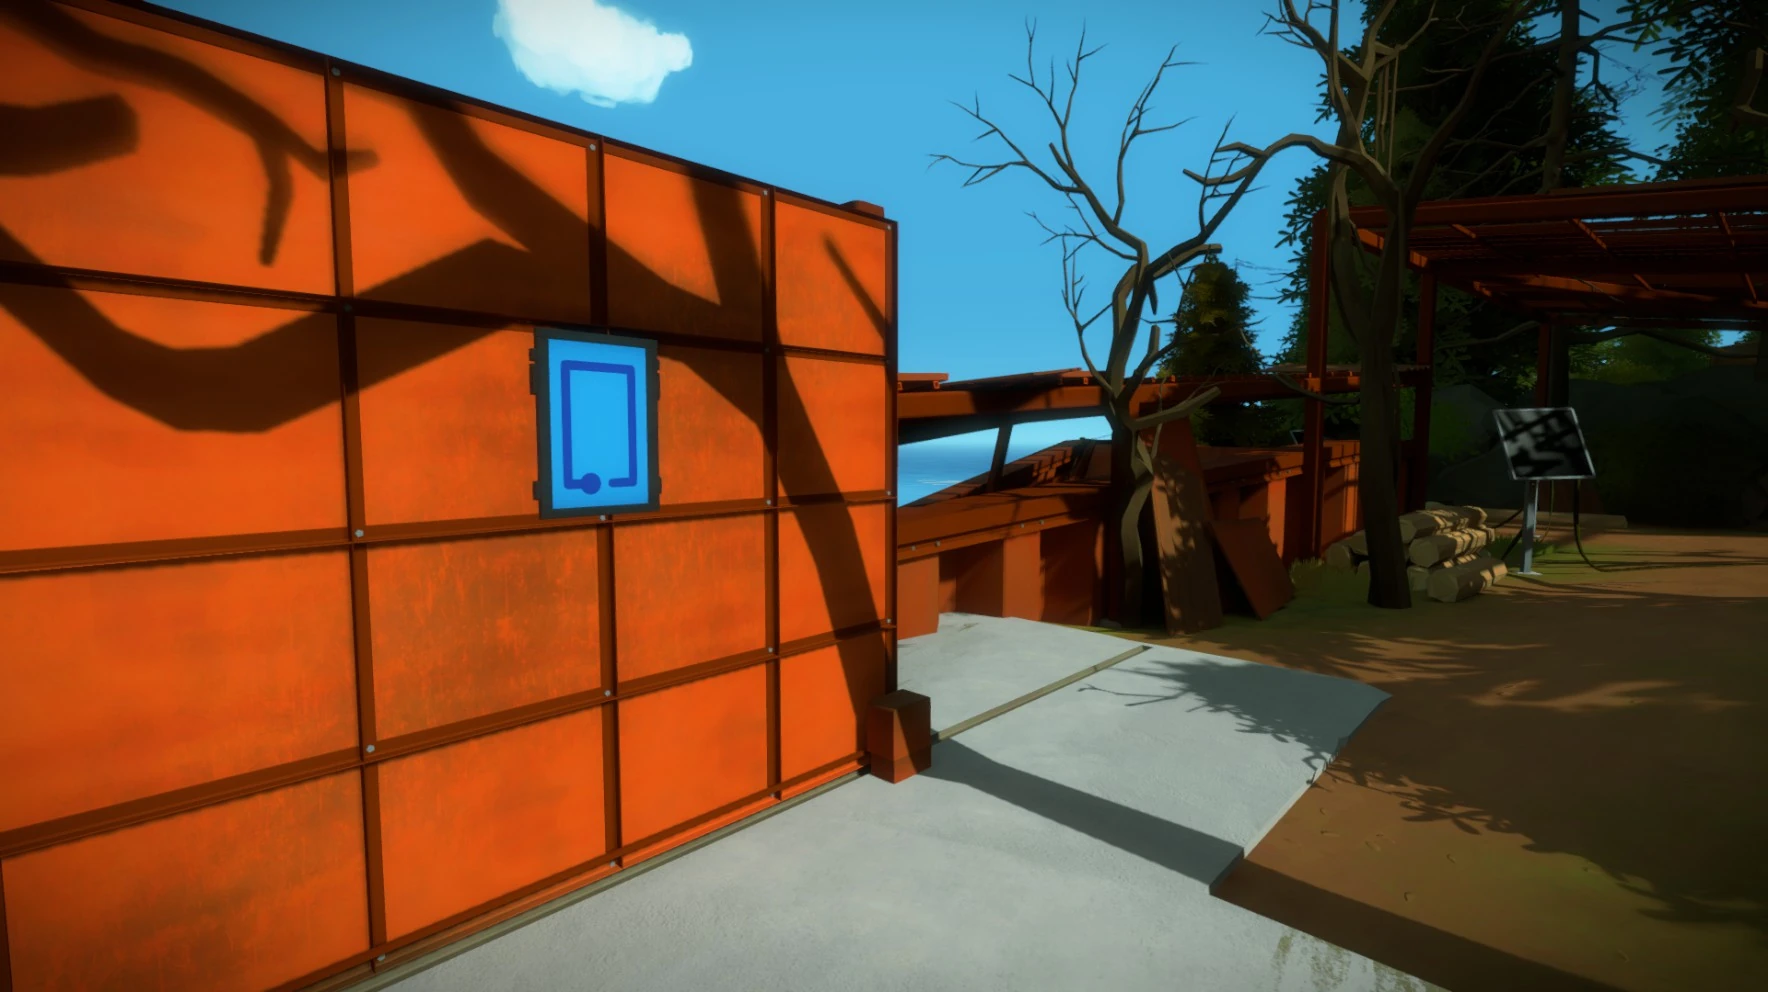
Activate this timed door to access the puzzles on the other side. Don't worry, you won't be locked on the other side until you solve them – there's a control panel on the other side too.

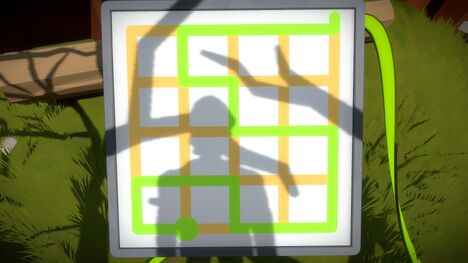
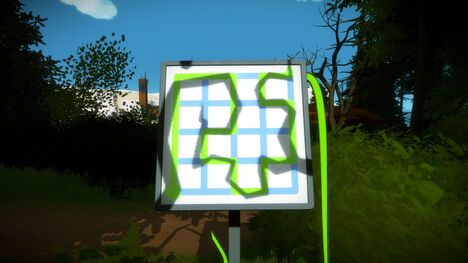
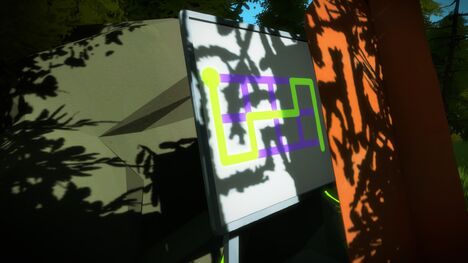
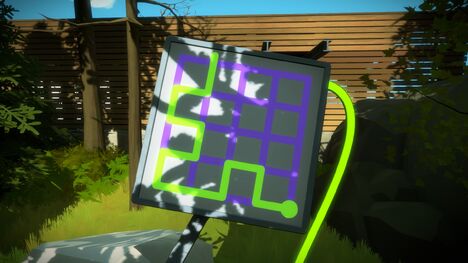
The puzzles in the Shady Trees are all about using shadows and light to guide your path. For the first set of puzzles, starting with the one above, you want to draw a path around the shadows cast on the panel.

Your own shadow getting in the way has no effect on the actual puzzle itself. If you can't see your path, just move back a bit so your shadow isn't blocking the path, and keep drawing.


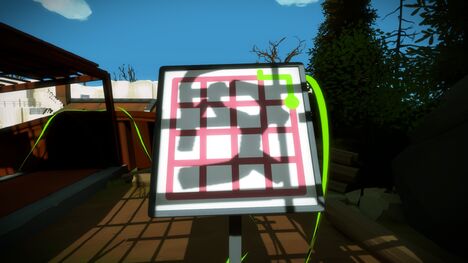
This third panel will be almost completely in the shade. You'll need to look behind you, back up at the timed door, and activate the control panel so the door slides open, letting some sun in. From there, the path reveals itself.

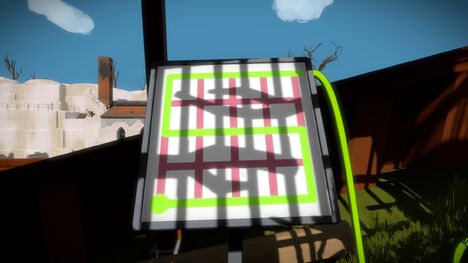
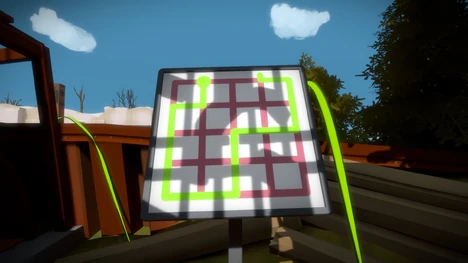
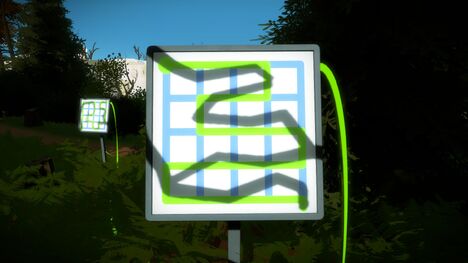
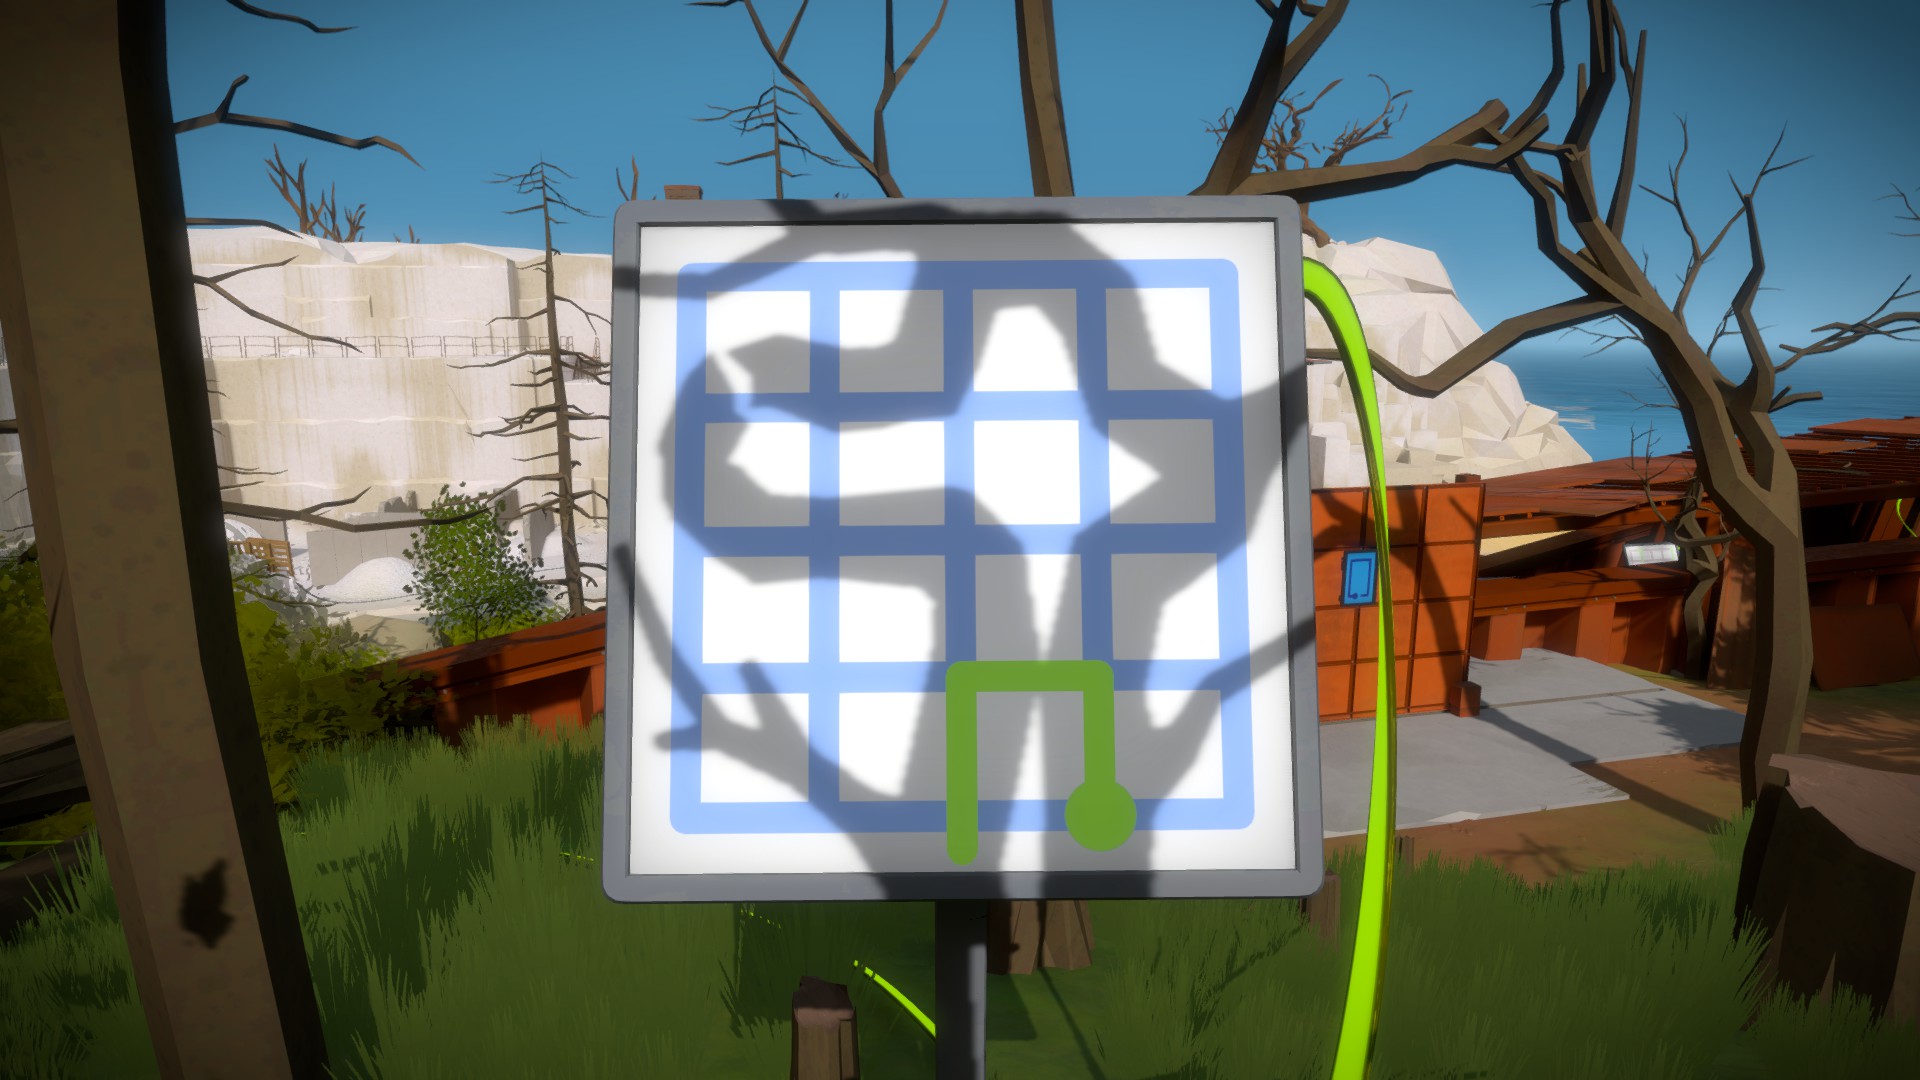
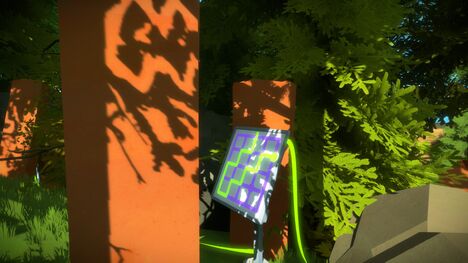
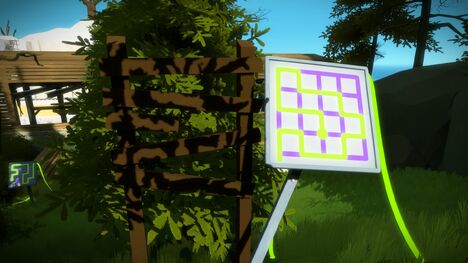
Not all shadows count as walls in these mazes, like the bars in the puzzle shown above. Just focus on moving around the tree branches.

Same thing applies here. Only the tree branches act as "walls" in these mazes. Solving the puzzle above lowers the barrier to your right, so you can continue down the path.

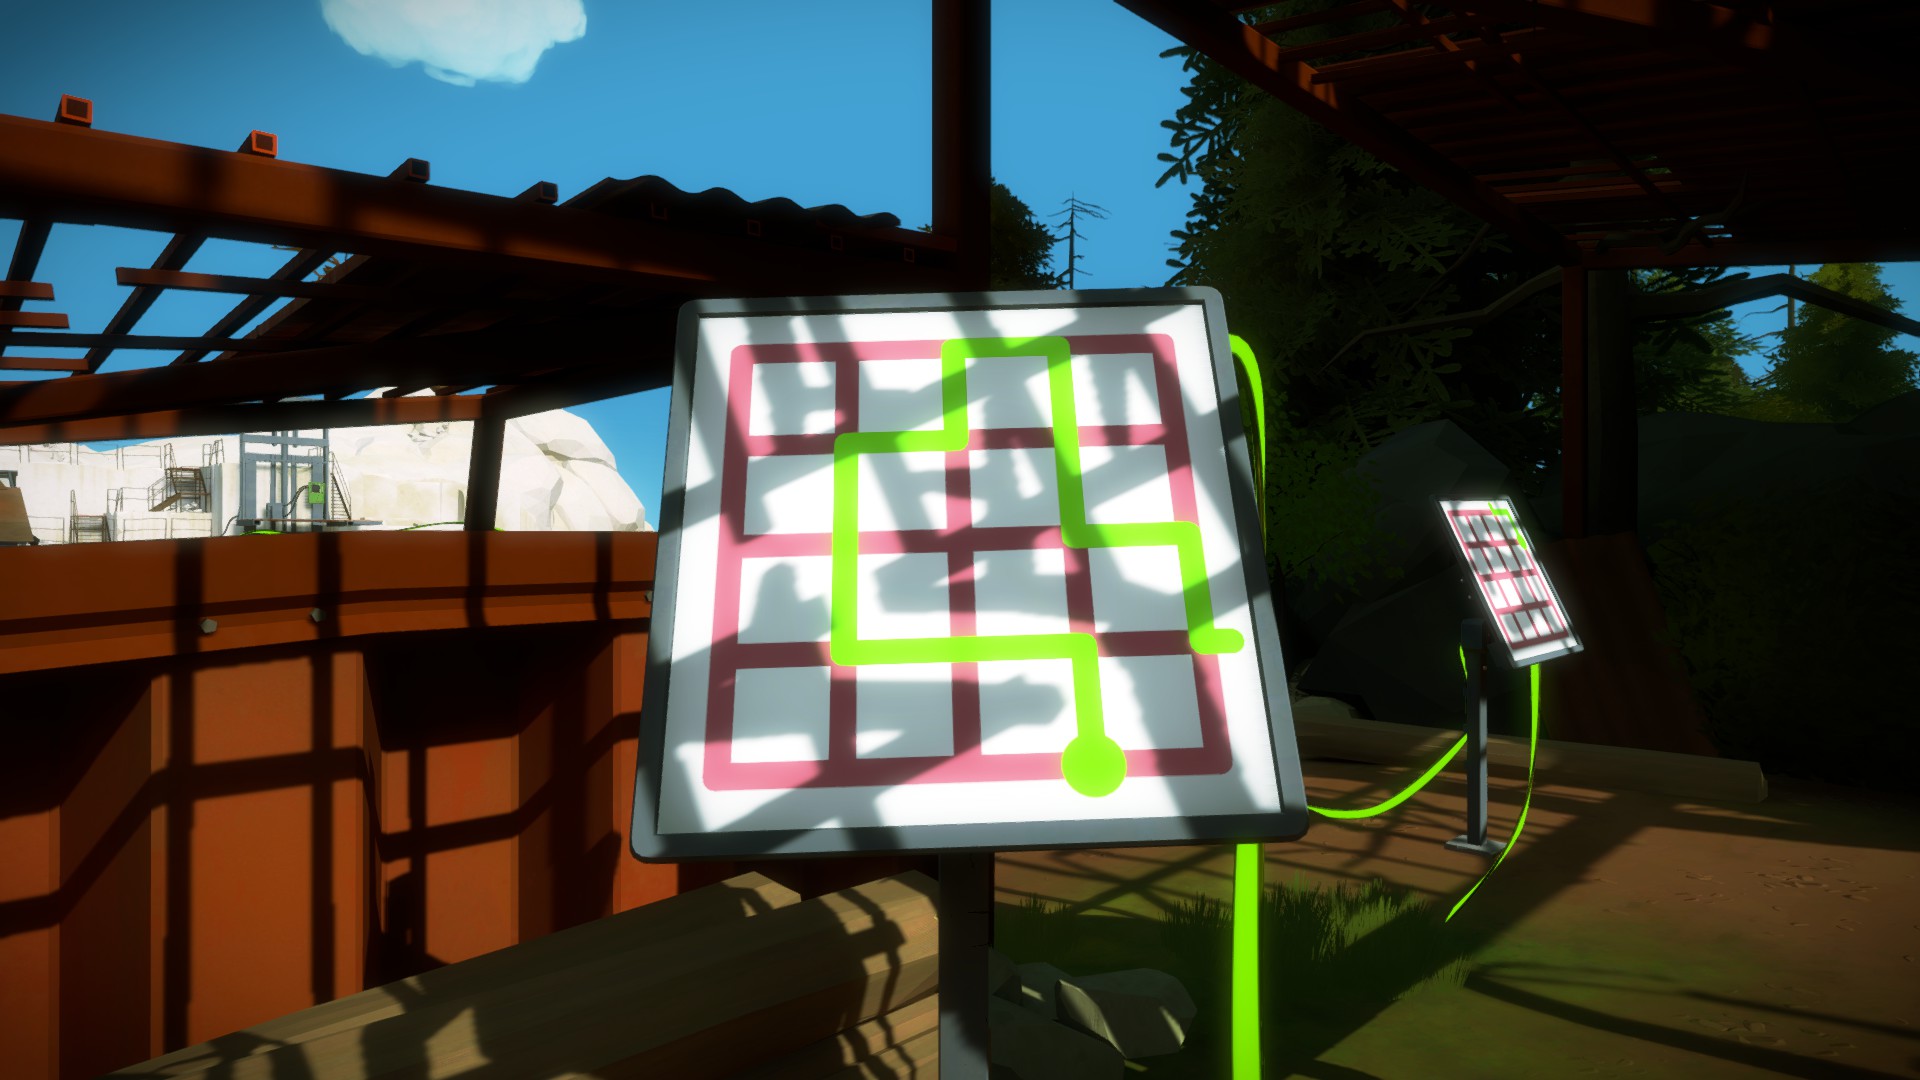
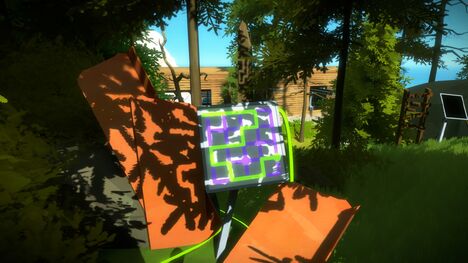
The more obstacles in the way, the more difficult drawing lines according to the tree branch shadows becomes.

If it gets tricky, it might help to look behind you and see exactly what's casting the shadows on the panel.

Once you complete the puzzle above, turn around and notice the way the wire runs to a fork in the road.

You can complete either path first. Both serve to unlock one side of the gate in the orange autumn forest. For this walkthrough, we've taken the path on the right first, since it is the simpler of the two.

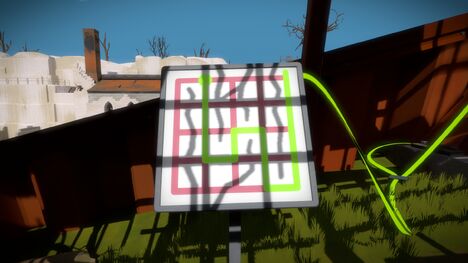
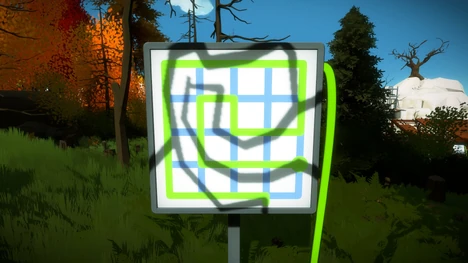
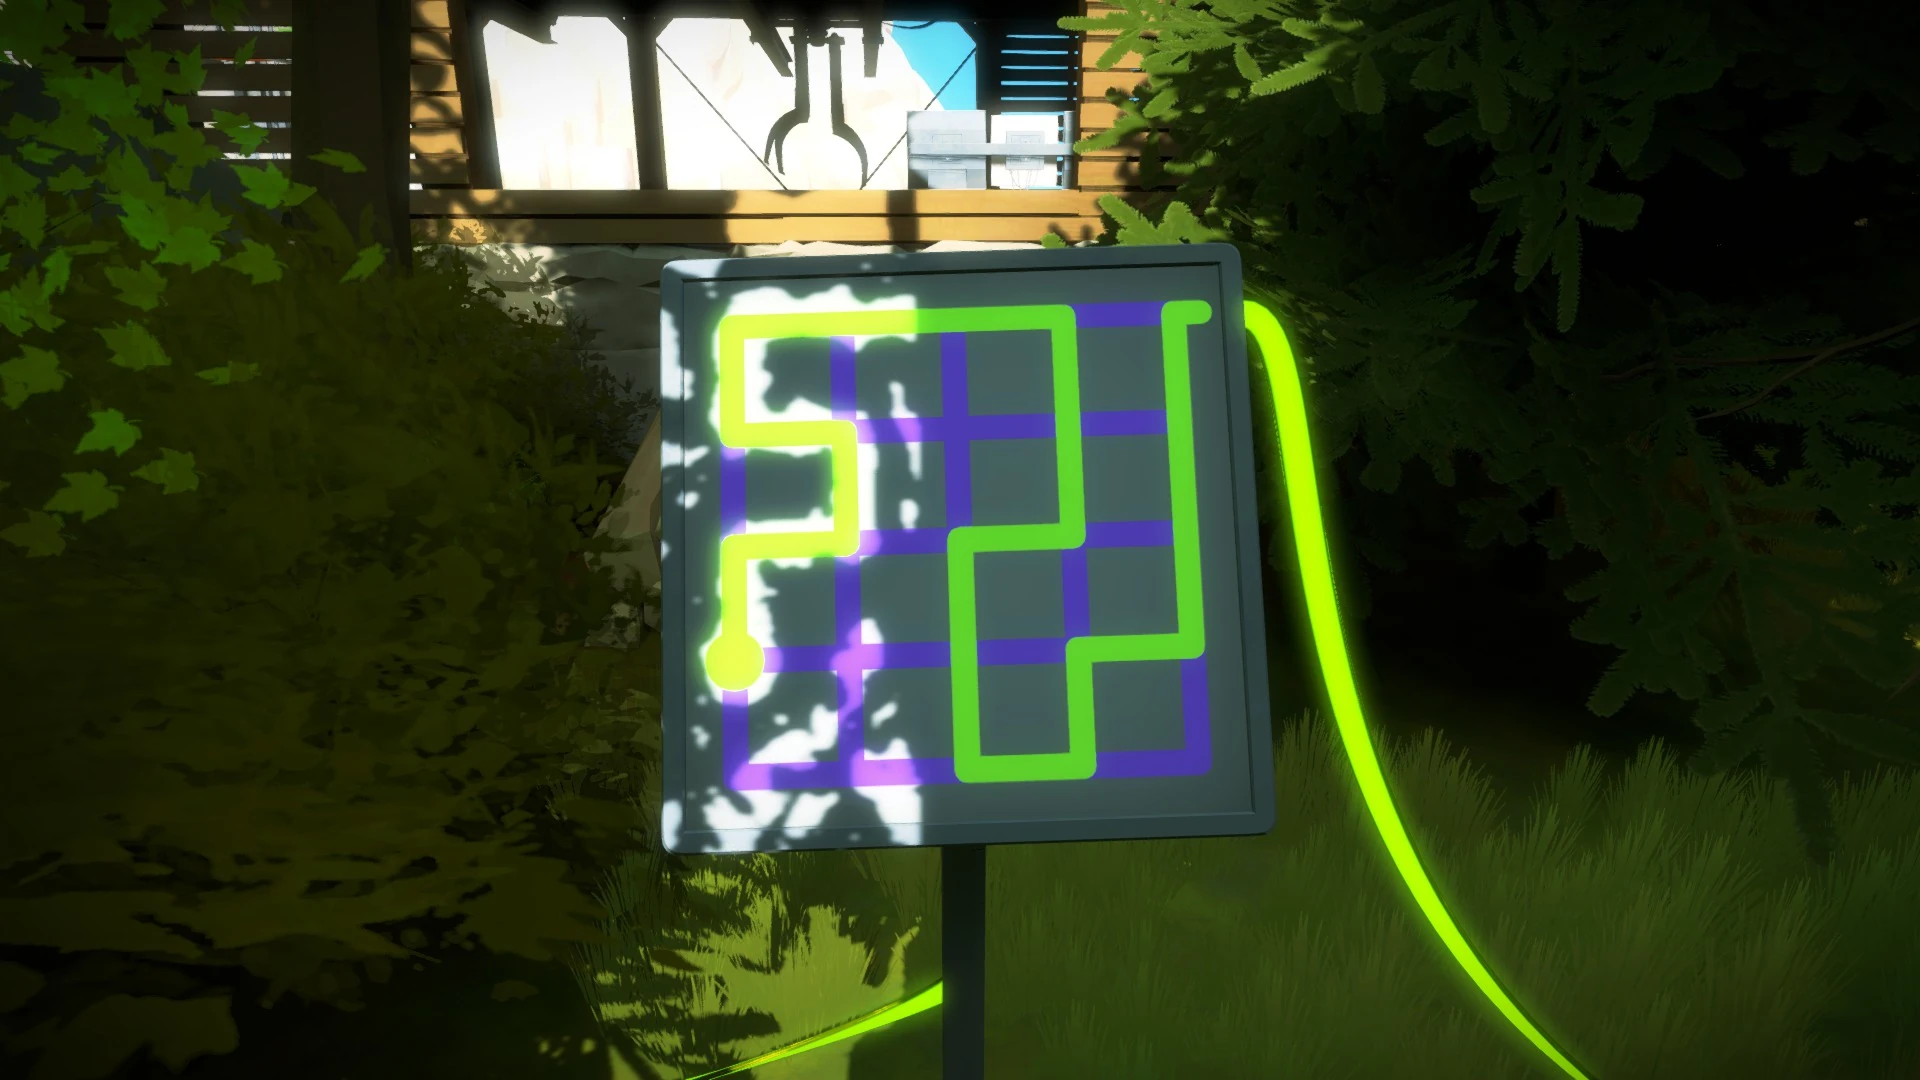
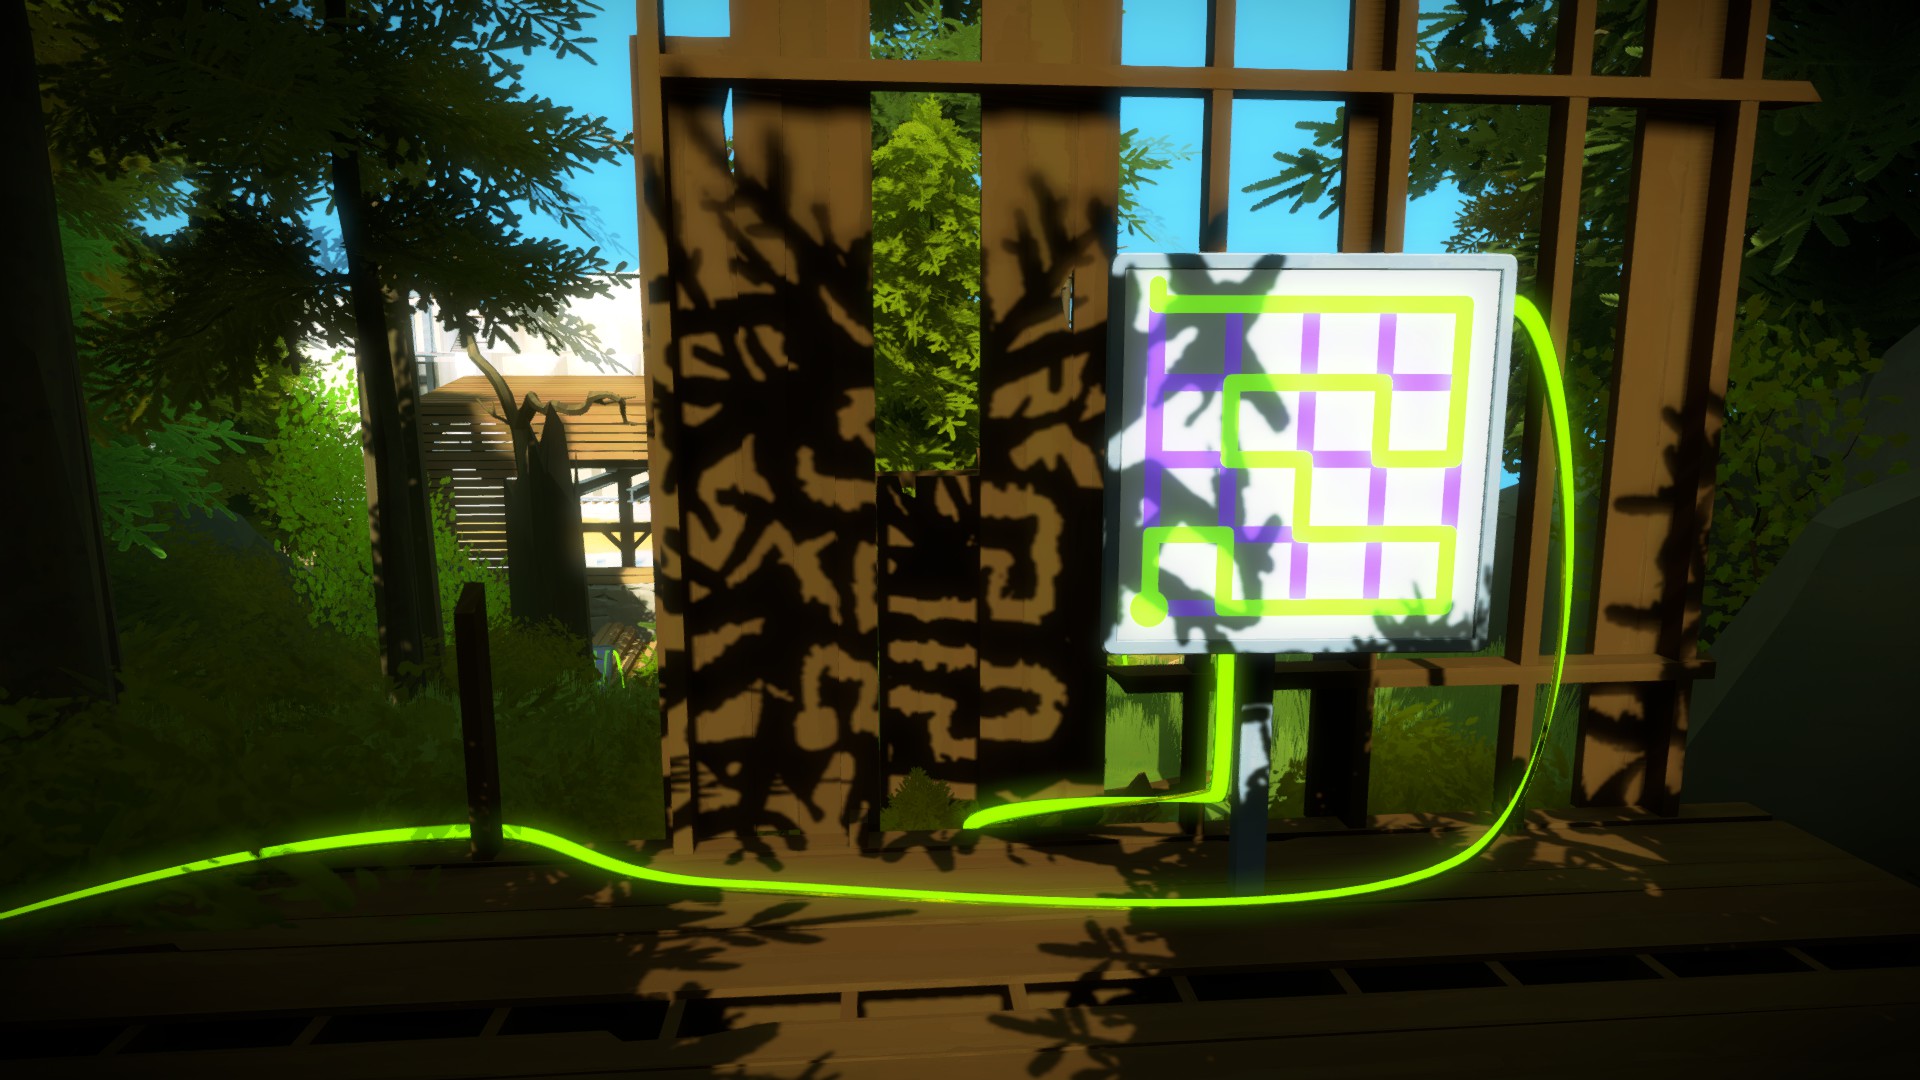
For this next set of puzzles, instead of avoiding the branches, you'll want to follow them.

The paths won't be straight or exact, so try to stick with them the closest you can on the rigid grid.

Just try to emulate the path the branches are taking, even if they're uneven.
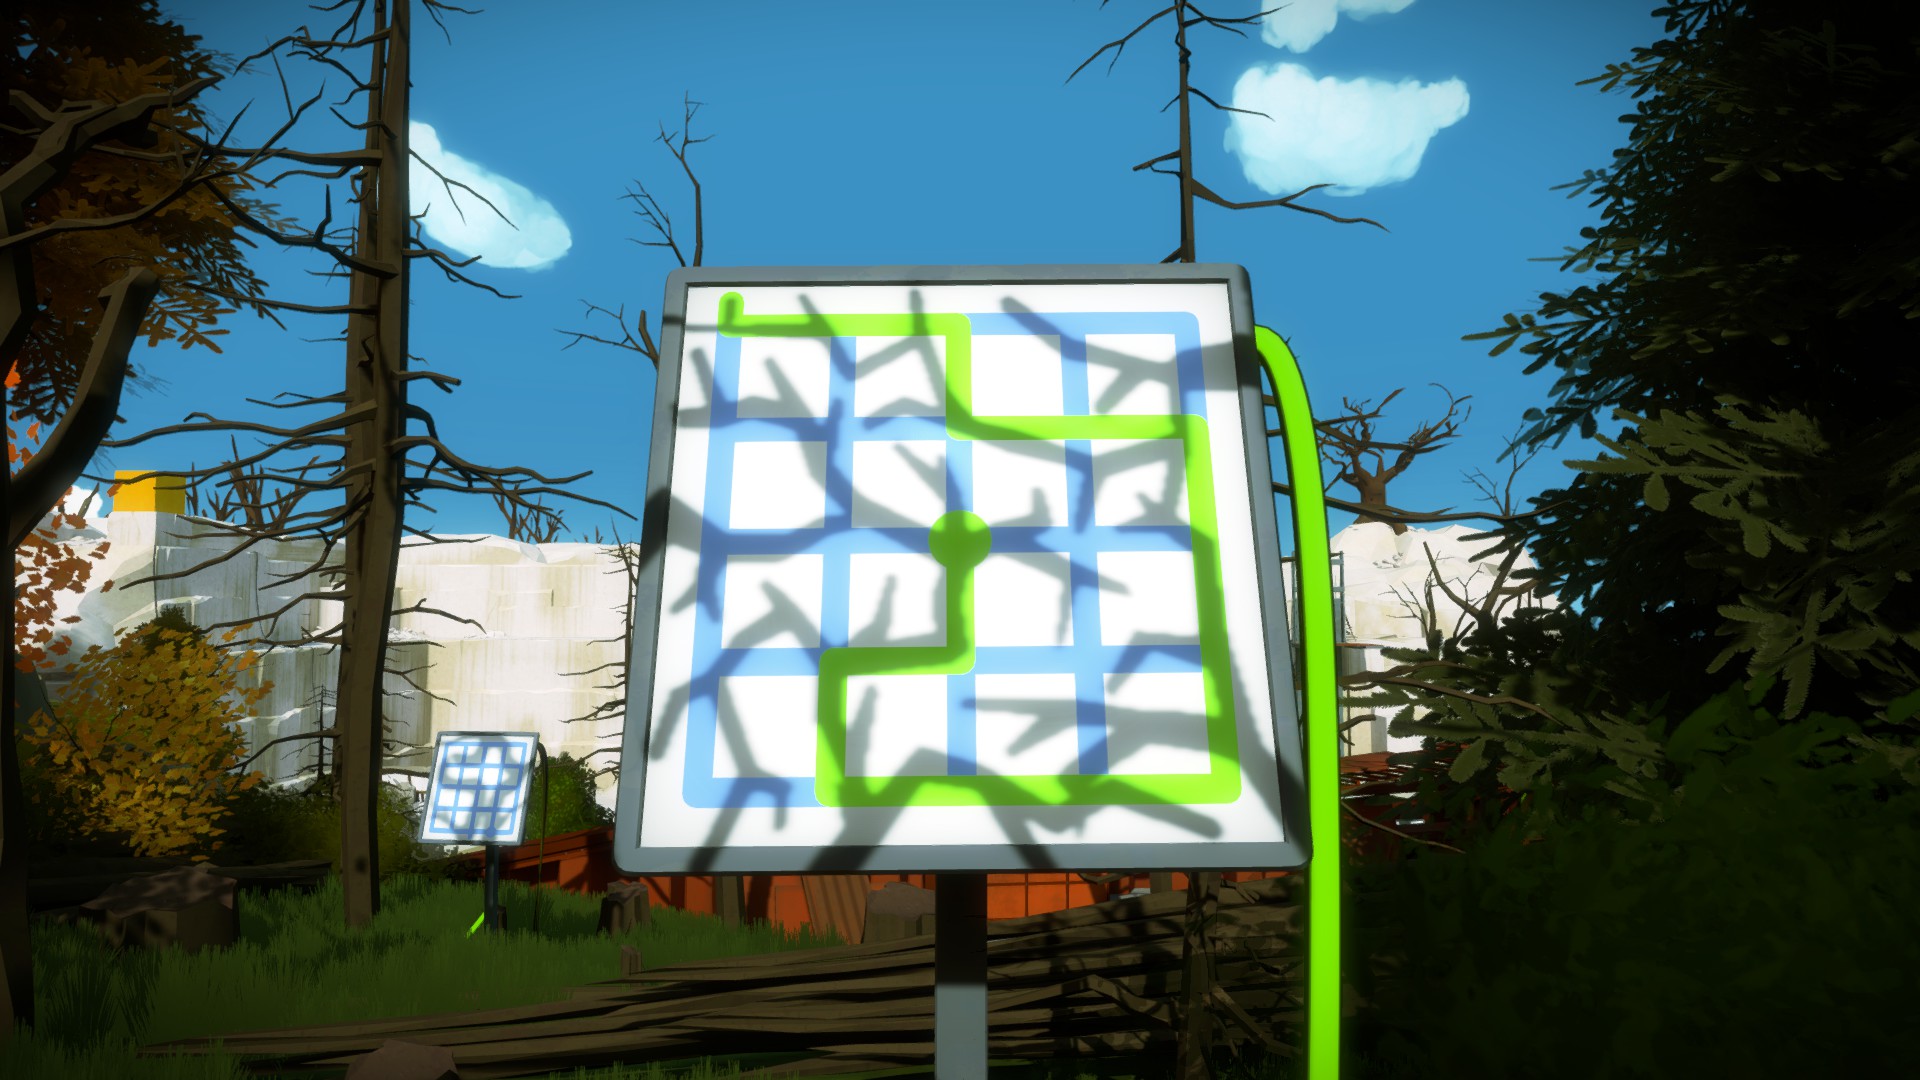

If branches break off into dead ends, ignore them. There will always be a single path made up of shadow from beginning to end, at least in the Shady Trees area.

You don't necessarily need to follow the path of the physical branches, either. As long as the shadows are touching, even if the branches themselves aren't connected at that point, it counts as a path. Once you solve this puzzle, you might hear a sound.

Run back to the orange autumn forest and you'll notice the left side of the gate is now open. To open the right side, continue back where you came from, to the green wooded area with all the stumps, but this time head down the path in the forked road that we haven't explored yet.
Right Gate
[ | ]
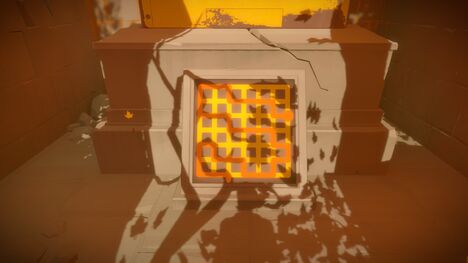
The puzzles to open the right side of the Shady Trees gate in the autumn forest are significantly harder than the puzzles we've completed so far in this area.
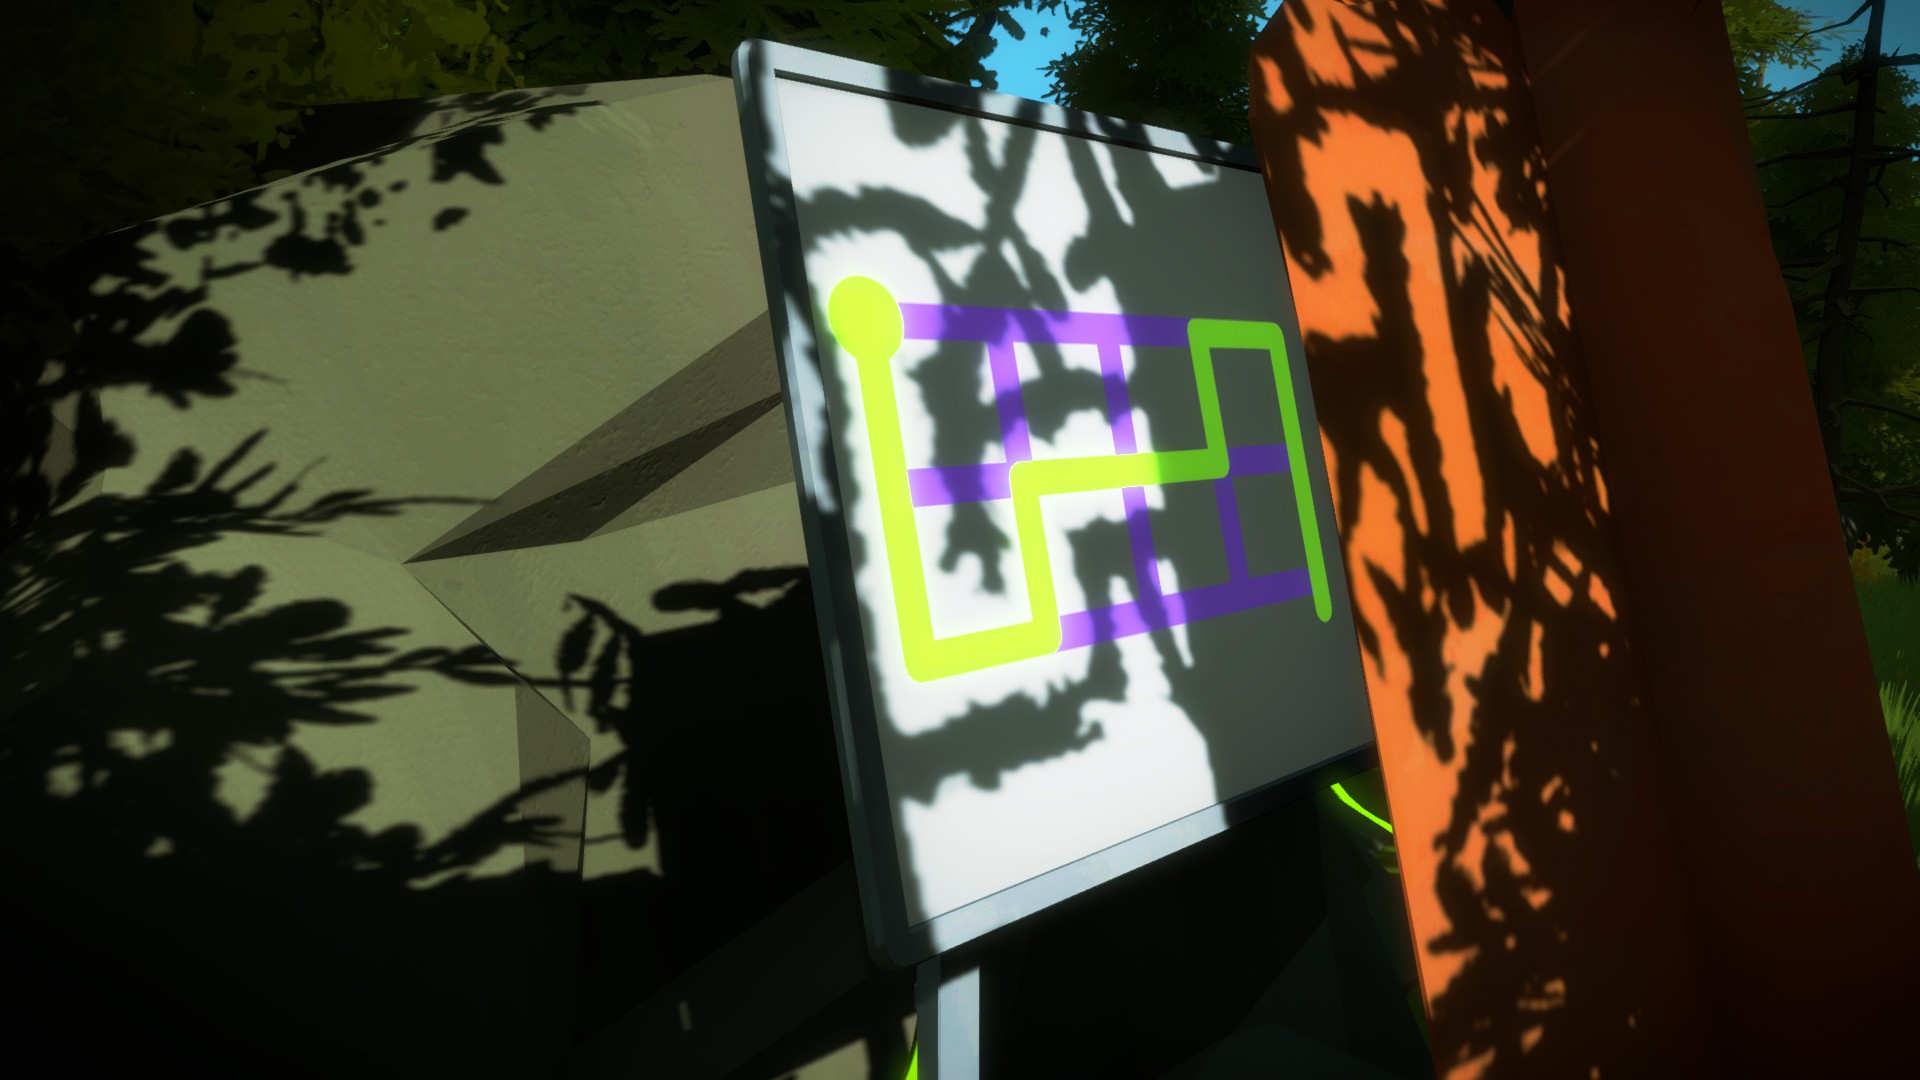
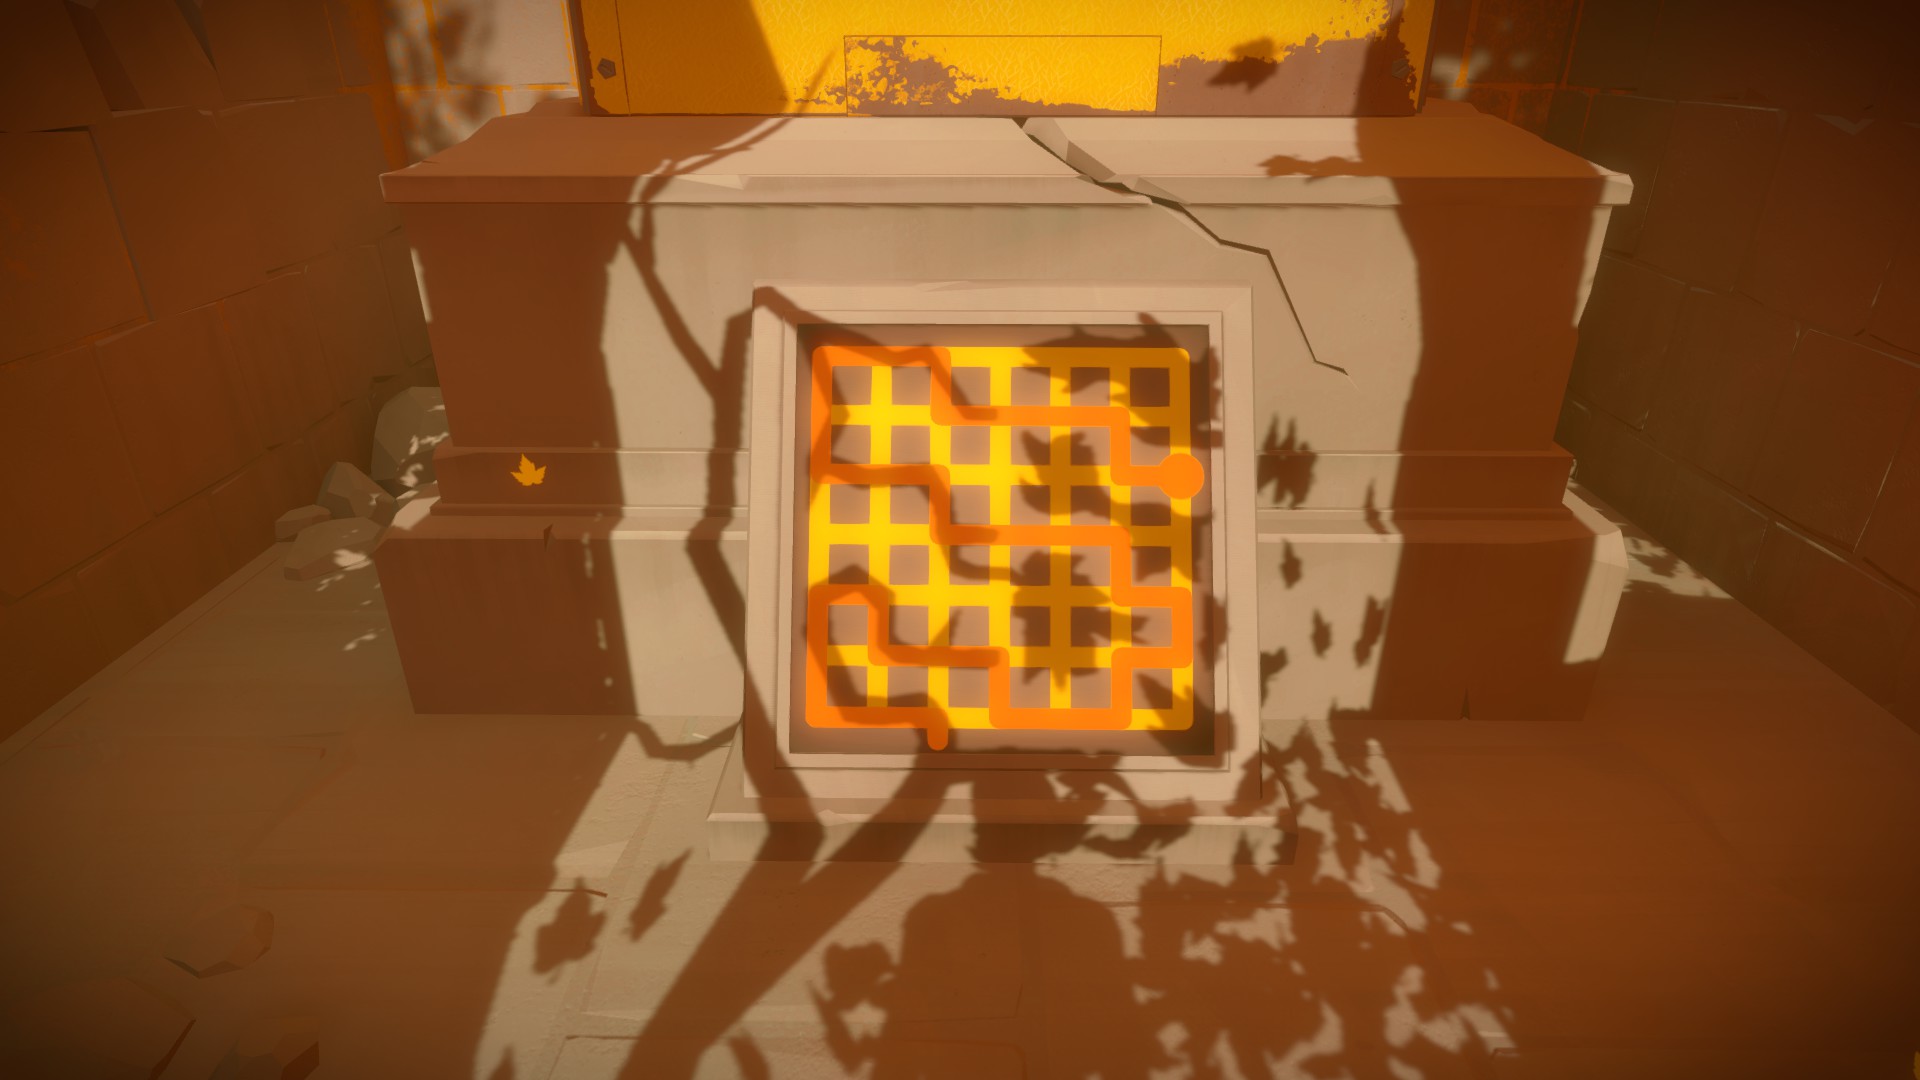
Here you need to draw a path between the shadows using paths of light cast on the panel itself, and on other manmade objects nearby.


This requires you to look around at your surroundings to piece together the path. In the case of the puzzle above, the left and right portions of the path can be seen on the sheets of orange metal on each side.

You may need to slightly rotate the path to make it work.

When the maze has two start points, think about moving the light path over a block or two to match it up with a new start point.

If you can't find the rest of the path, try backing up... way up. For this panel, the rest of the path is visible at the top of a very tall tree stump overlooking the puzzle.

Look down at the rock to find the rest of the path for this puzzle.

The solution for this puzzle is located on the planks to the left, but because the planks are so separated, you'll need to look closely and carefully piece it together to make a coherent path.

Same as the previous puzzle, the solution here is located on the planks to the left, but because the middle section is cast on a plank slightly further back than the rest, it needs to be re-aligned with the paths we see on the left and right.
Once you've completed all the puzzles in this section, run back to the laser area in the orange autumn forest.
Now that both sides of the gate are open, you can solve the final puzzle of the Shady Trees forest, which combines logic we've learned from both sections: follow the shadows and follow the light. The left side of the puzzle represents shadow, and the right side of the puzzle represents light.
Solving this final puzzle lets you activate the Shady Trees laser.