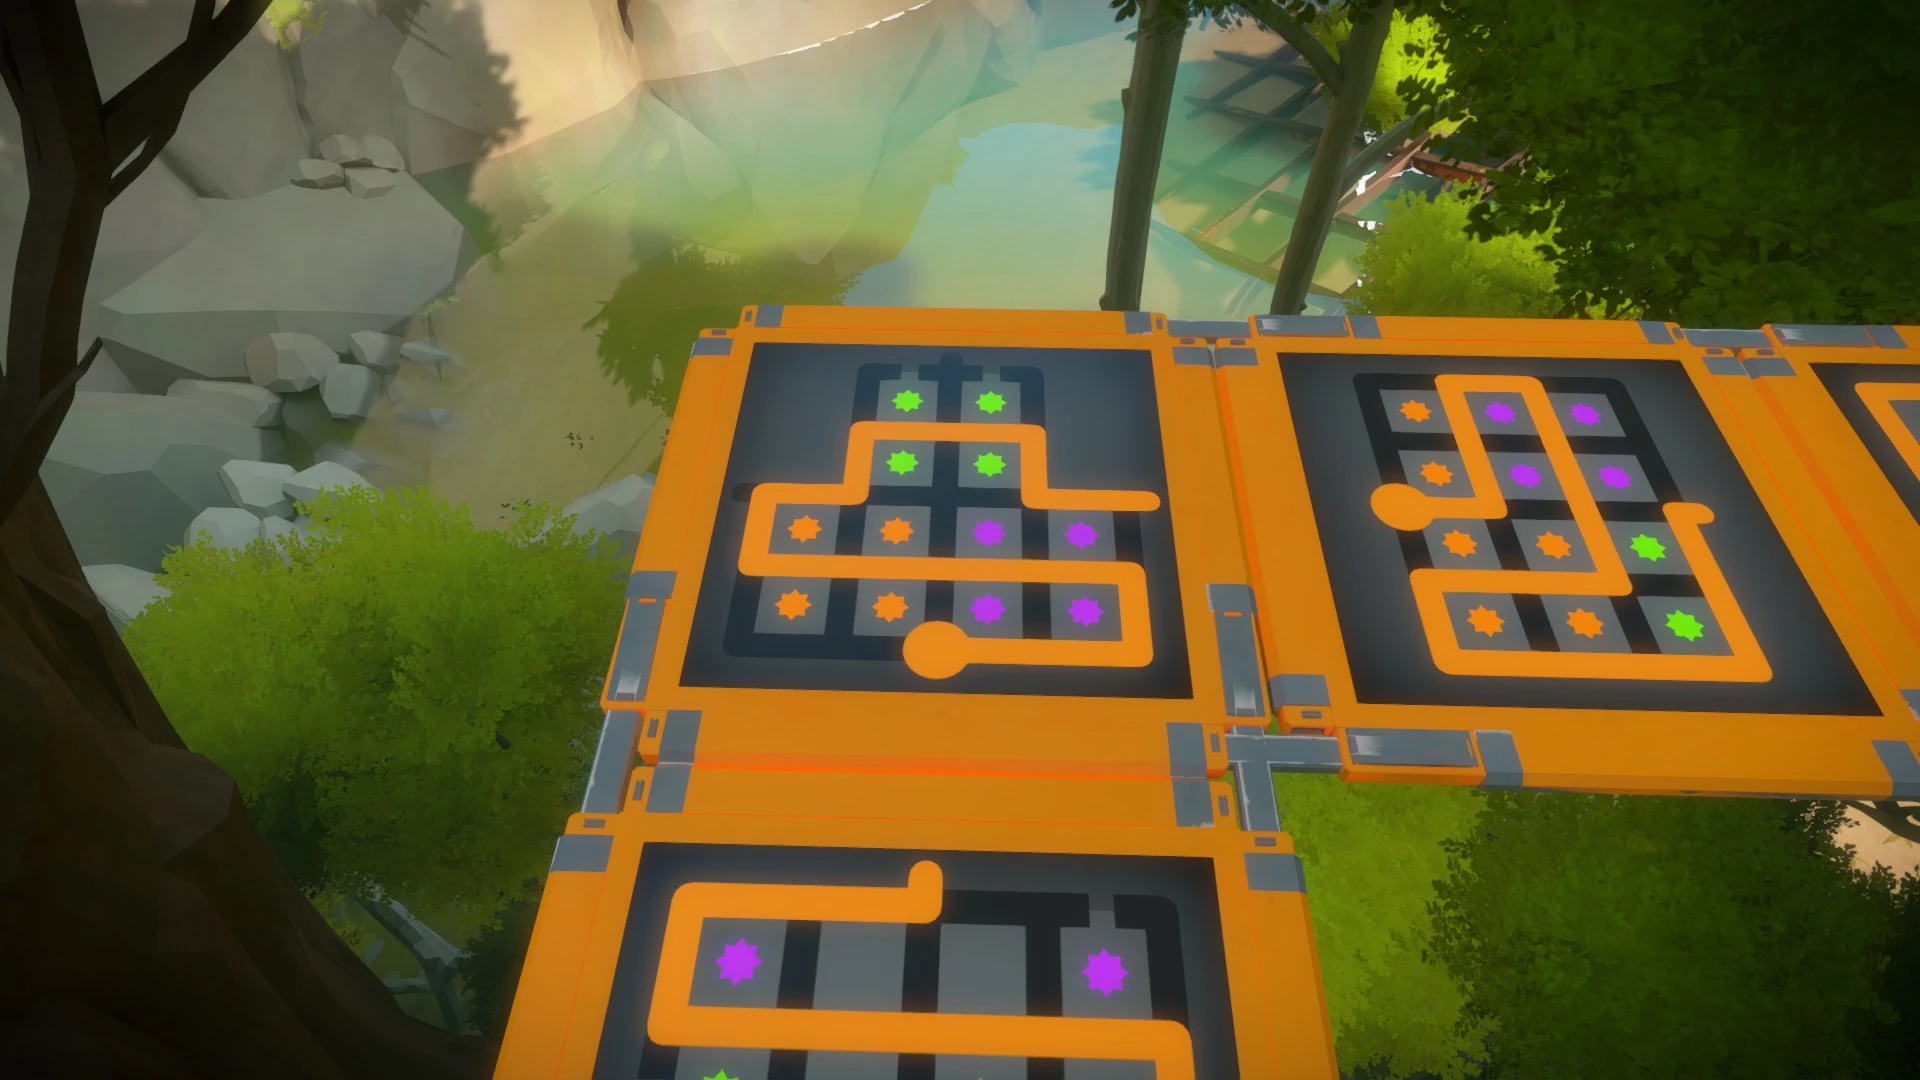
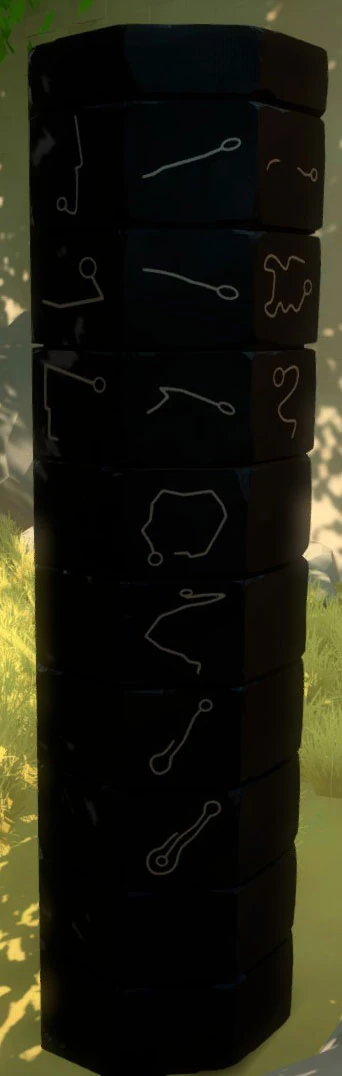
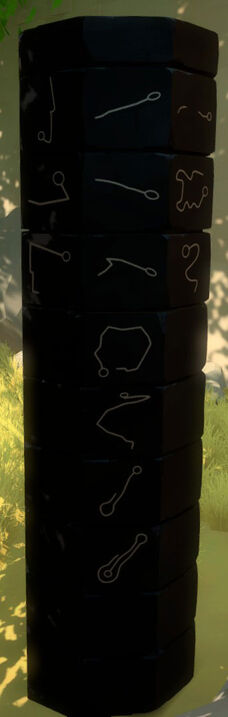
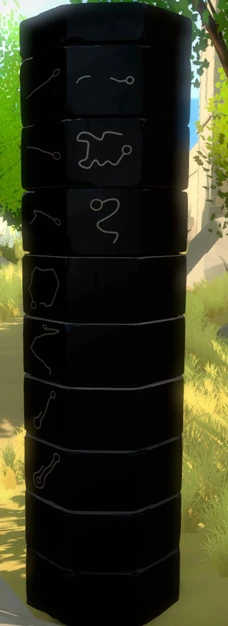
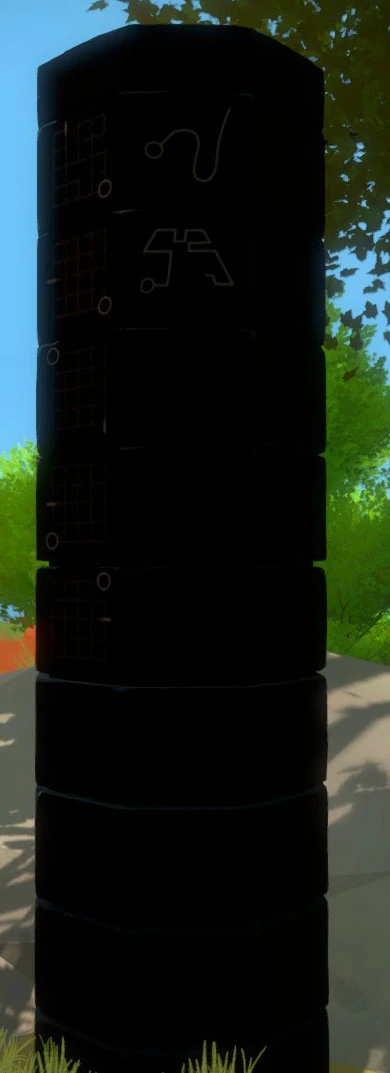
The Tree House Obelisk is one of six large black structures found on the island in The Witness. It's purpose is directly tied to that of the many hidden Environmental Puzzles, and solving any of the nearby puzzles will light up a corresponding symbol, and reveal the symbols of other nearby puzzles.
Each face of the obelisk represents an area full of puzzles. The number of symbols in a column represent the number of puzzles in a given area, and the direction of the column indicates where the puzzles can be found.
Use the following section to locate where the puzzles are located, and the images to reveal the puzzle location itself.
Tree House Obelisk - Side 1[ | ]
| # of Symbols | Symbol Locations | |
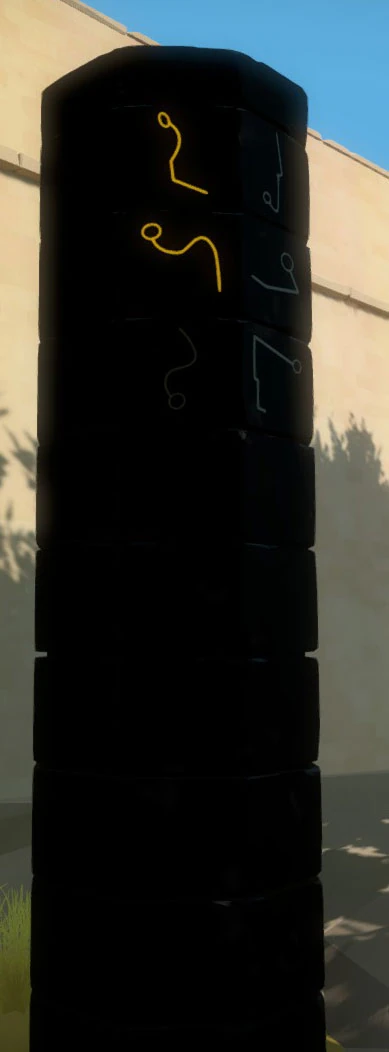 |
3 | Treehouse Floor |
Symbol 1[ | ]
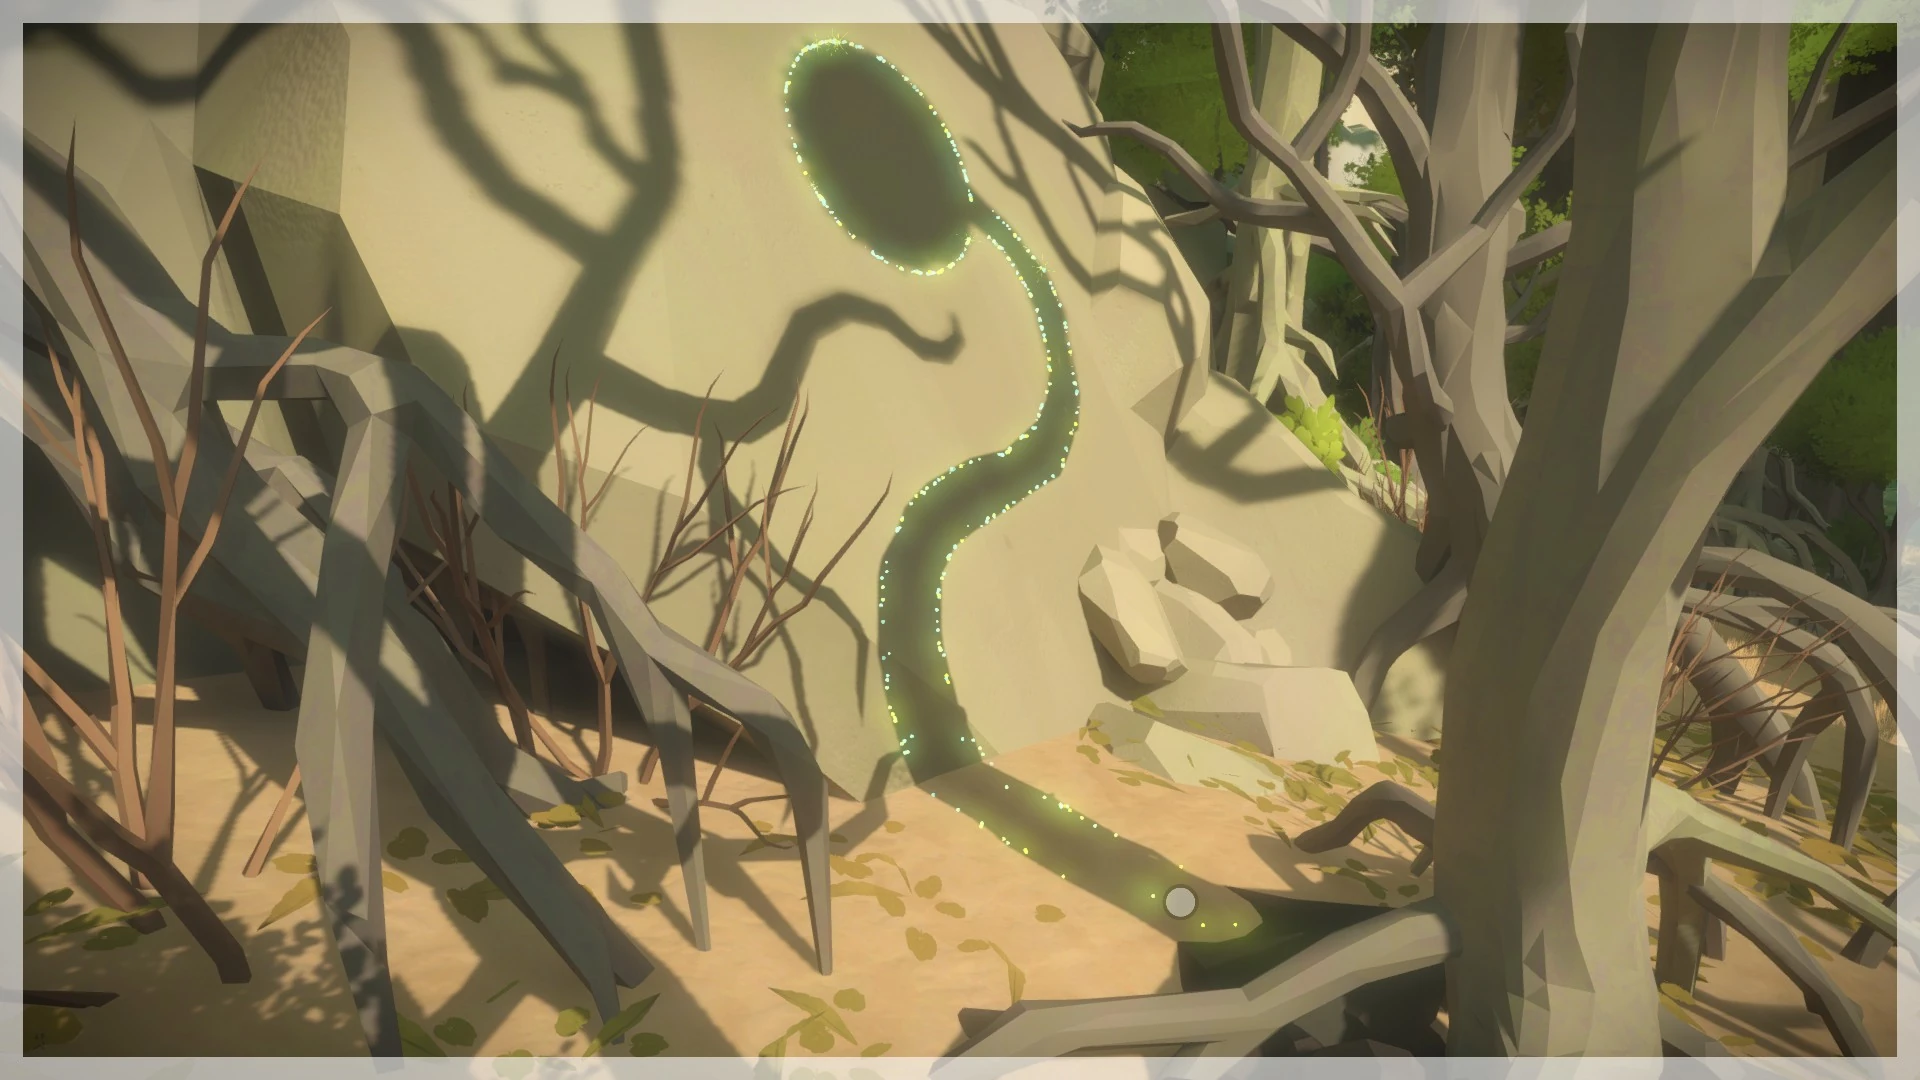
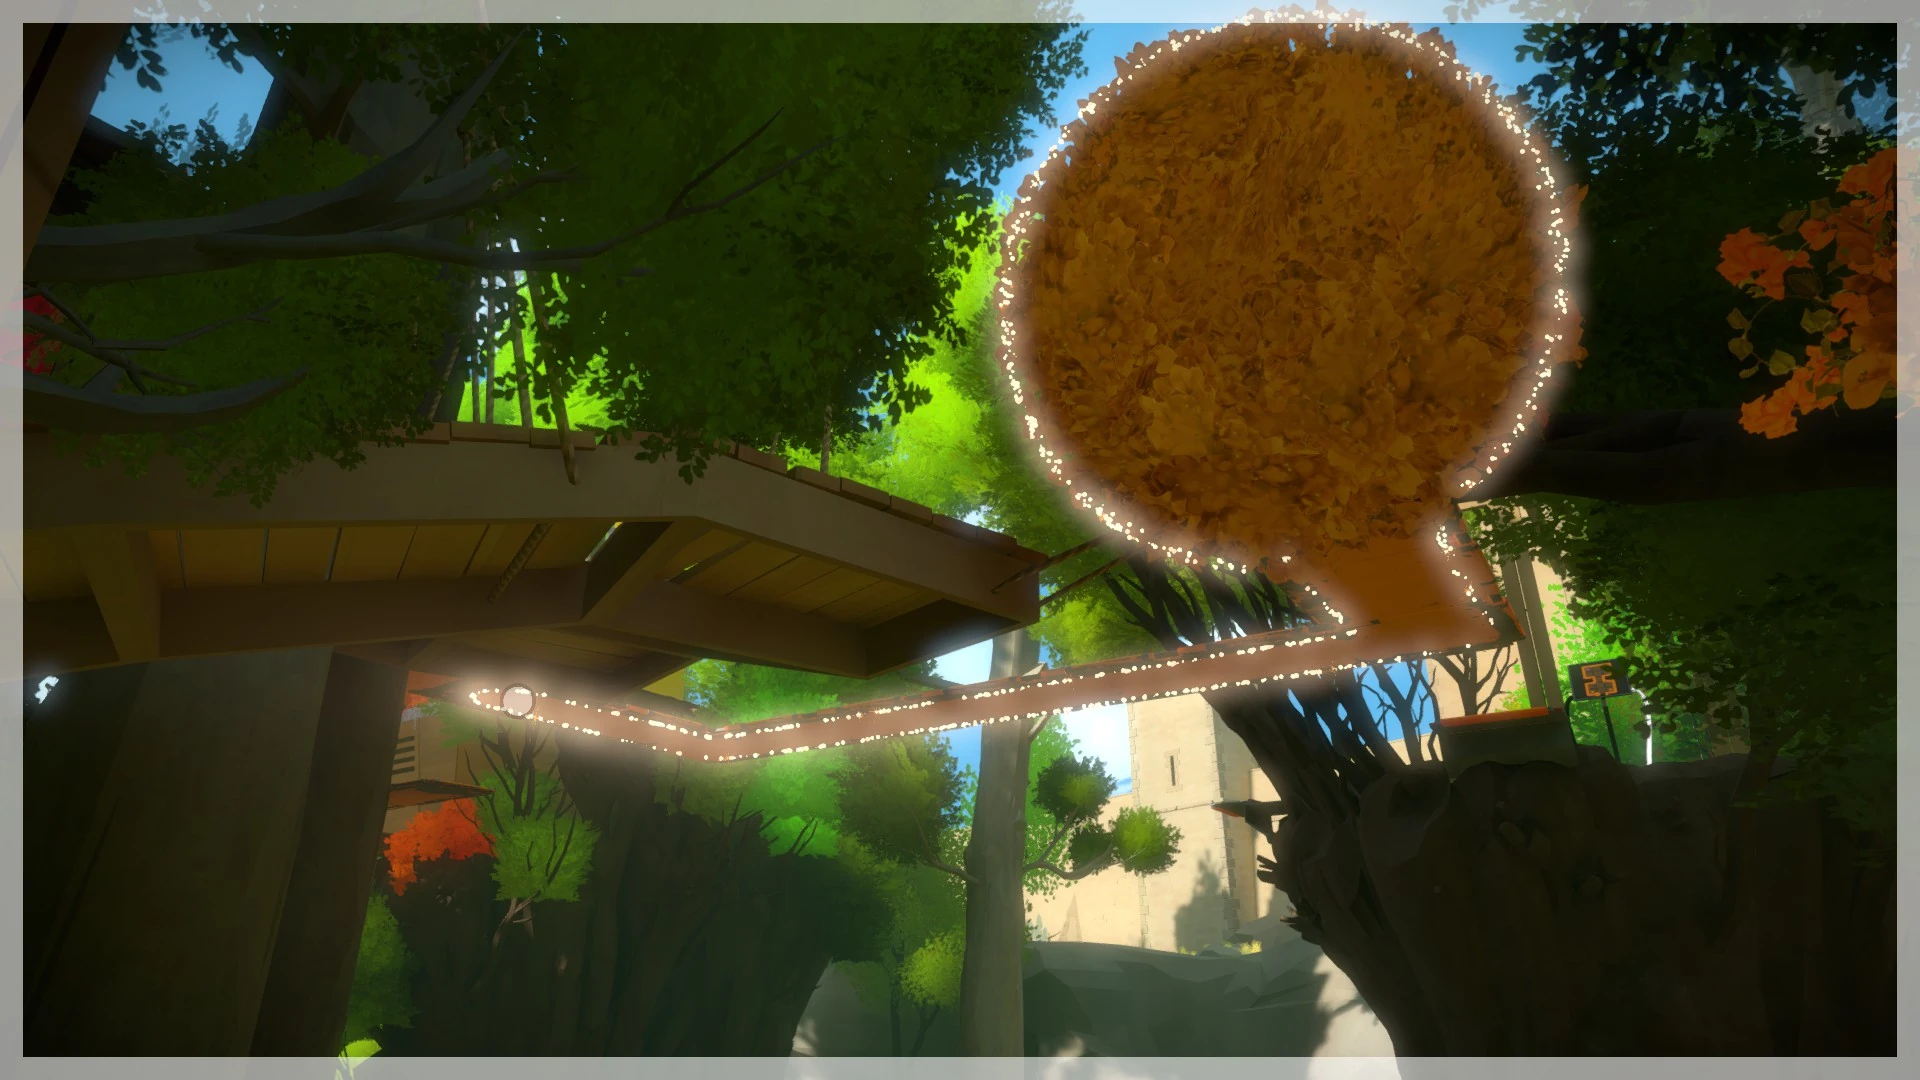
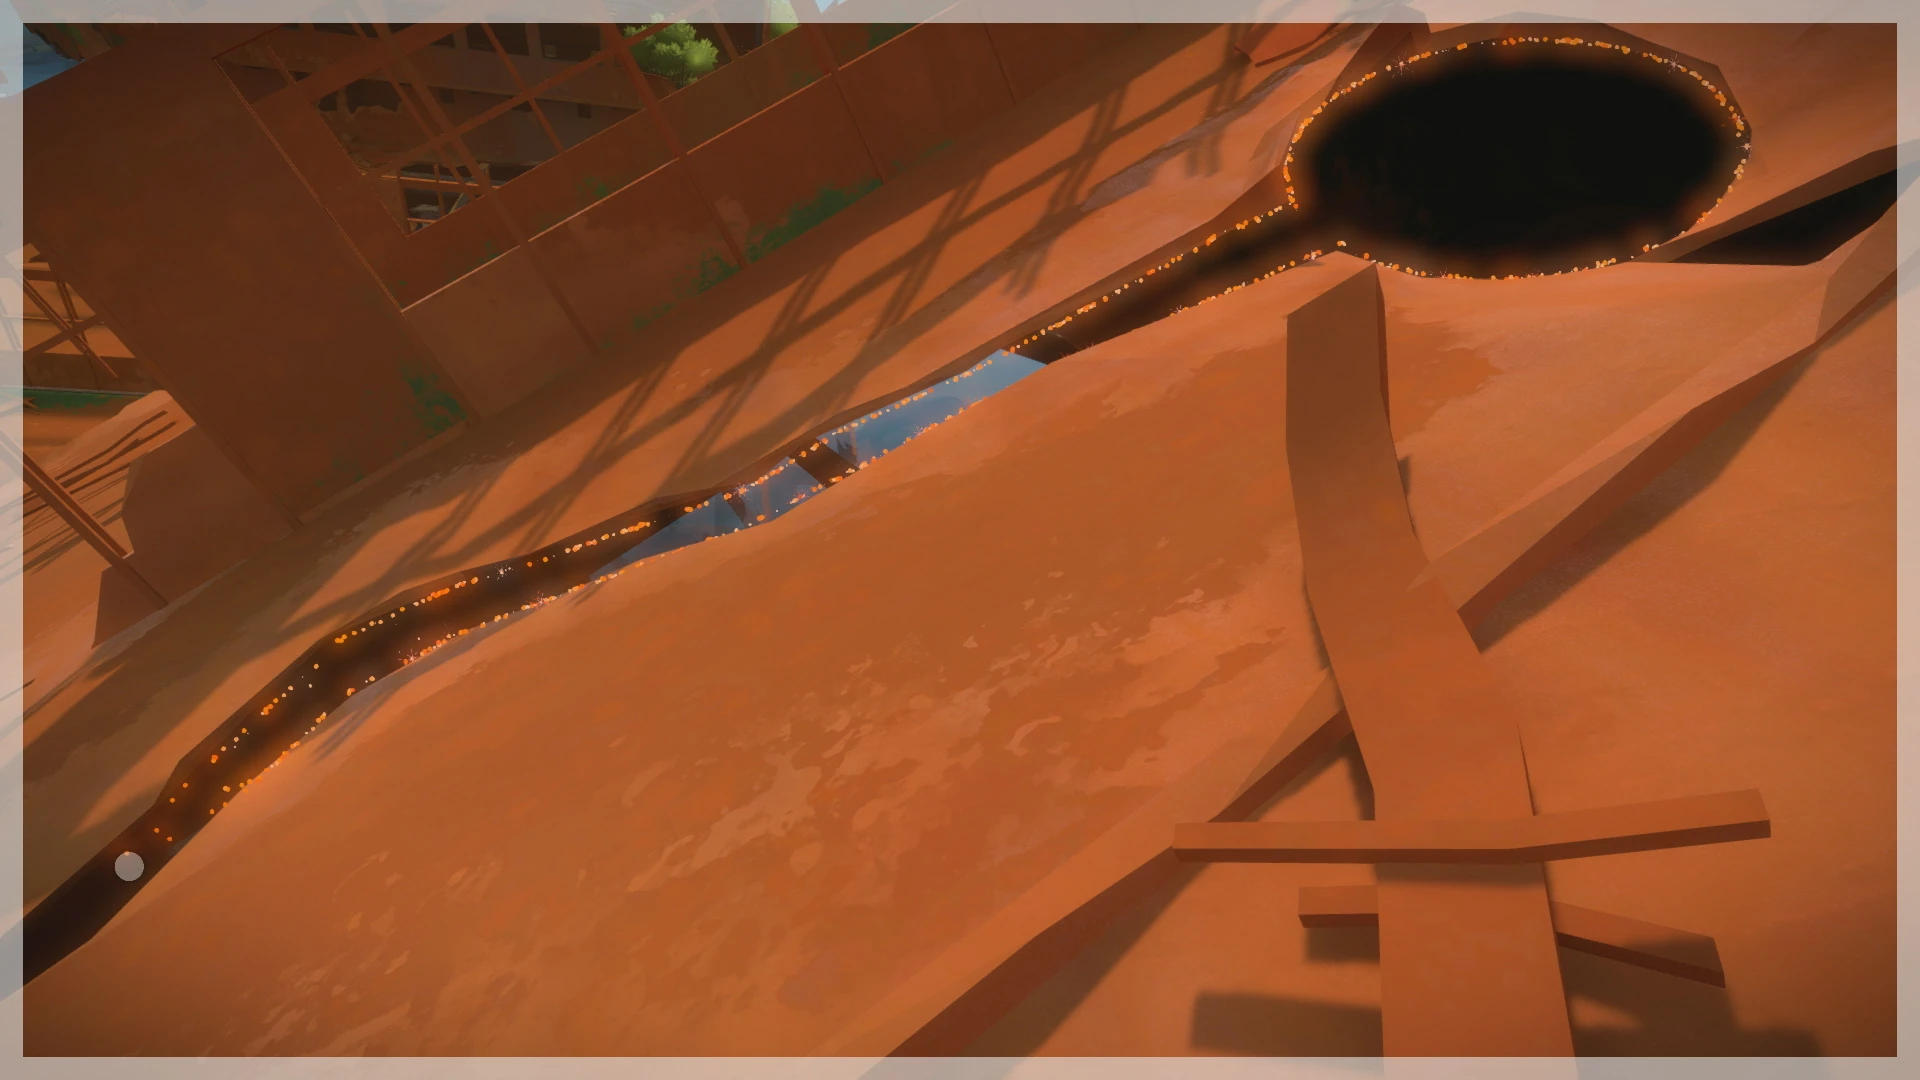
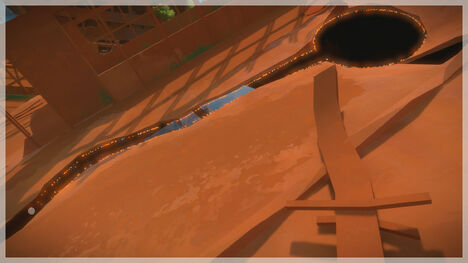
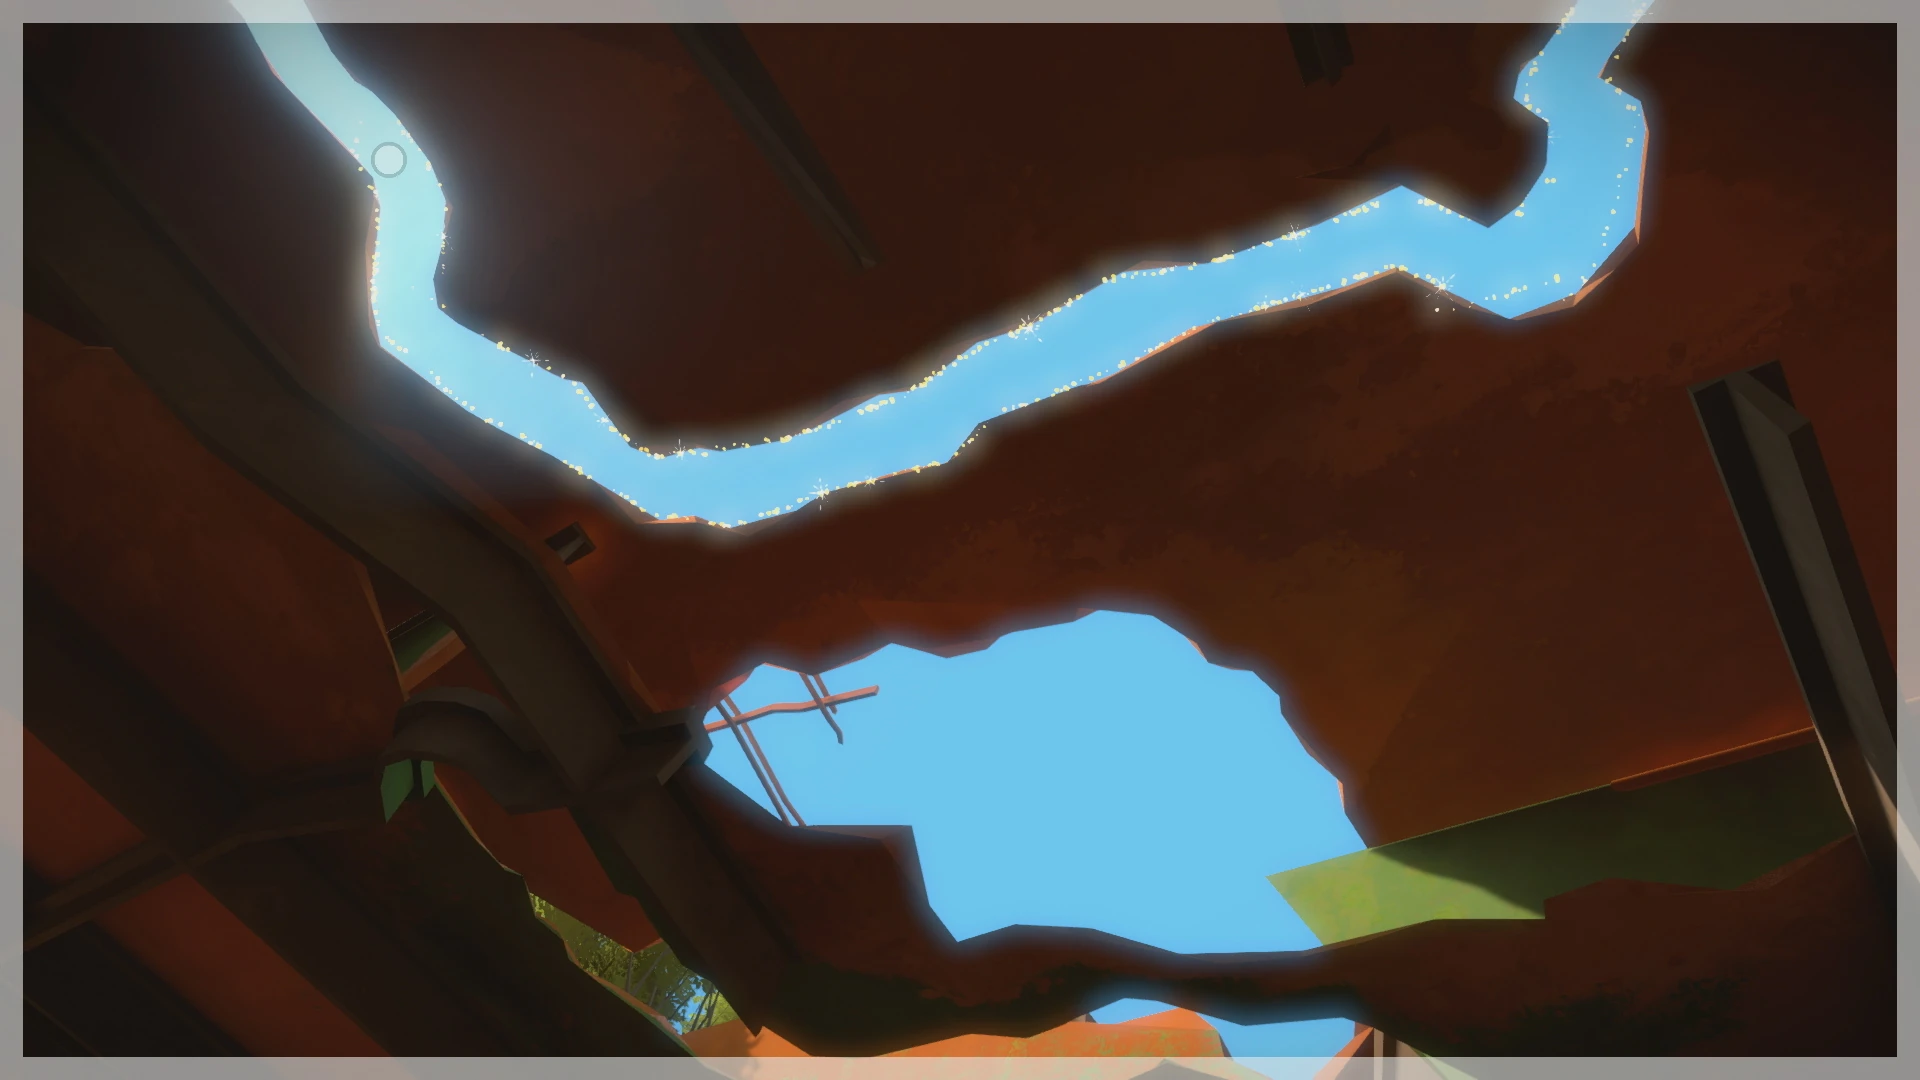
From the Tree House Obelisk, head right back towards the swamps and look for a path leading down the forest floor of the Tree House area. As you enter you'll notice many twisted trees with branches and small clumps of leaves, one of which is on the left as you go down the path. Trace the shadow to solve the puzzle.
Symbol 2[ | ]
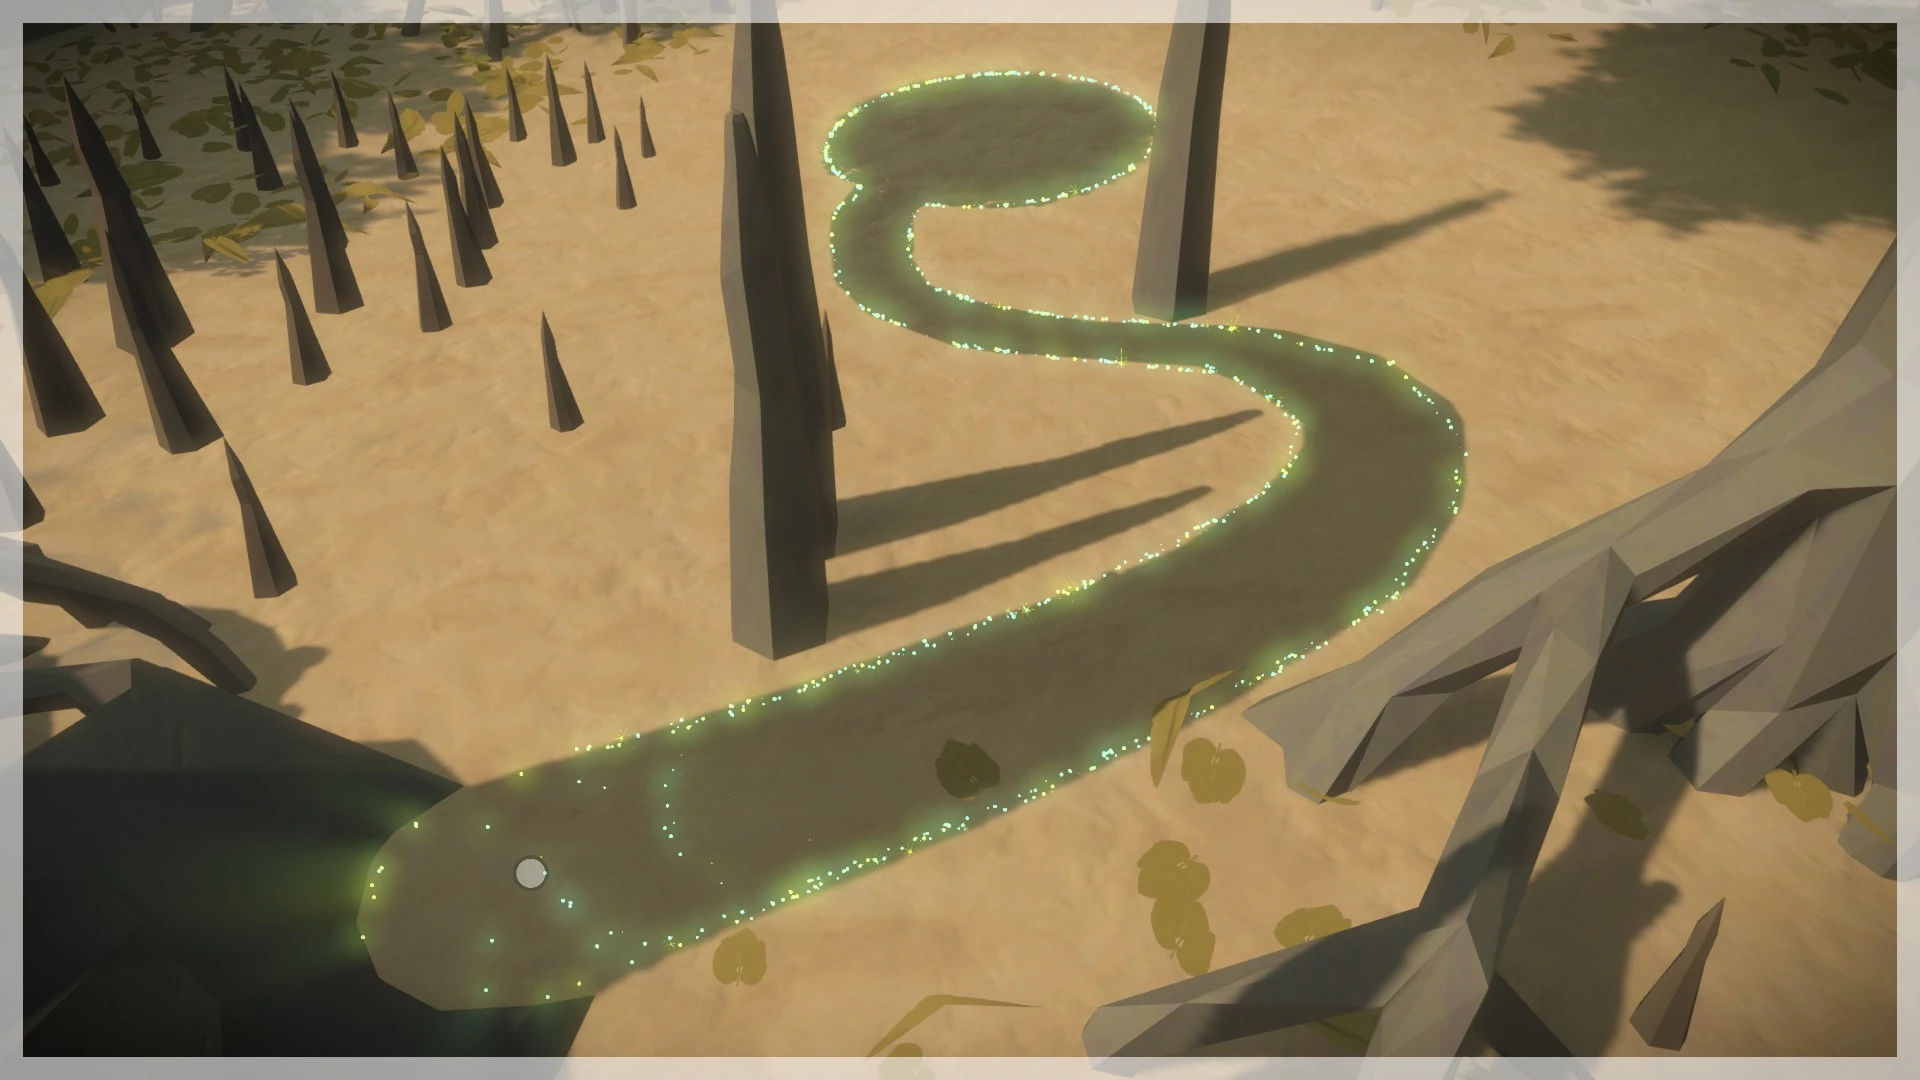
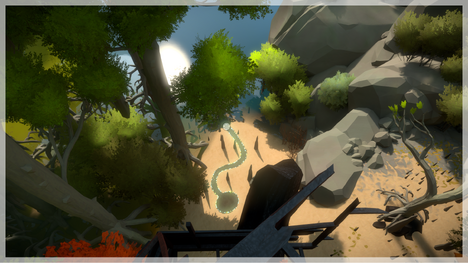
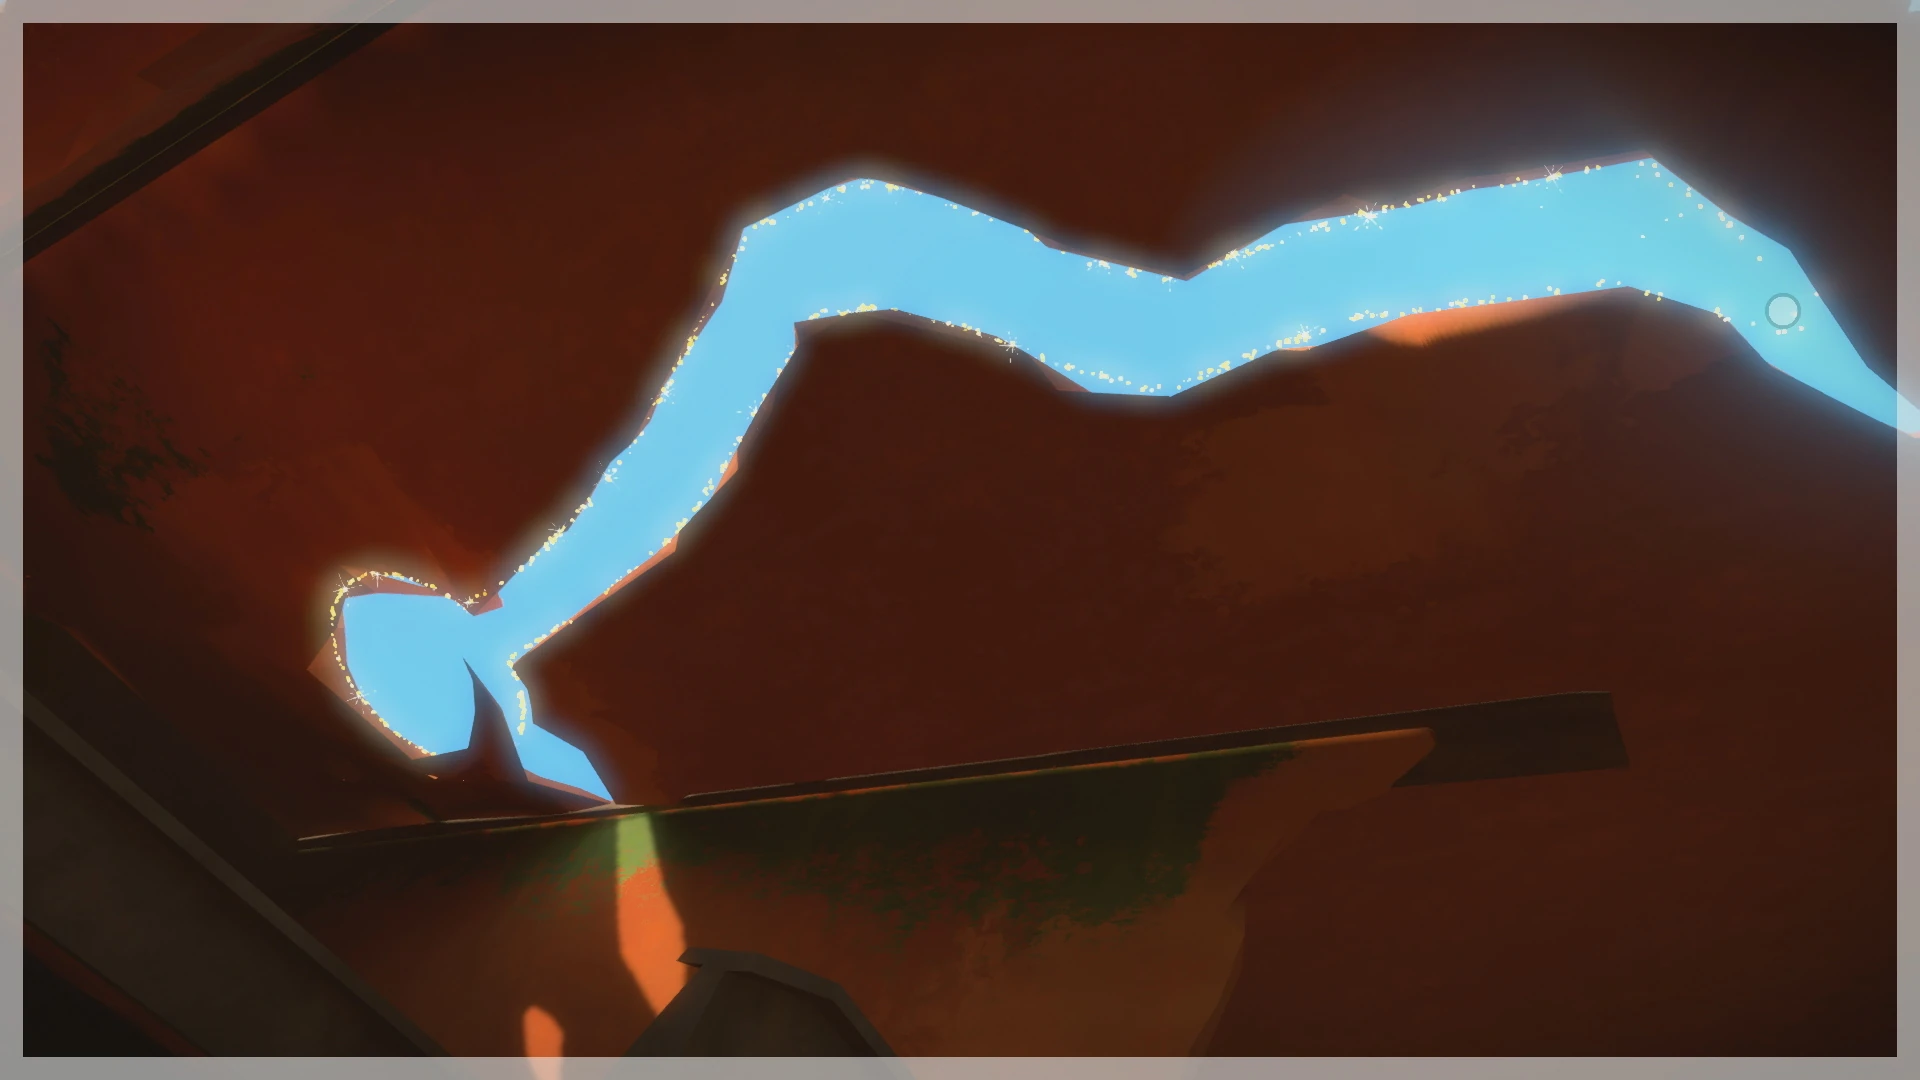
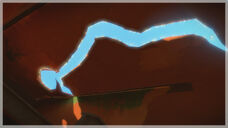
Another such shadow puzzle is just opposite of the first one, with the symbol weaving its way through spike-like roots. In order to trace the symbol unbroken by the roots, head down to the base of the tree to get the perfect angle.
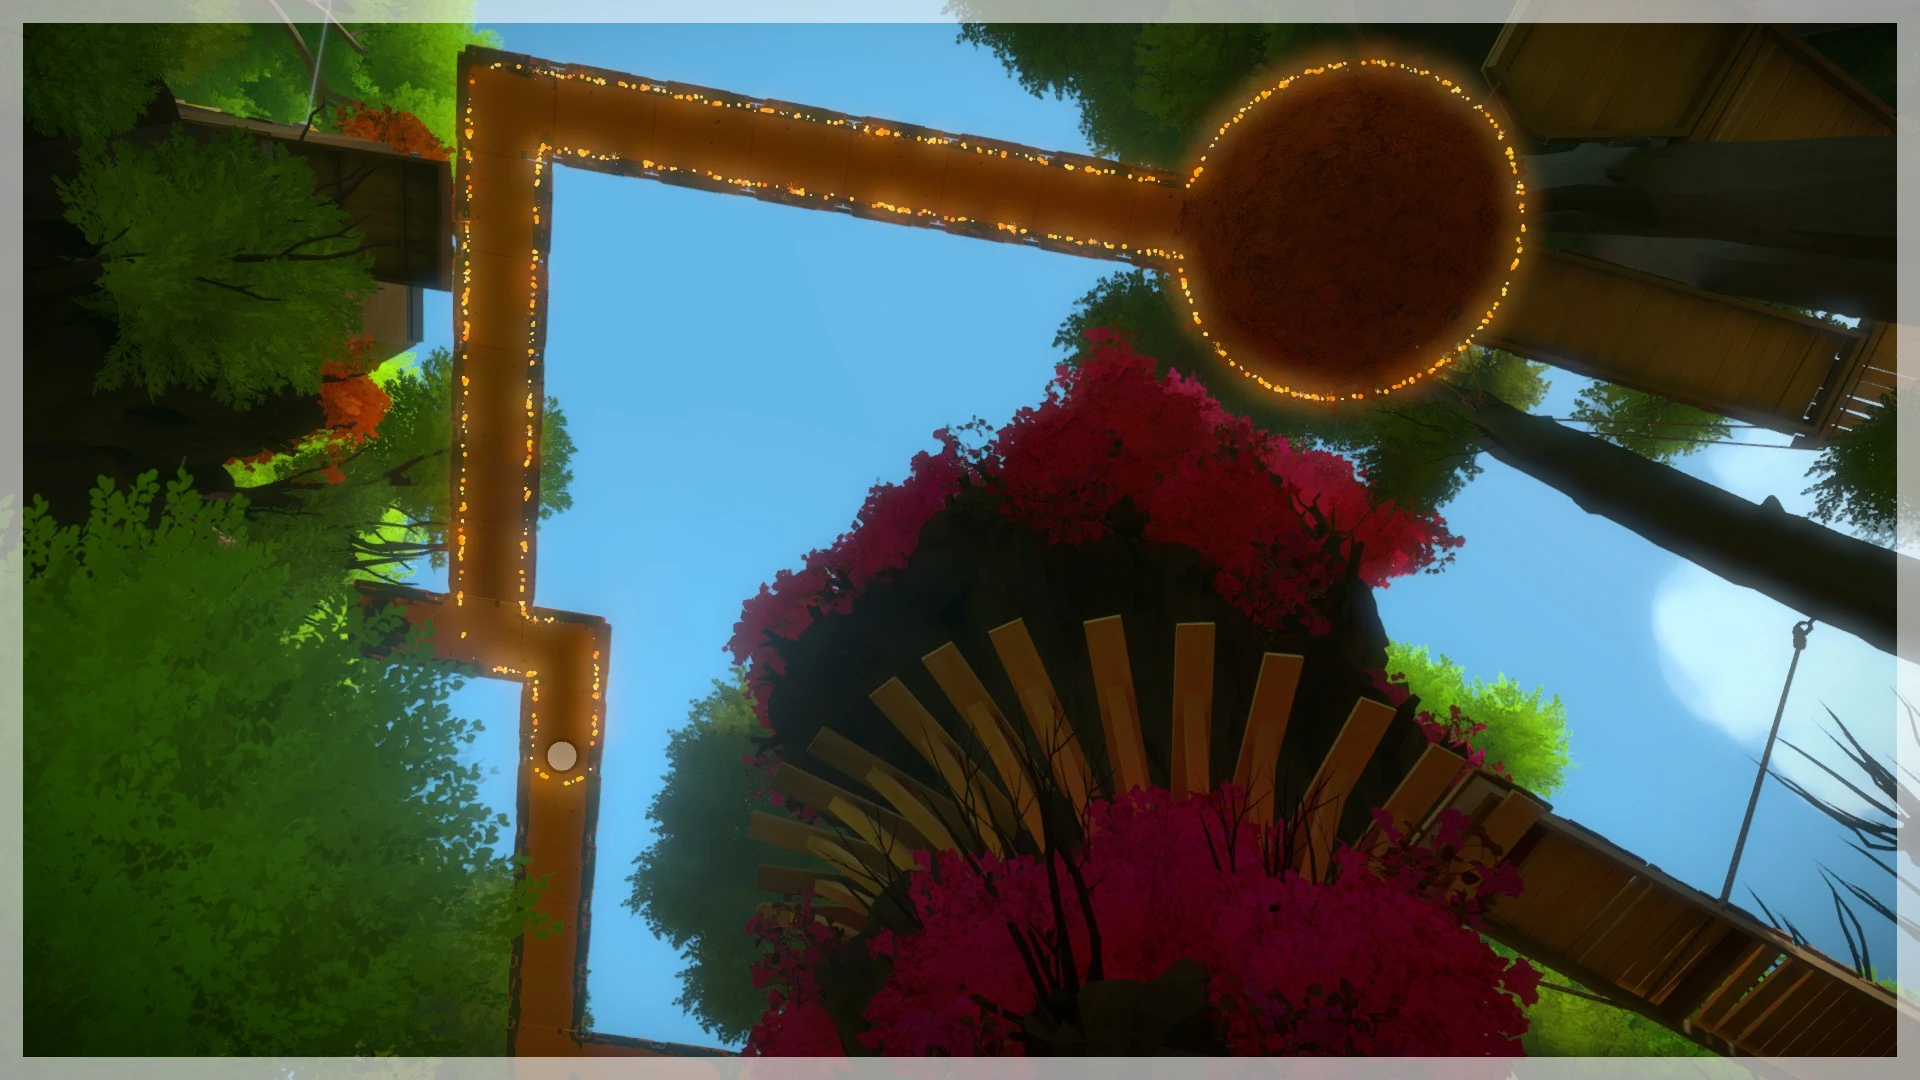
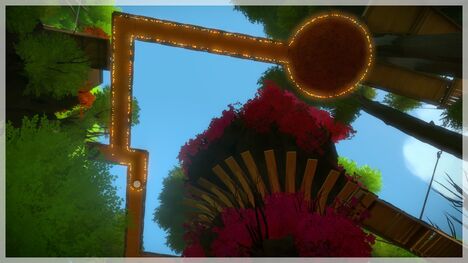
Symbol 3[ | ]

In order to get to this position, the burnt treehouse, you will have to use the alternate solution to a puzzle down below (namely the 9th one on the top left orange tiles path):

Tree House Obelisk - Side 2[ | ]
| # of Symbols | Symbol Locations | |
  |
3 | Tree House |
Symbol 1[ | ]


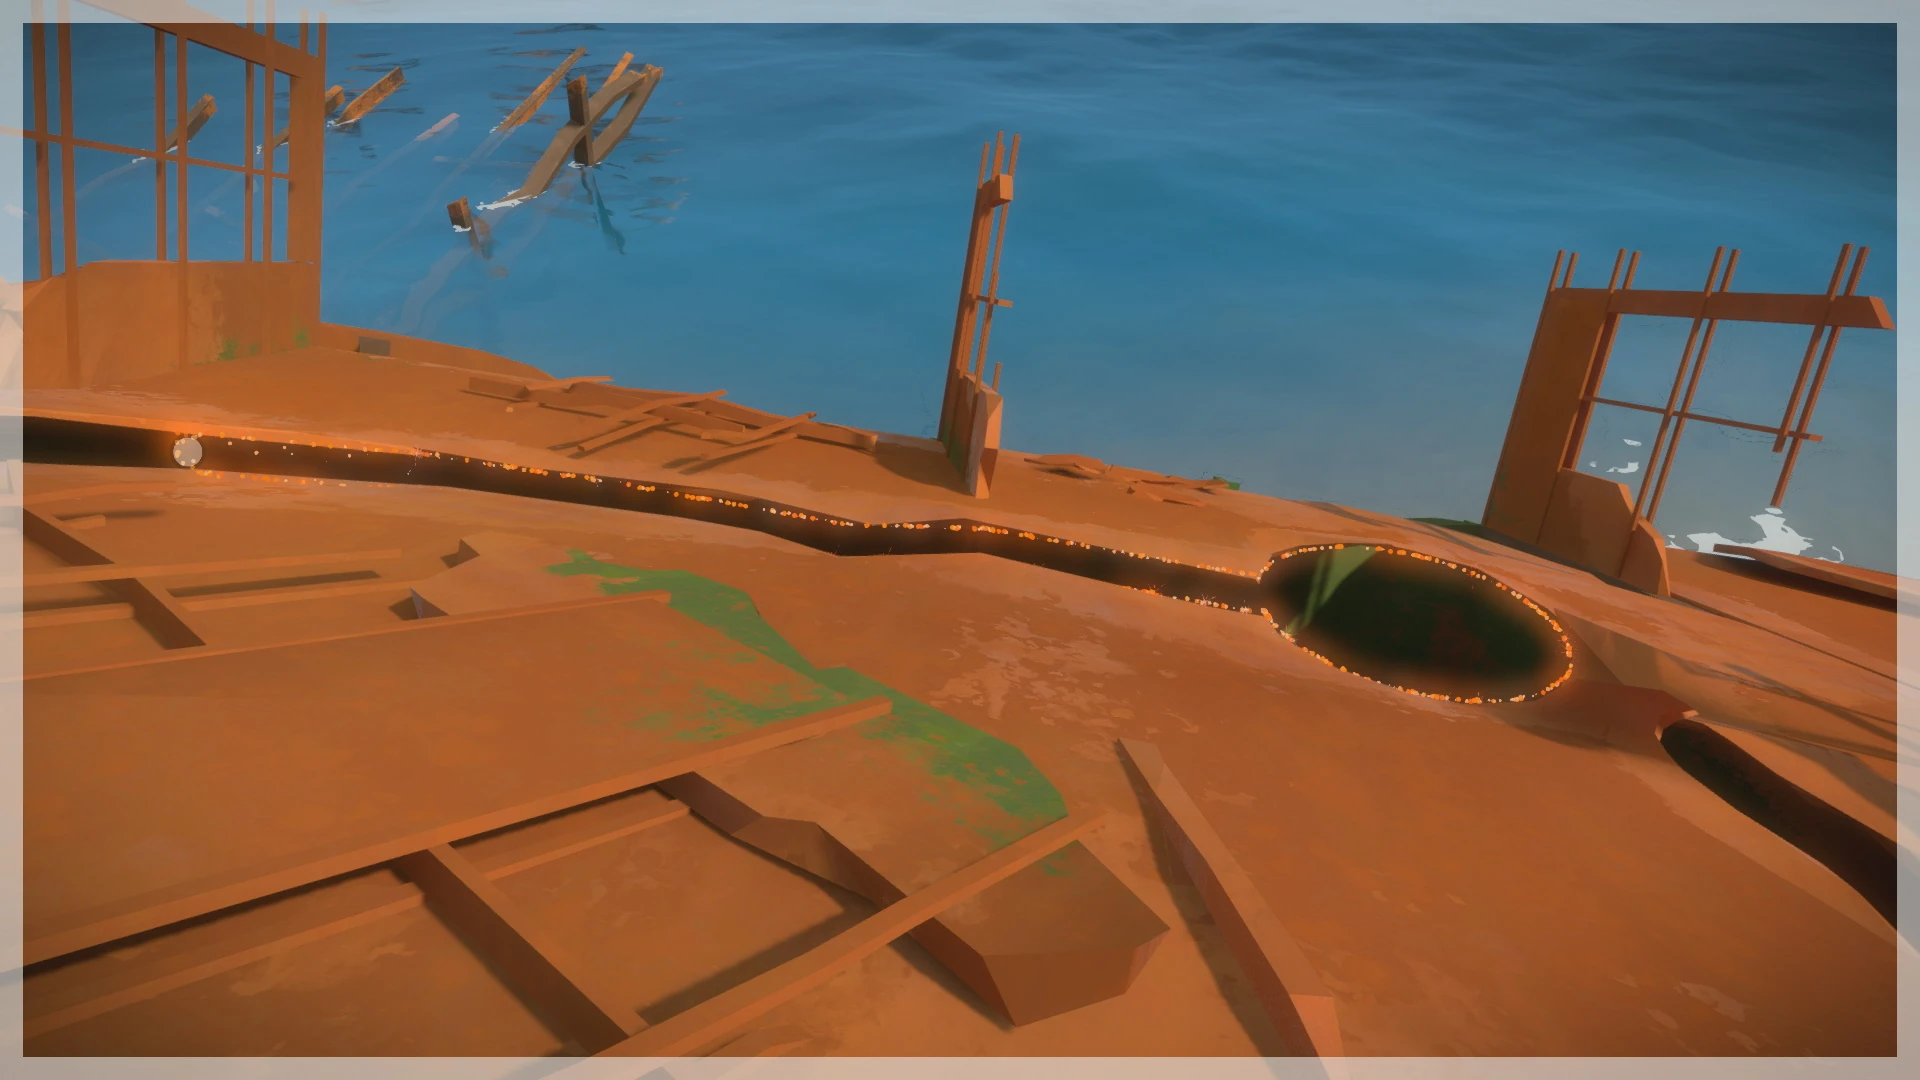
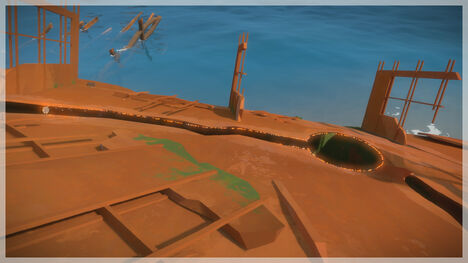
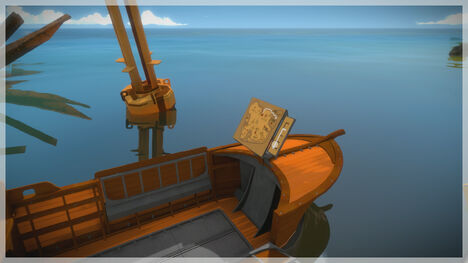
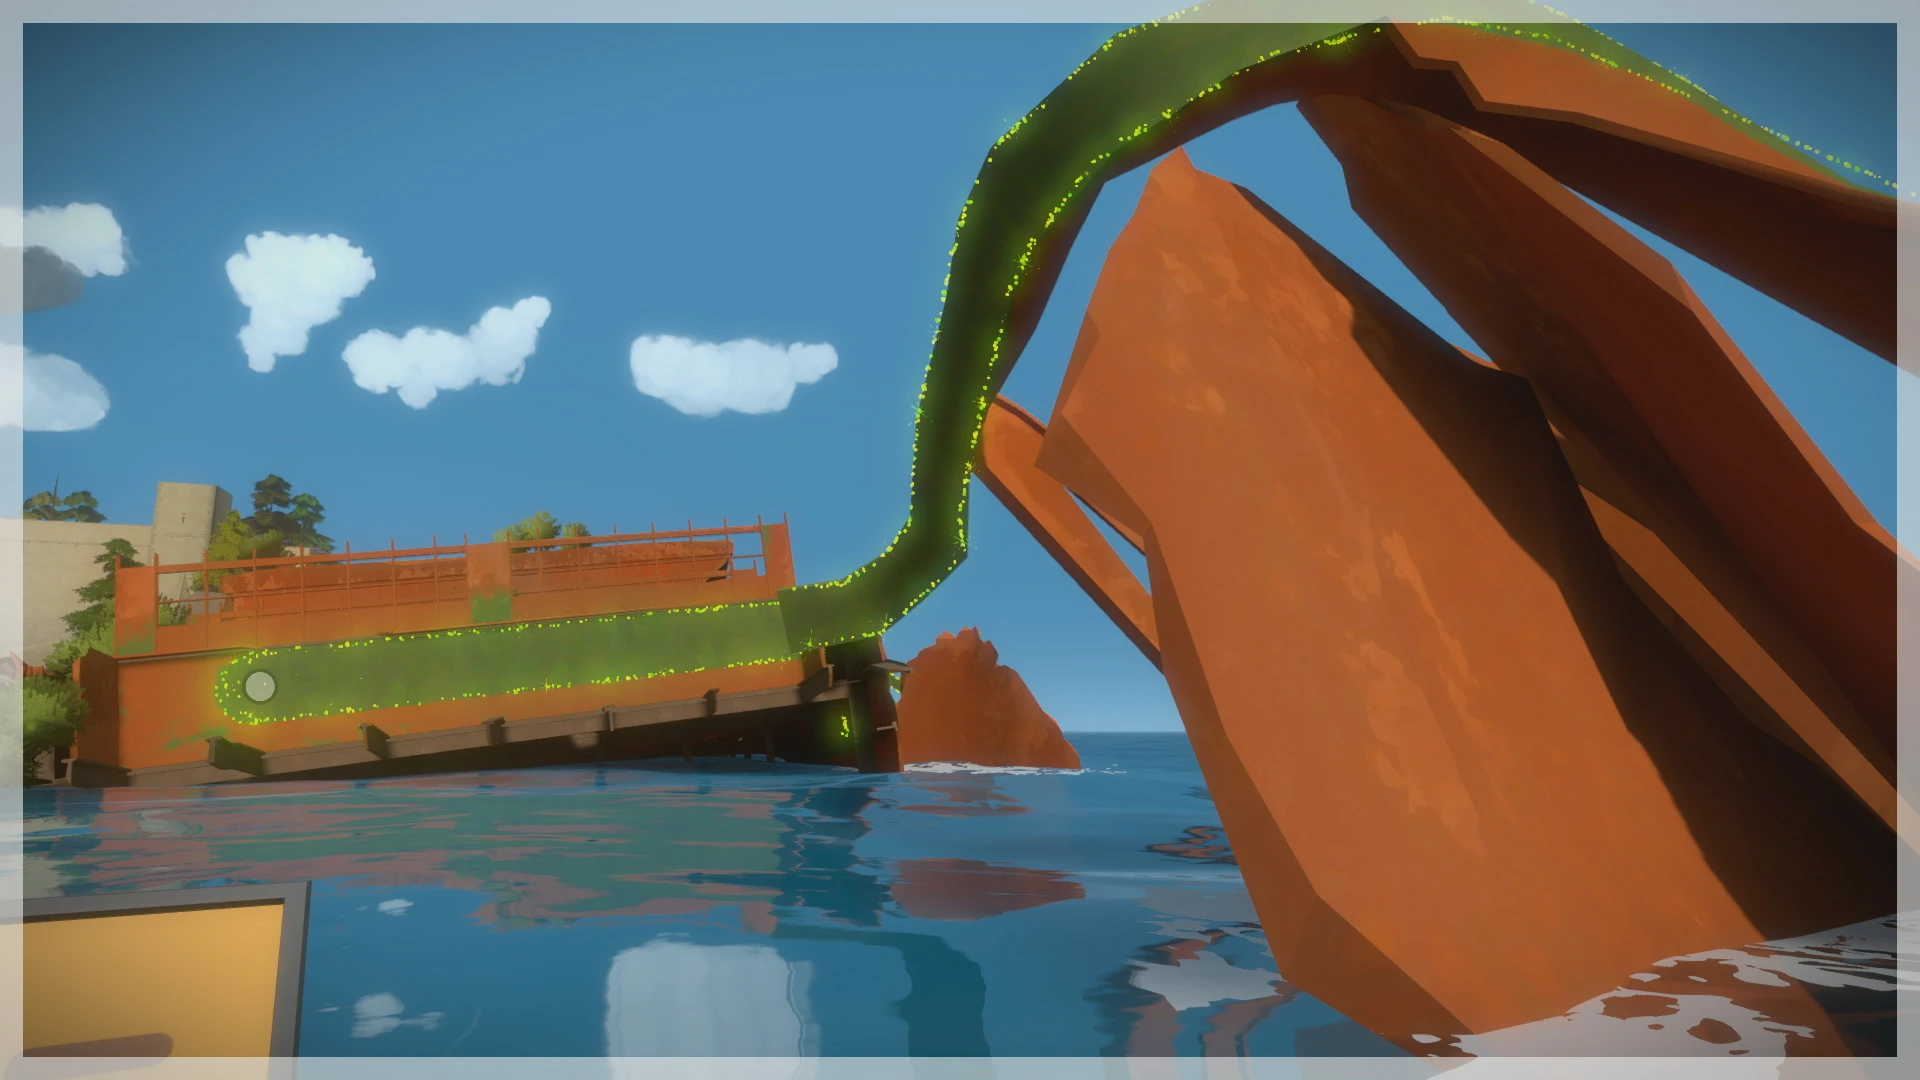
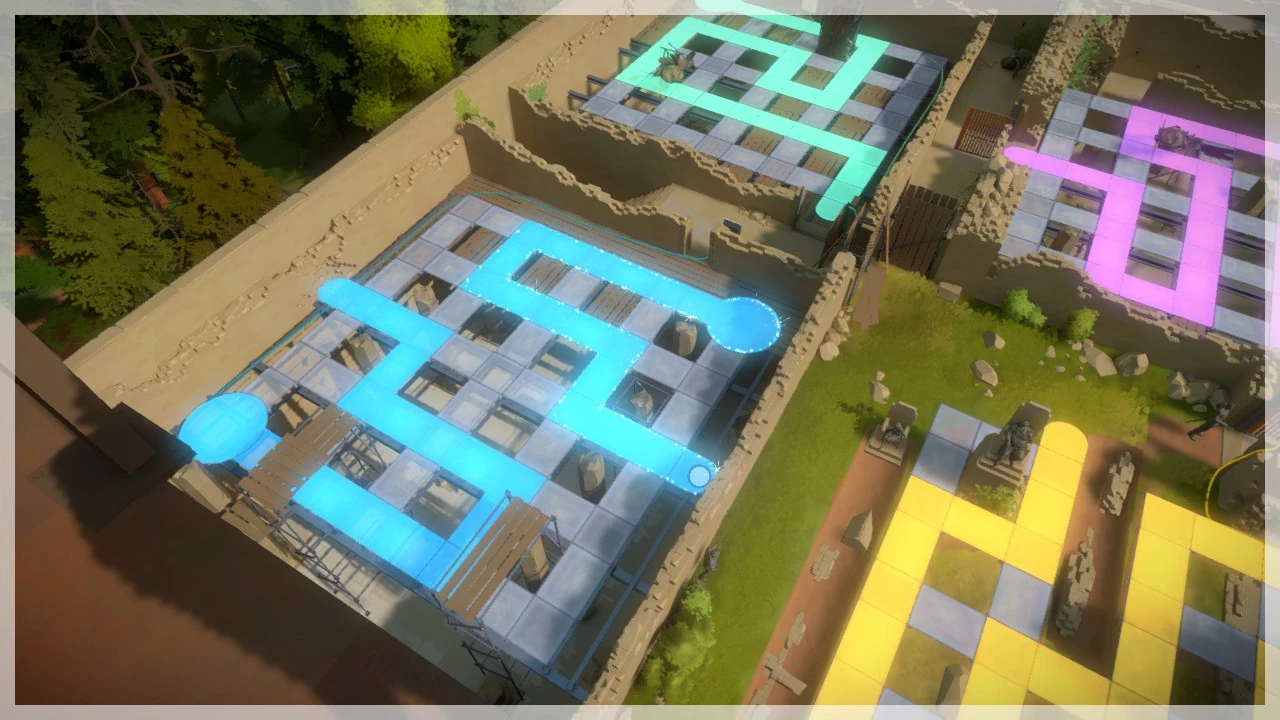
To get this symbol, orient the boat at the dock of the treehouse such that it is facing the mountain, then look from the side of the dock at the underside of the front. The nearby buoy changes position slightly over time. Use the boat as a starting point and trace to the buoy when their reflections meet, and wait to trace all the way up.
Symbol 2[ | ]

This symbol will require some clever work at re-arranging the yellow path near the entrance via the castle side. At the first multiple answer panel (the 10th one from the wooden treehouse), choose the right path (side with puzzle origin closest to you), and choose the right path for the second multiple answer panel (the 4th one from the wooden treehouse) to lead it to a large orange colored leafy branch.
Now return back down to the green path, and change the multiple answer panel (the 4th one) to point left, and use it to go down the wooden planks into one of the tree houses.

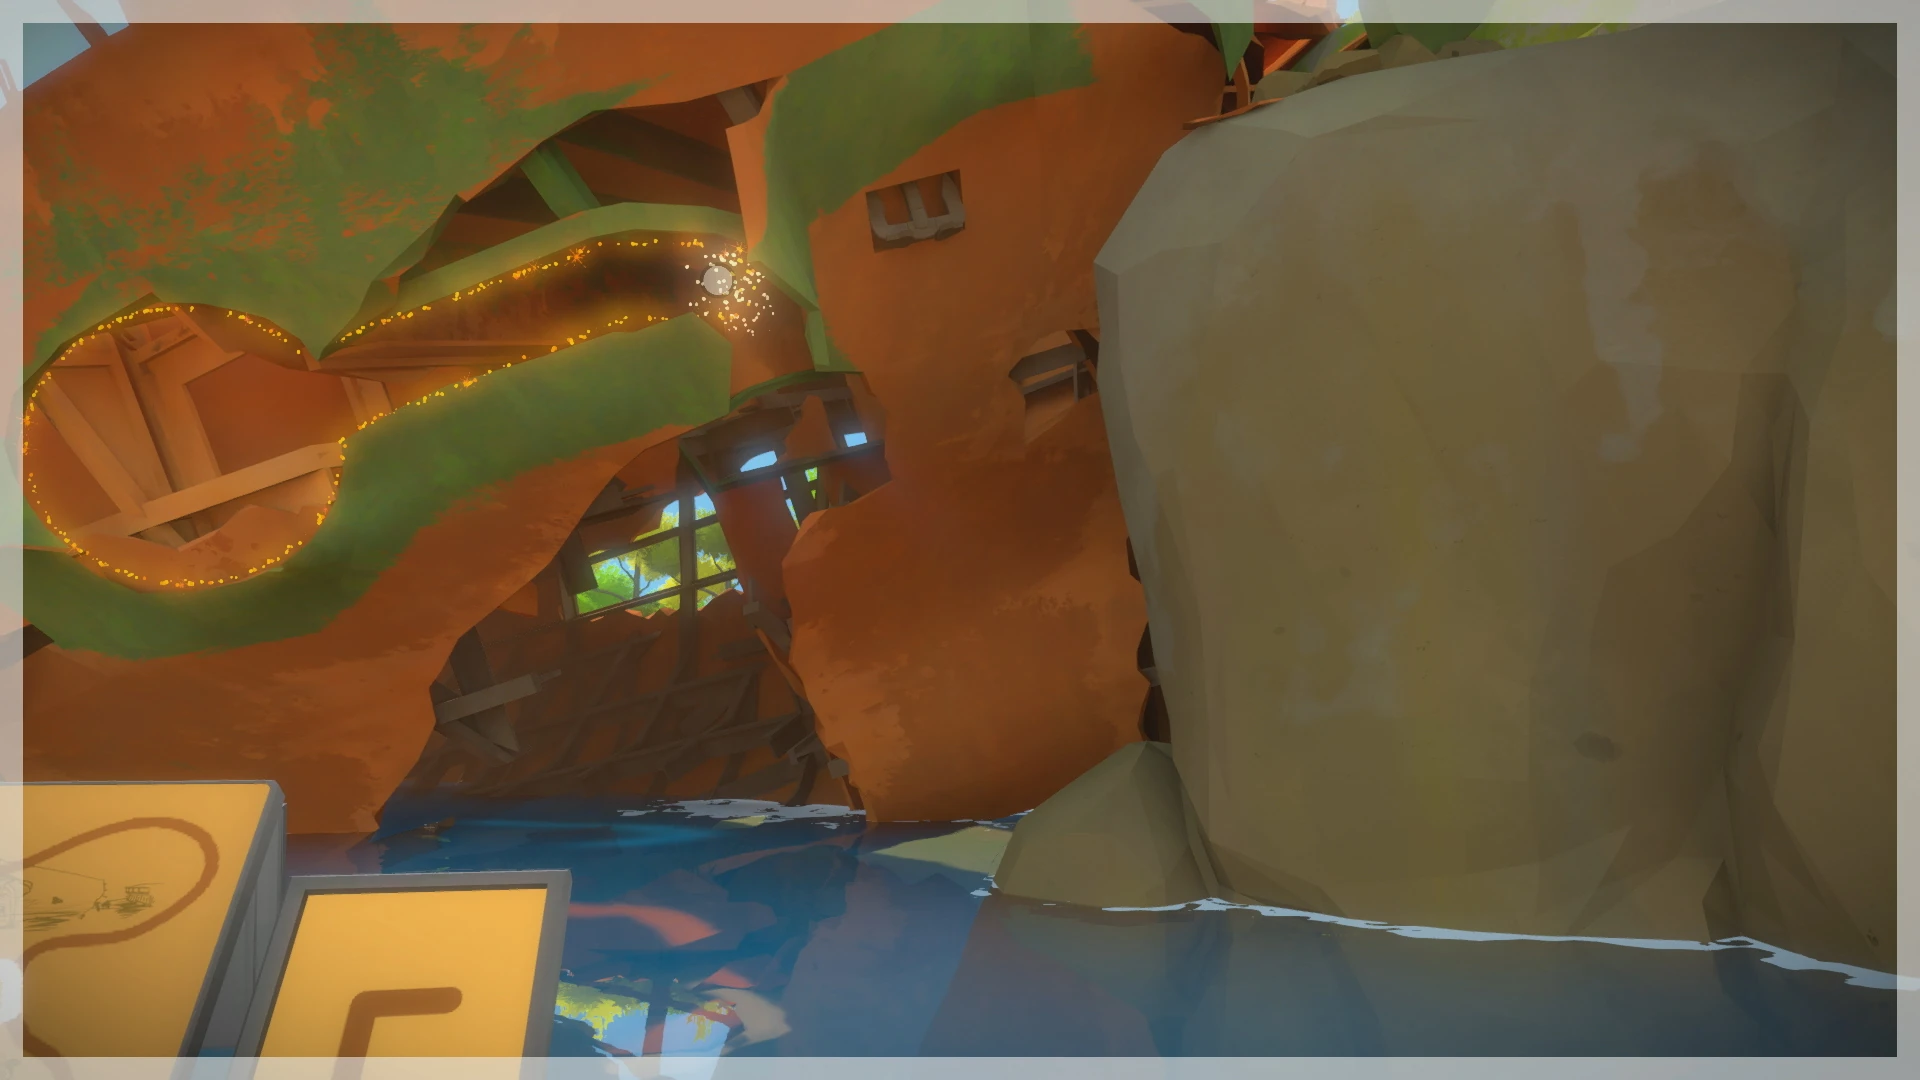
From the window you'll see the pattern emerge along the underside of the yellow path.
Symbol 3[ | ]

This symbol is a two-part process. First off, you must align the orange paths so they overlap. On the orange path leading to the castle exit, change the first multiple answer panel (the 4th one from the treehouse) to exit left (puzzle origin towards you). The 10th panel should exit right.

On the left-most yellow path leading towards the laser, make sure the multiple answer panel (the 9th one from the wooden ramp) exits right.
Once they overlap, there are two methods:
A) Make the orange path connect to the castle exit. Stand at the exit, then change the direction of the 4th panel back from far away.
B) Exit the swamp by boat and head all the way back to the castle entrance.
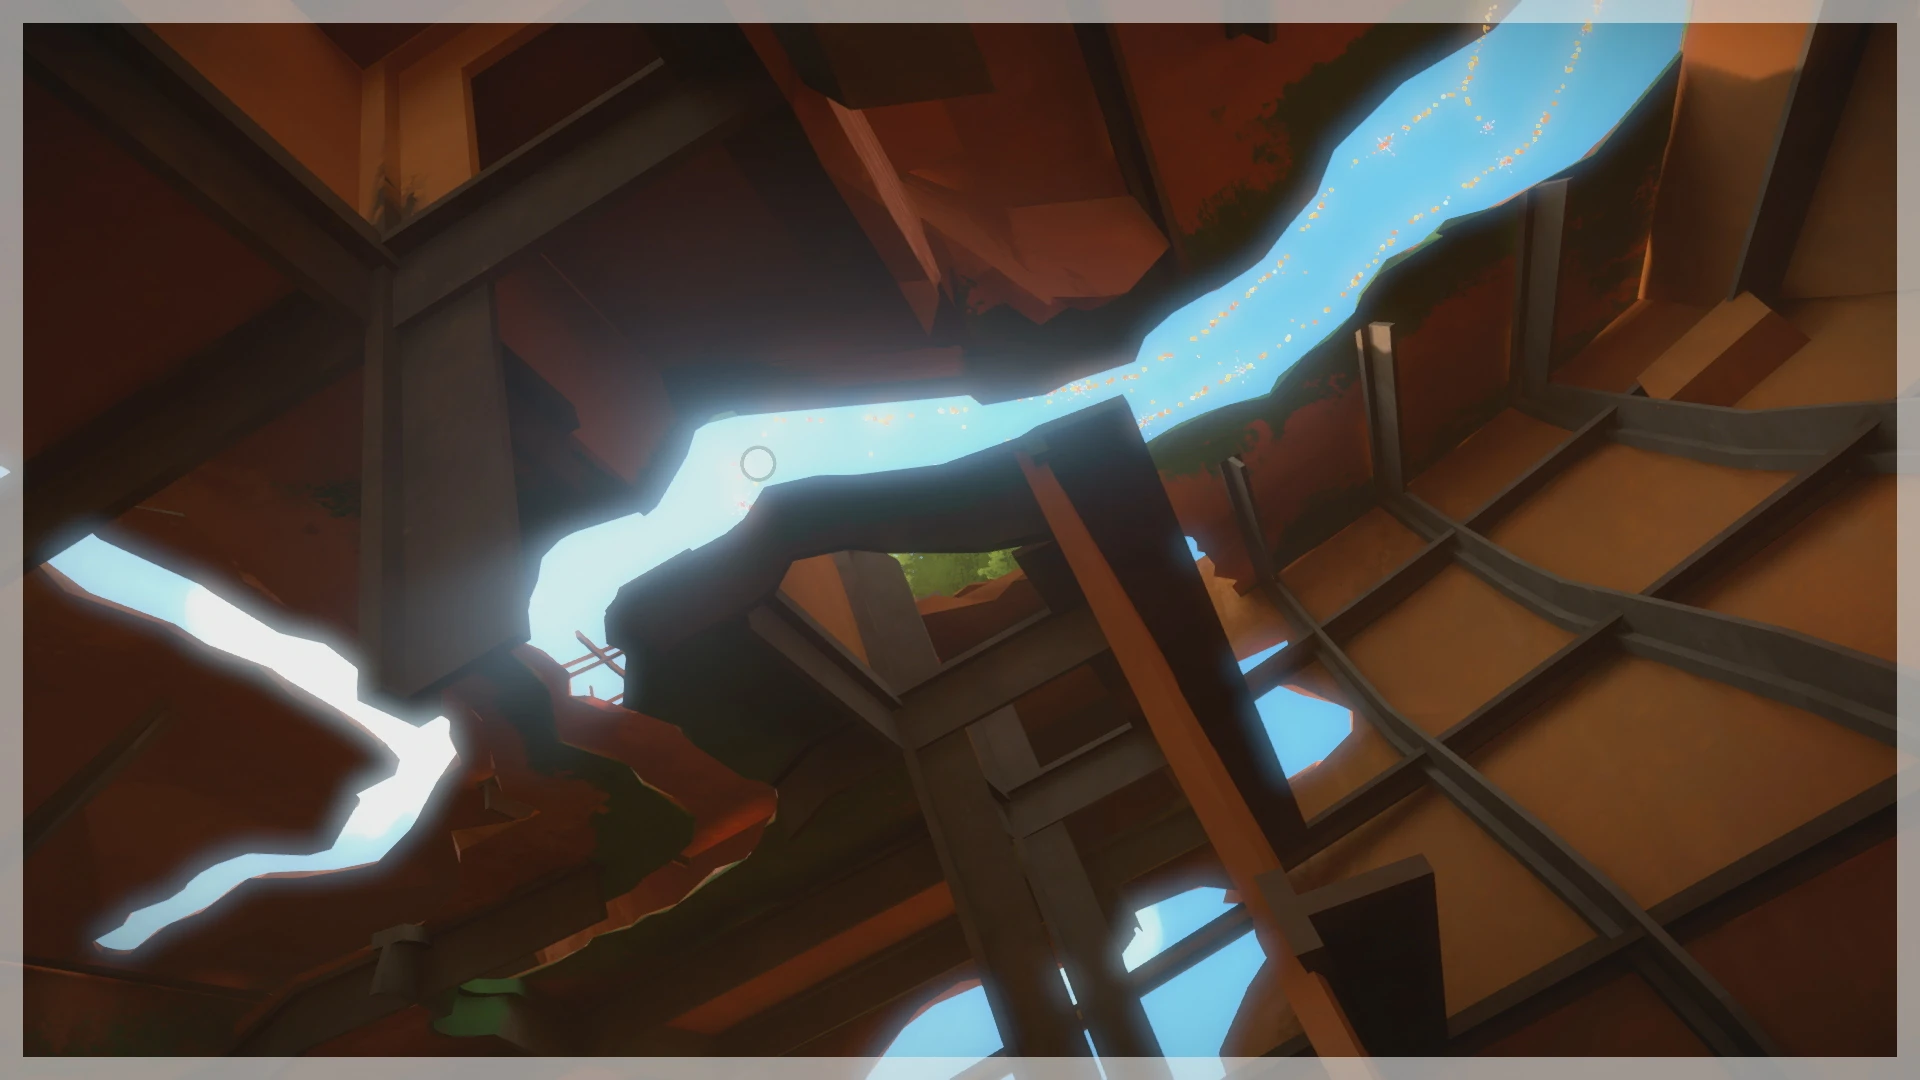
In both cases, take the path near the color swamps to the ground below the treehouses. Look up at the paths that you've intertwined to see a start point from orange leaves, and trace along the intersecting paths.
Tree House Obelisk - Side 3[ | ]
| # of Symbols | Symbol Locations | |
  |
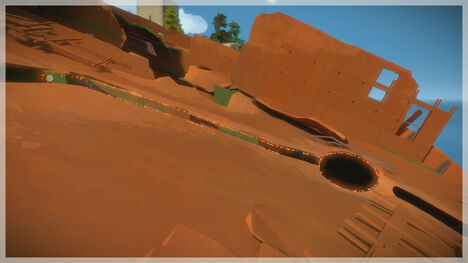
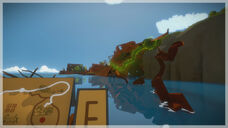
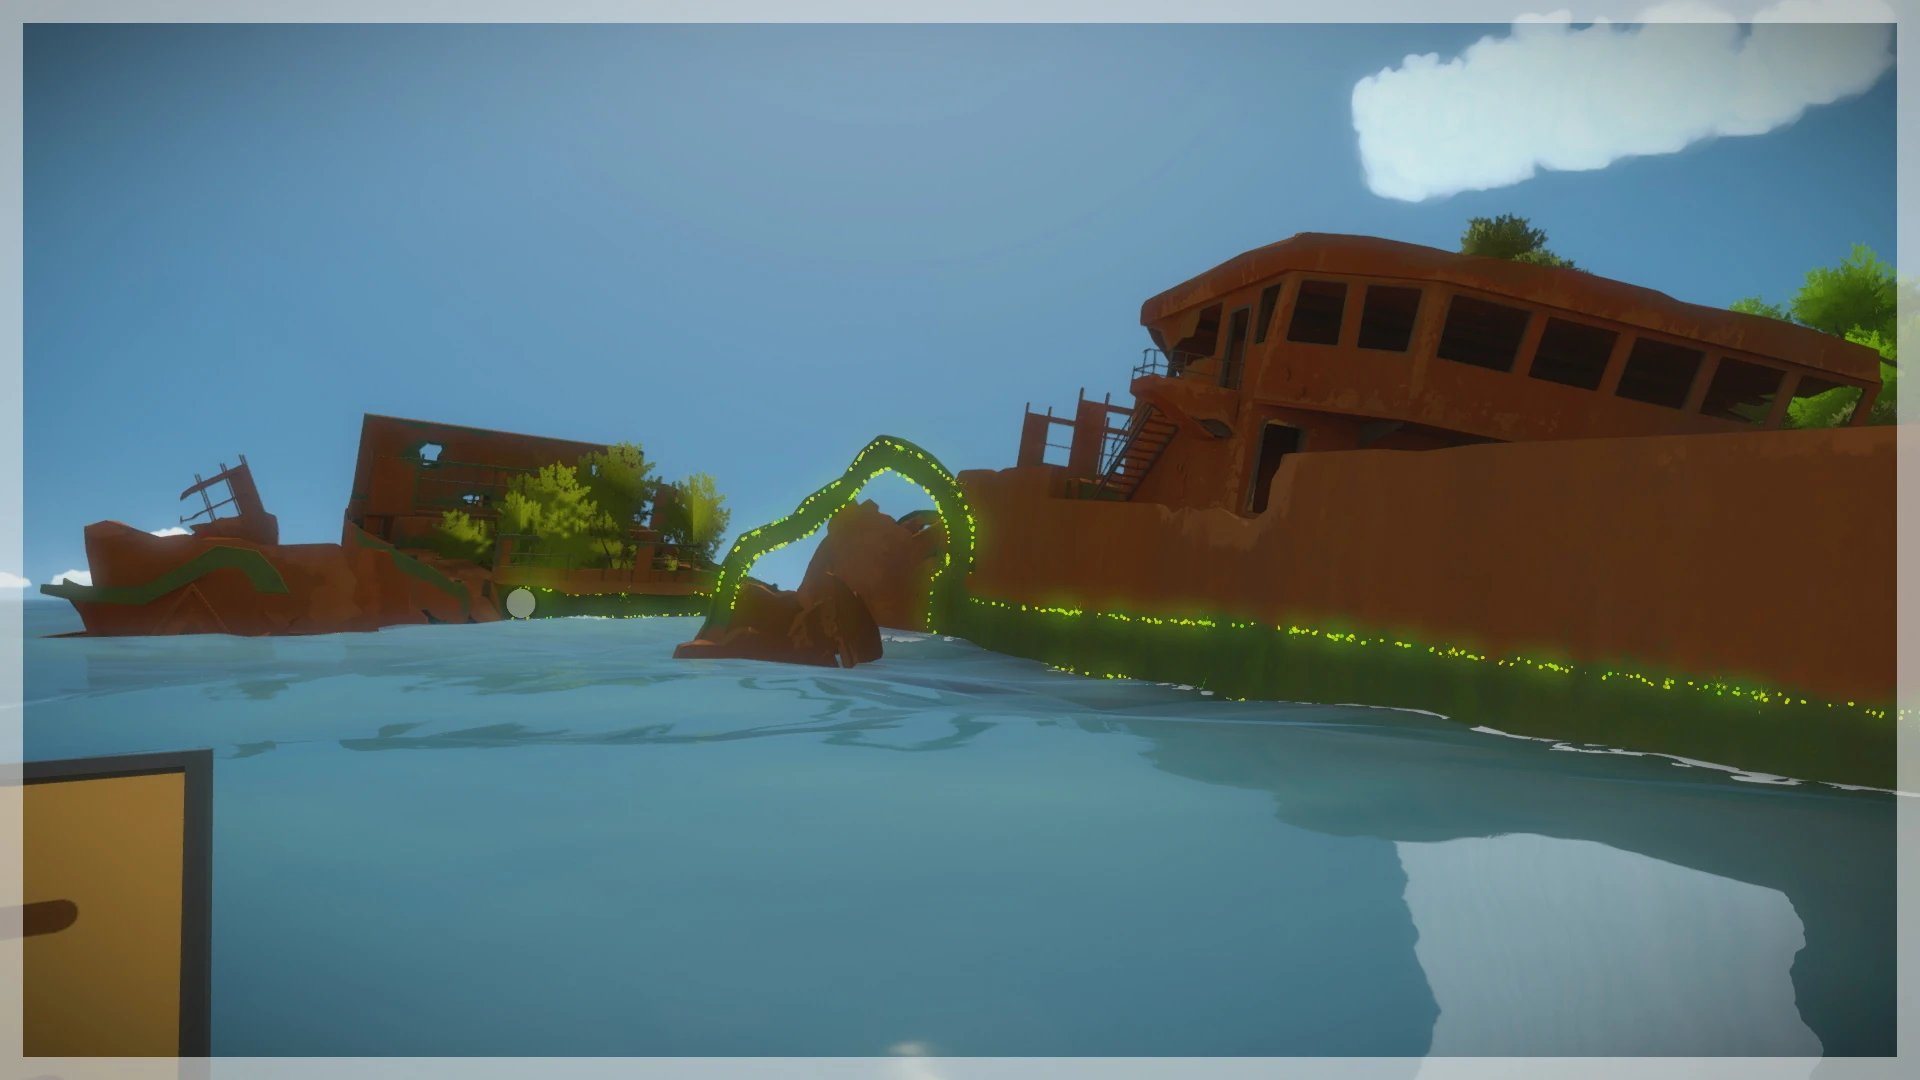
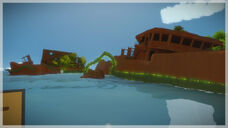
7 | Wrecked Ship |
Symbol 1[ | ]
These first three symbols can all be found in the same circle aboard the Wrecked Ship. You can travel there on foot by going through the Castle and getting to the back ramparts - a path through one of the towers will lead out onto the grass beyond and onto the ship. When on the main part of the deck, look for a large circle to find not one but three circles that denote starting points to trace.
Symbol 2[ | ]
The second of three symbols is just to the left of the first, in the same large circle.
Symbol 3[ | ]

The last of the three symbols in the large circle - as you guessed it - right next to the other two.
Symbol 4[ | ]

This next symbol is both a part of the ones before, and yet its own - from a different perpsective. Get on the boat and travel through the shortcut that goes through the hull of the ship. Look for a circle of one of the symbols you traced at the top left. Now you'll be able to trace one giant circle as the boat continues its journey.
Symbol 5[ | ]

This environmental puzzle is located at the other end of the ship - over at the front deck beyond the main cabin. Look for a similar cut-out like the previous symbols and move a bit towards the Tree Houses to start tracing, and you'll turn around to complete the trace.
Symbol 6[ | ]
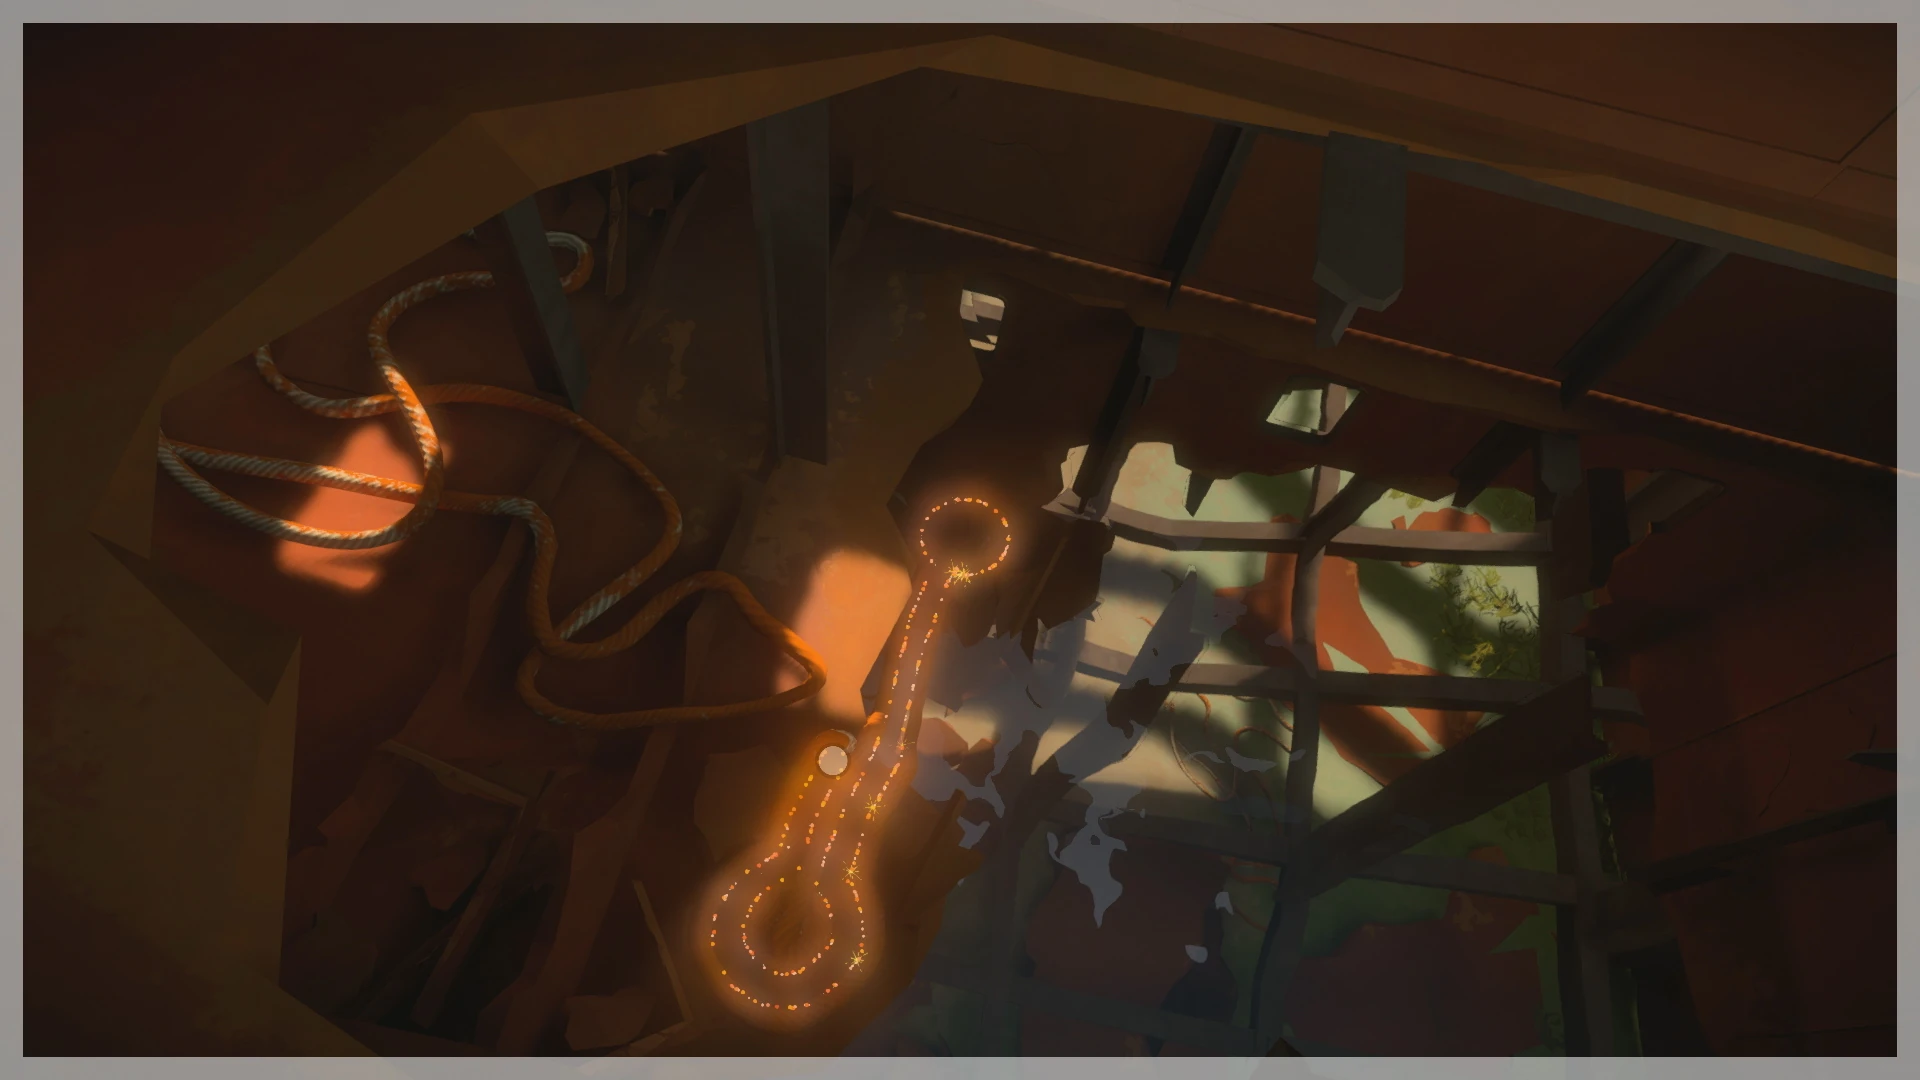
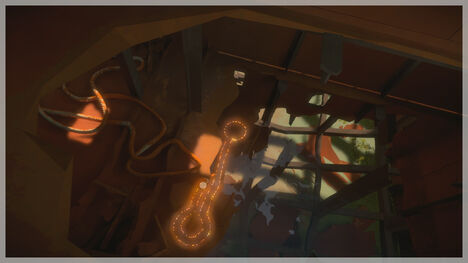
The next two symbols here are both located in the main cabin on the second floor. Pass the rusted controls and go to the far corner, and look left before the stairs to find a large pit. In the pit you'll see some rope cleverly coiled onto the ship. For the first symbol, start with the large circle in the water and follow it around the other circle to complete it.
Symbol 7[ | ]


The second symbol is inside the first - just start with the large rope coil closest to you, and trace it along the rope itself instead of the space between the rope.
Tree House Obelisk - Side 4[ | ]
| # of Symbols | Symbol Locations | |
  |
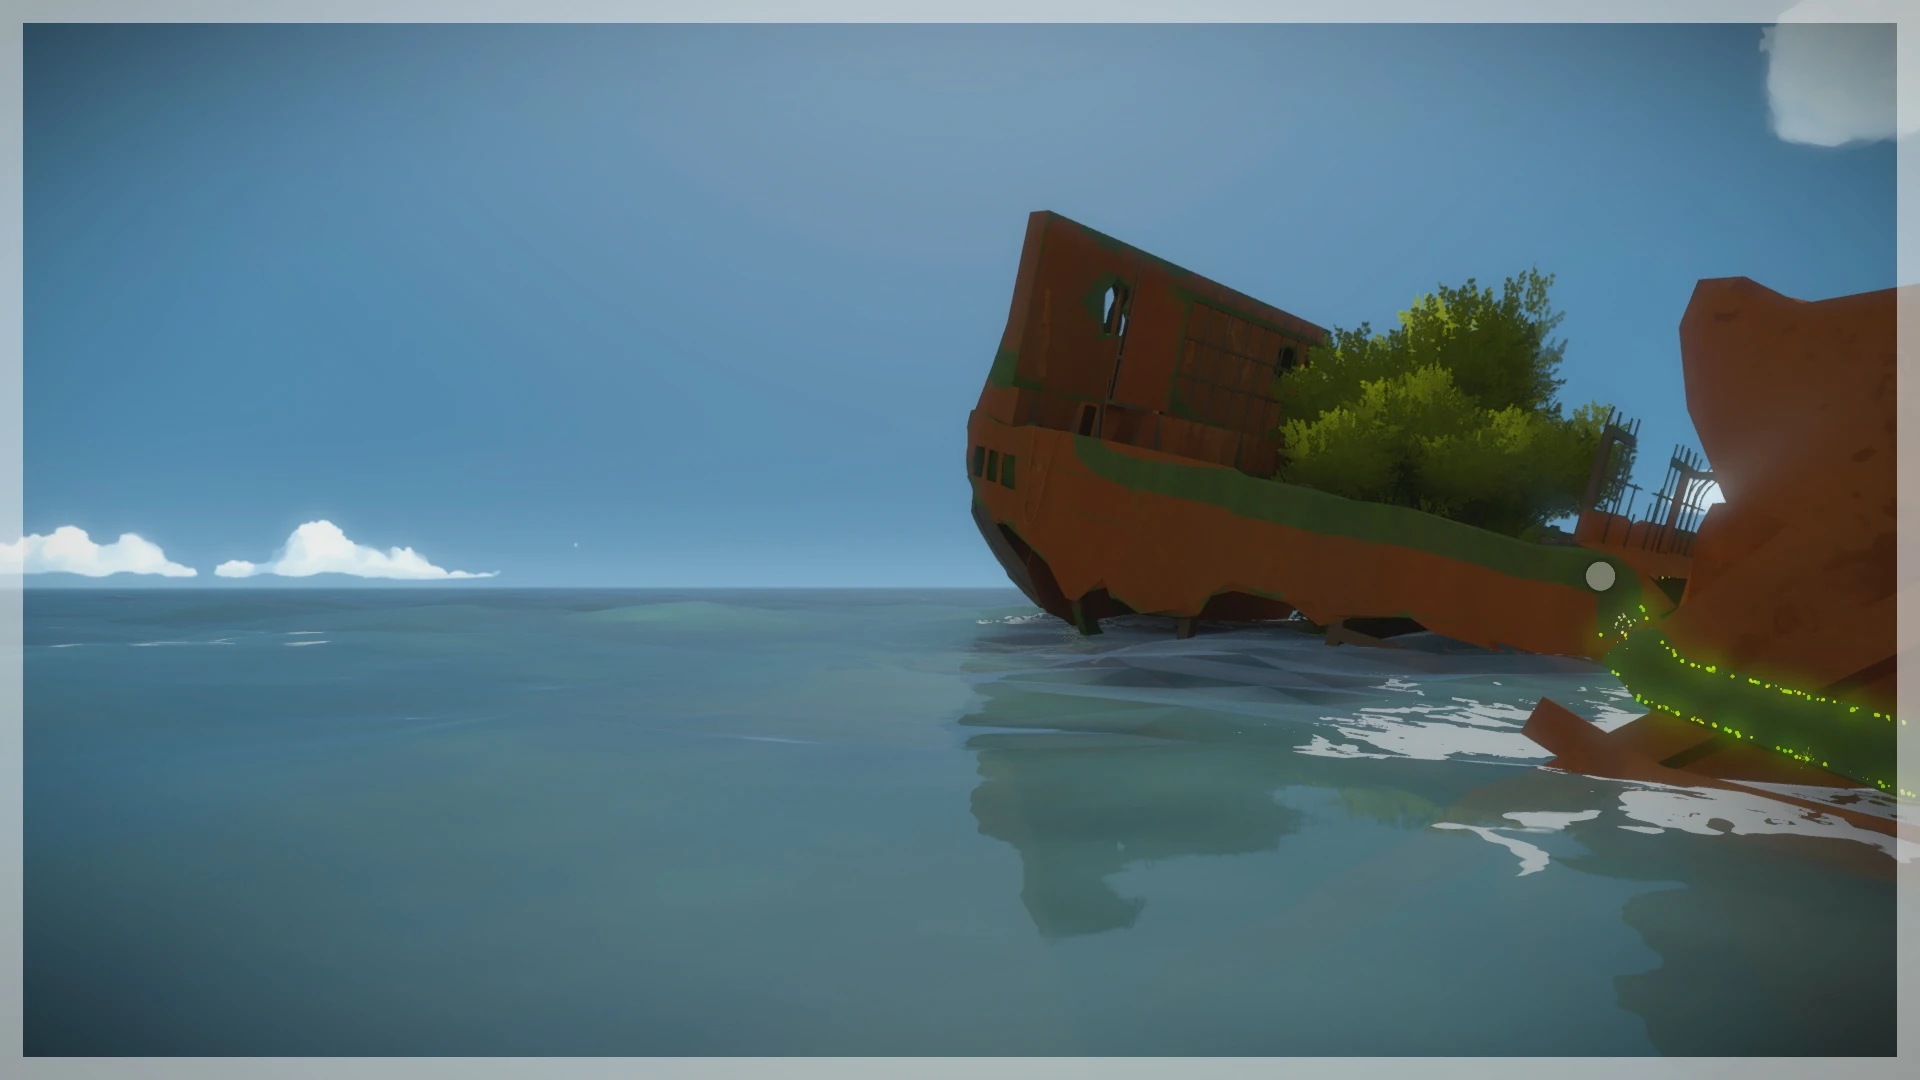
3 | Wrecked Ship |
Symbol 1[ | ]

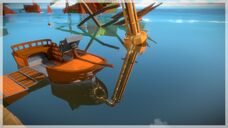
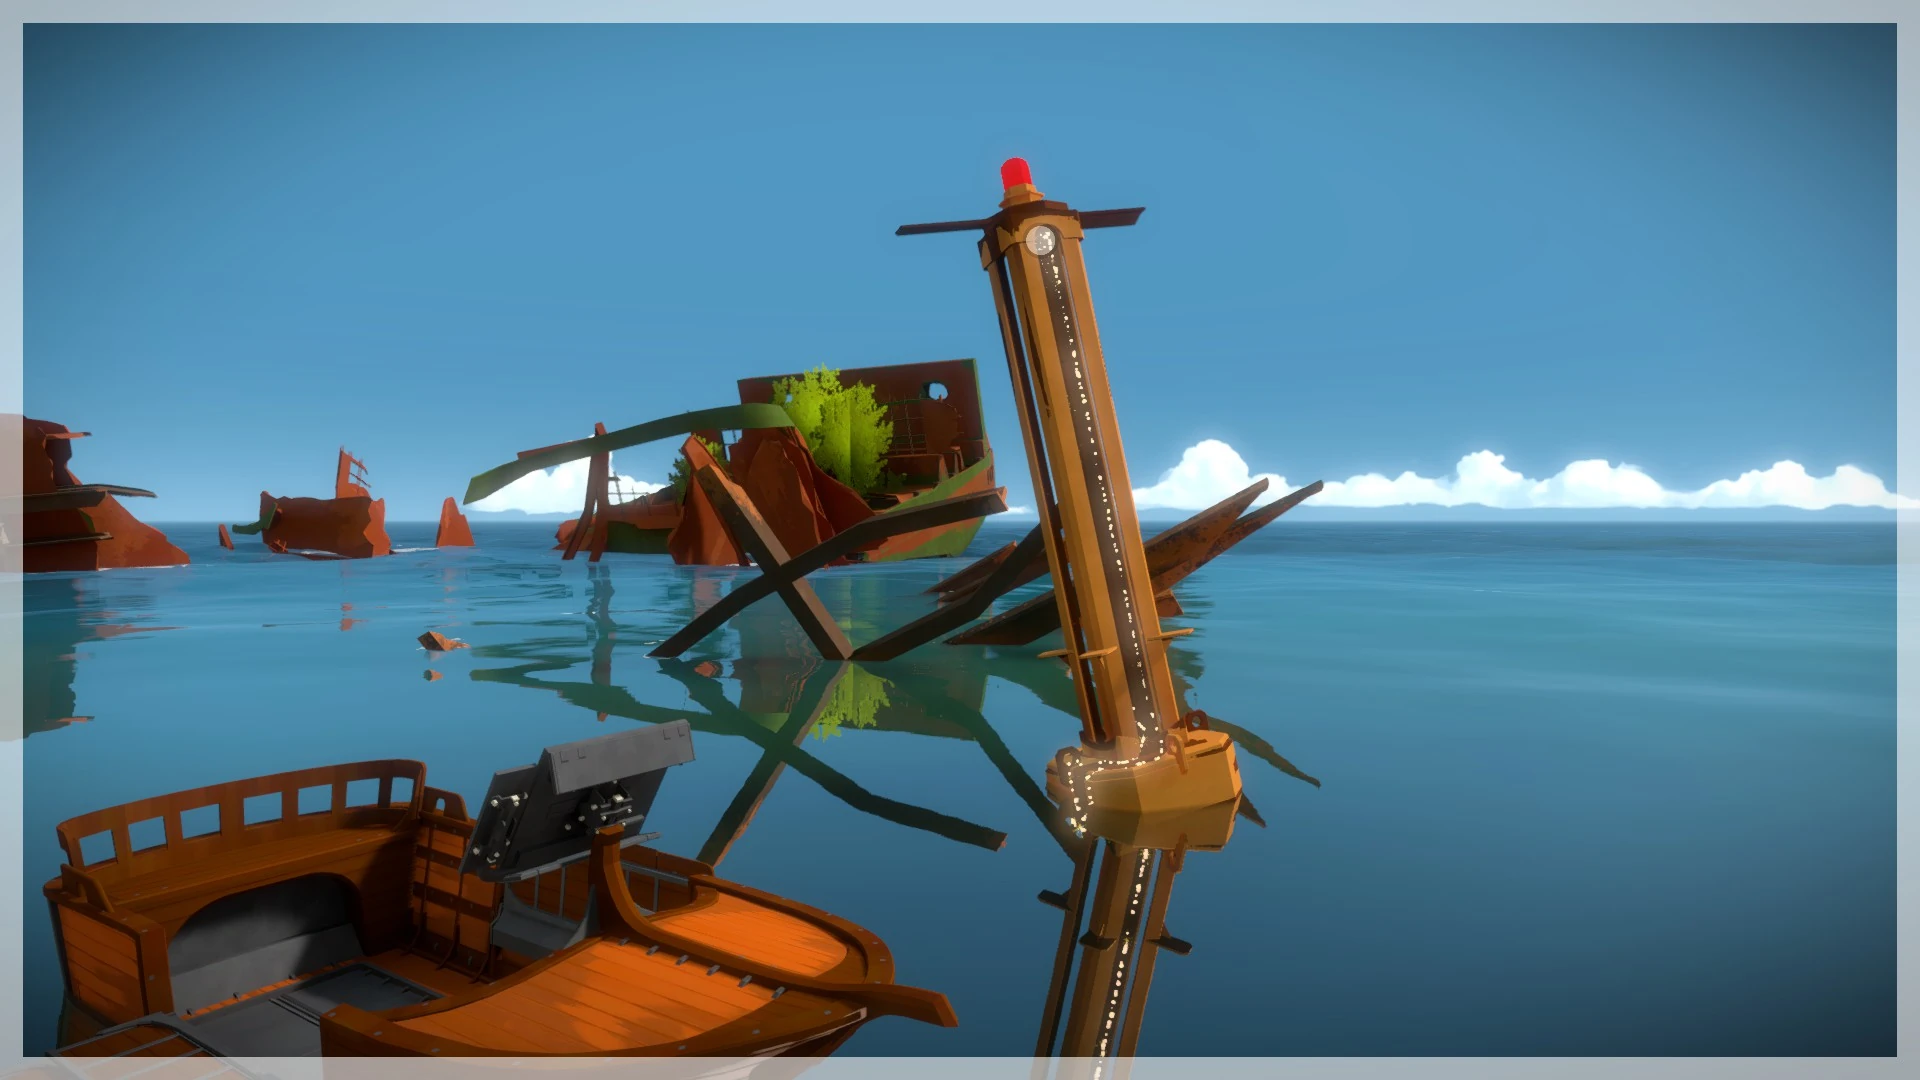
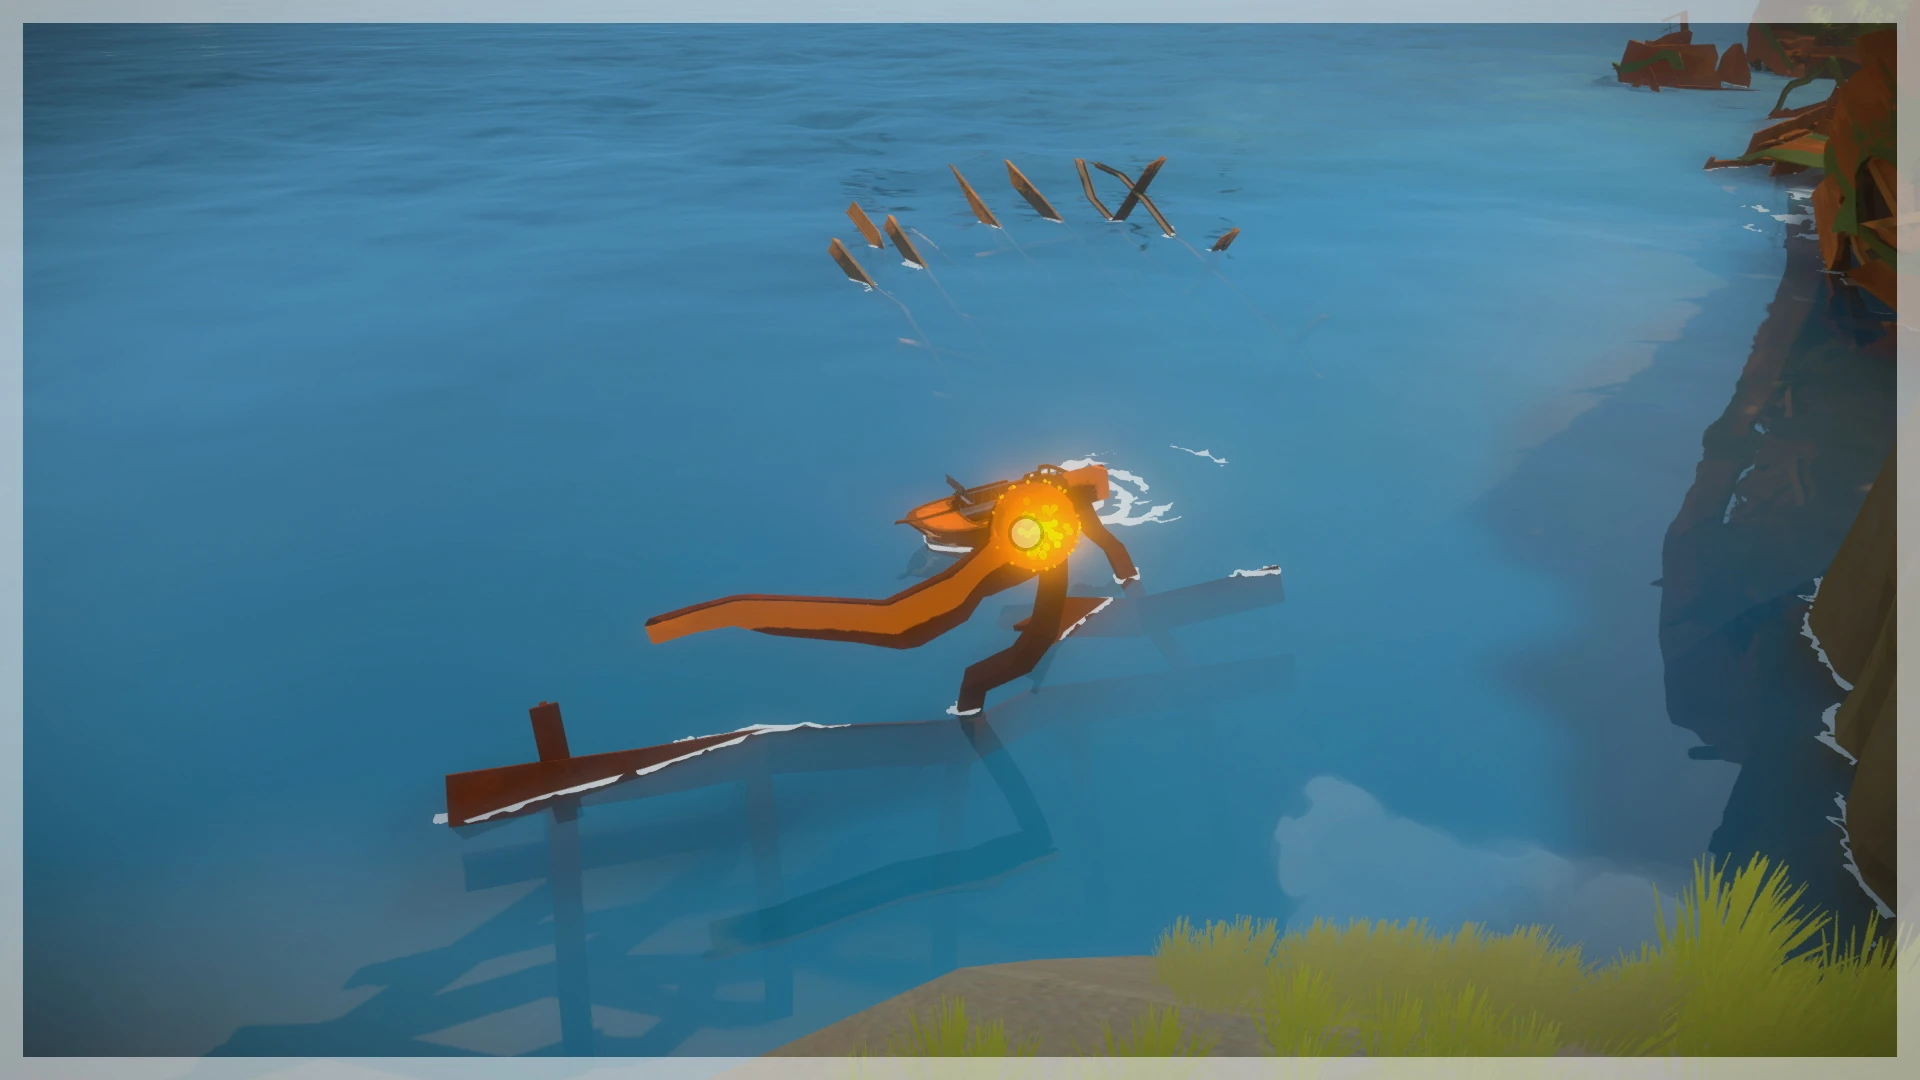
These next few symbols are pretty tricky, and require some timing and precision - and boats. The first of these actually requires you to set the boat on a path from the Tree House dock to the Quarry or beyond - just don't be on the boat when it leaves!


Instead, set it for a low speed and sprint as fast as you can through the Tree House and into the Castle, and out the back to where the path to the Wrecked Ship is. Look for a couch overlooking the water to find a piece of a puzzle. Line it up as best you can - and don't worry if there's a sliver missing. As the boat passes by - use the side of the boat to fill the starting point, and then trace a path onto the boat and let it ride to the other side.
Symbol 2[ | ]
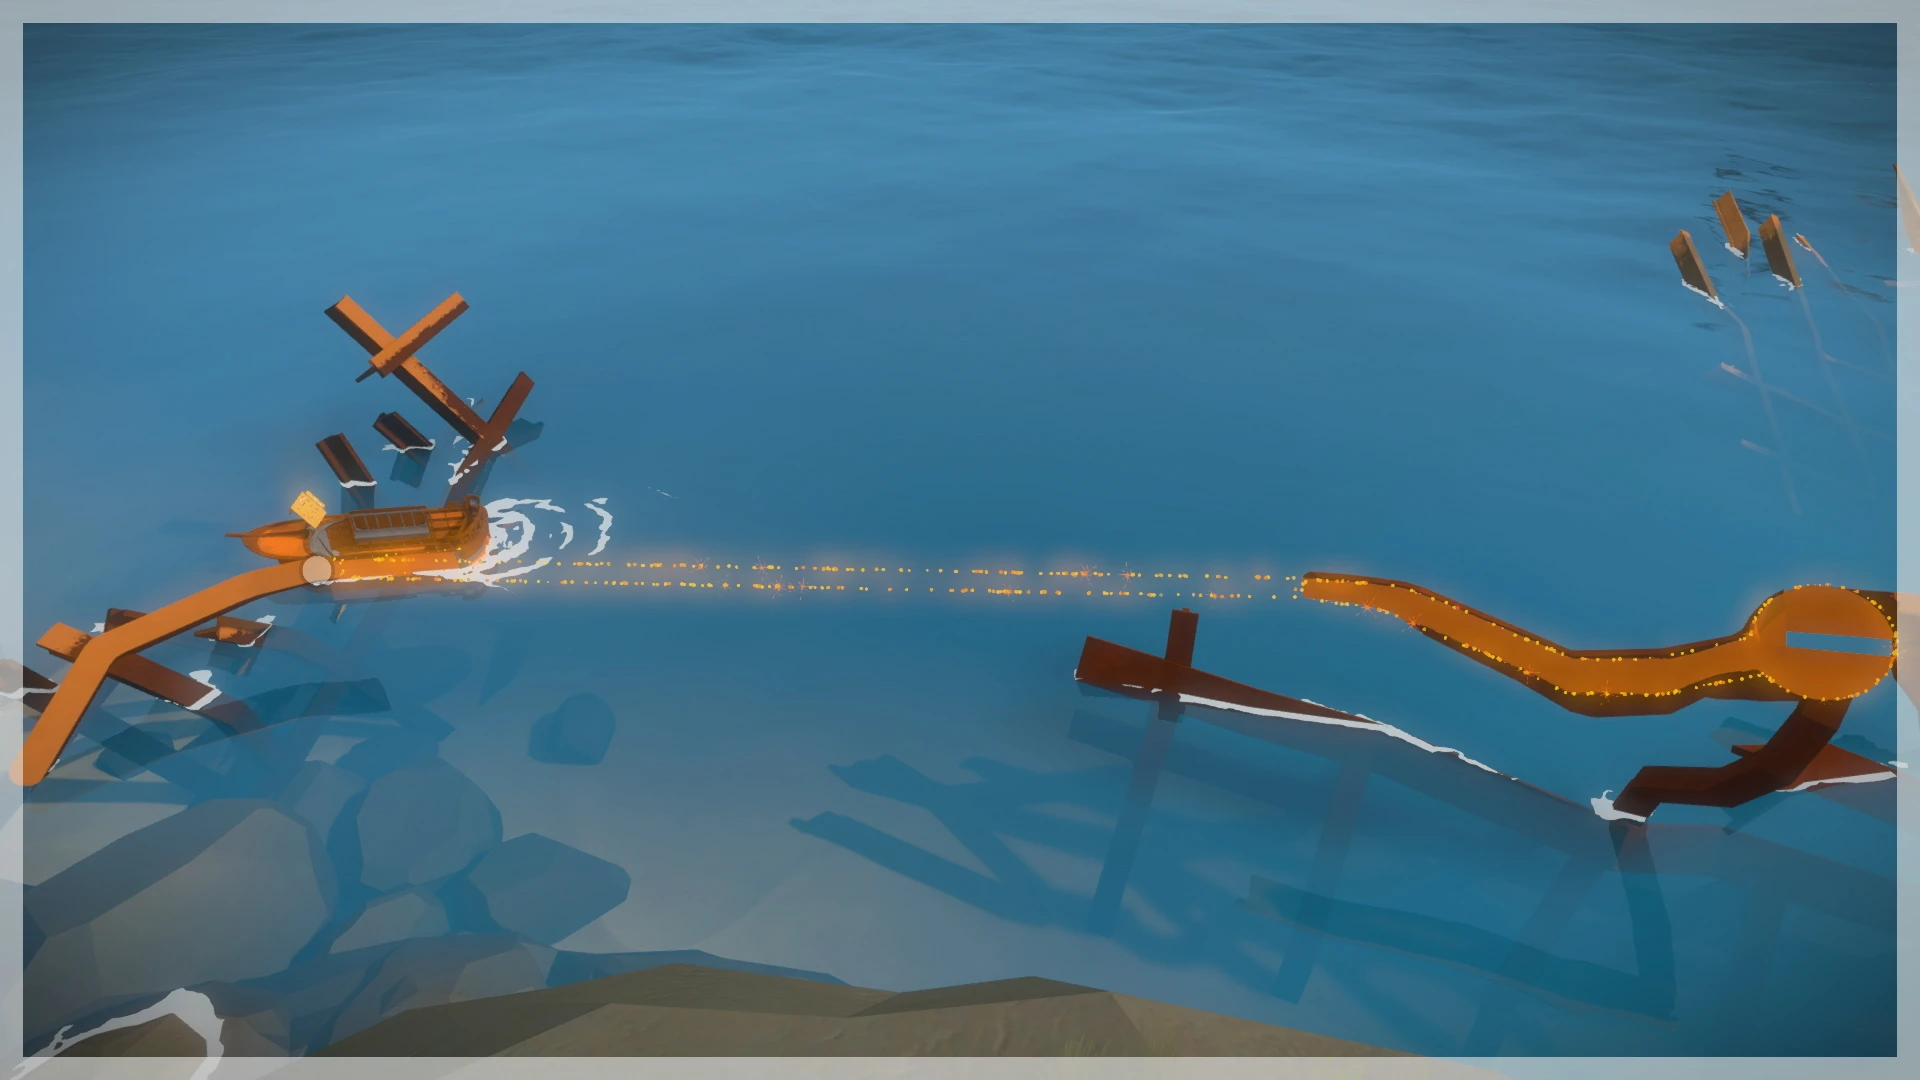
For this next symbol, take the boat from the Quarry or farther and around the Wrecked Ship. This puzzle will require a lot of jumping between paths so its recommended to shift to a lower gear. As you pass the first piece of debris look for a green rusted start point and carefully trace the path along the hull, and quickly jump to a single bar arched over the water, and then along the bottom of the other part of the ship before the parts separate.


As the boat makes its way around the Wrecked Ship, be sure to look out for quick turns - especially if your vision is locked to one side. When the boat passes by the opposite side, jump from the bar of green back to the other part of the ship to finish the symbol.
Symbol 3[ | ]


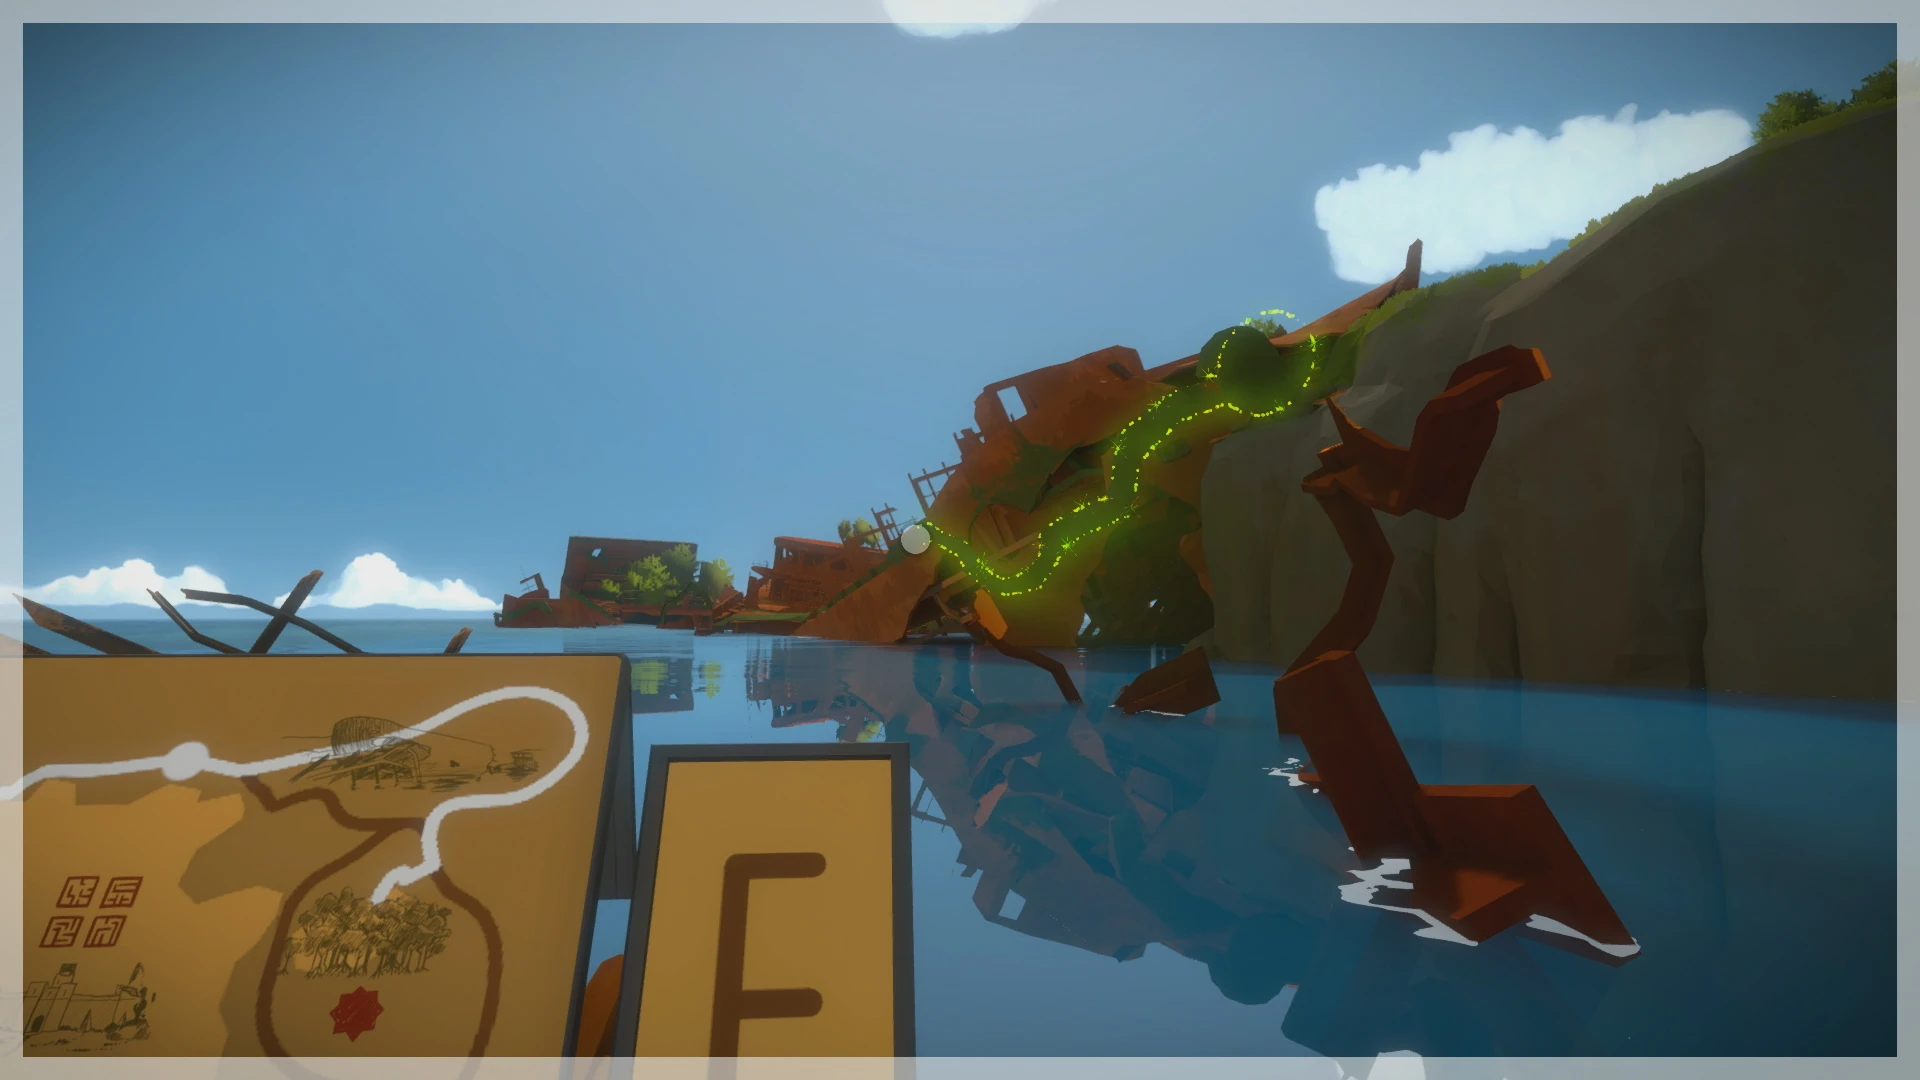
Similar to the previous puzzle, you'll find the start point for this symbol opposite the green one - another hole cut in the ship. You'll have to quickly trace a line in as you enter the hull's interior and trace along the sky until you finally reach the end of this portion.
Tree House Obelisk - Side 5[ | ]
| # of Symbols | Symbol Locations | |
  |
5 | Keep - Life-Size Panels |
Symbol 1[ | ]

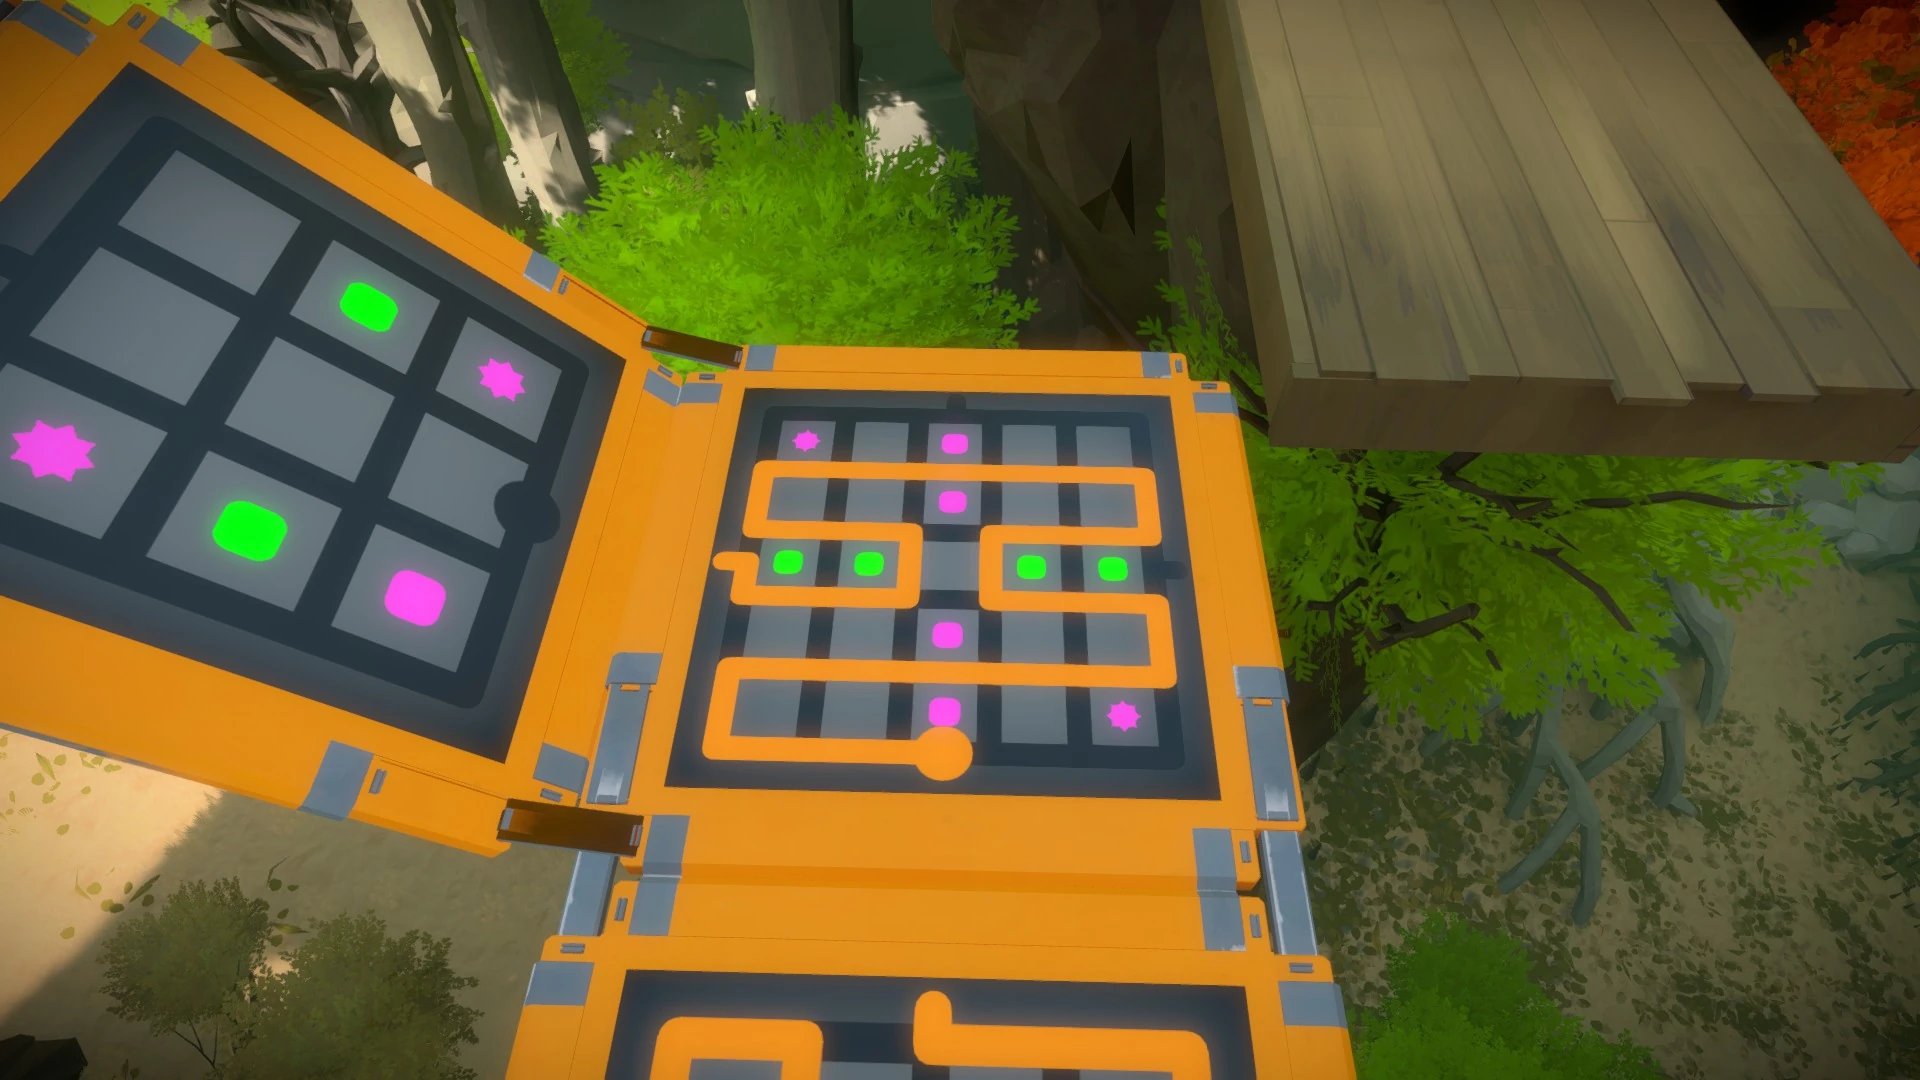
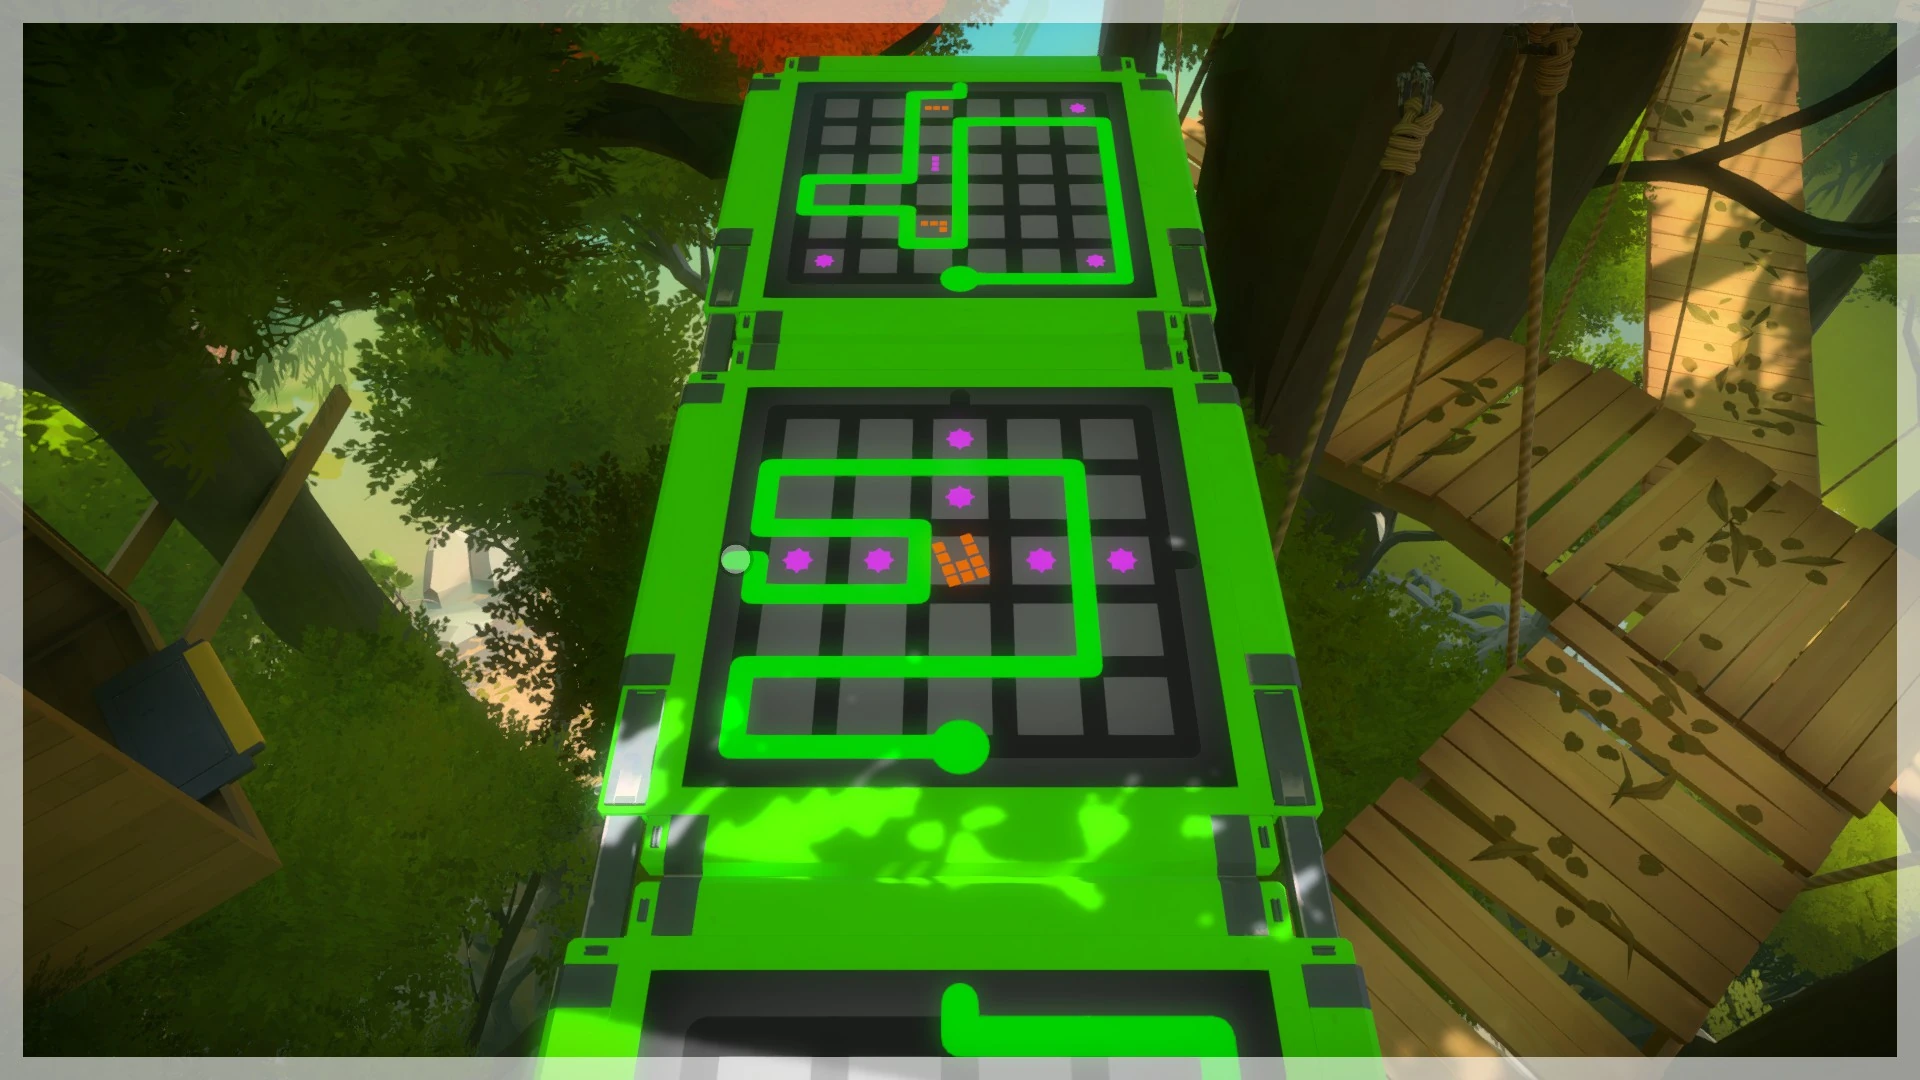
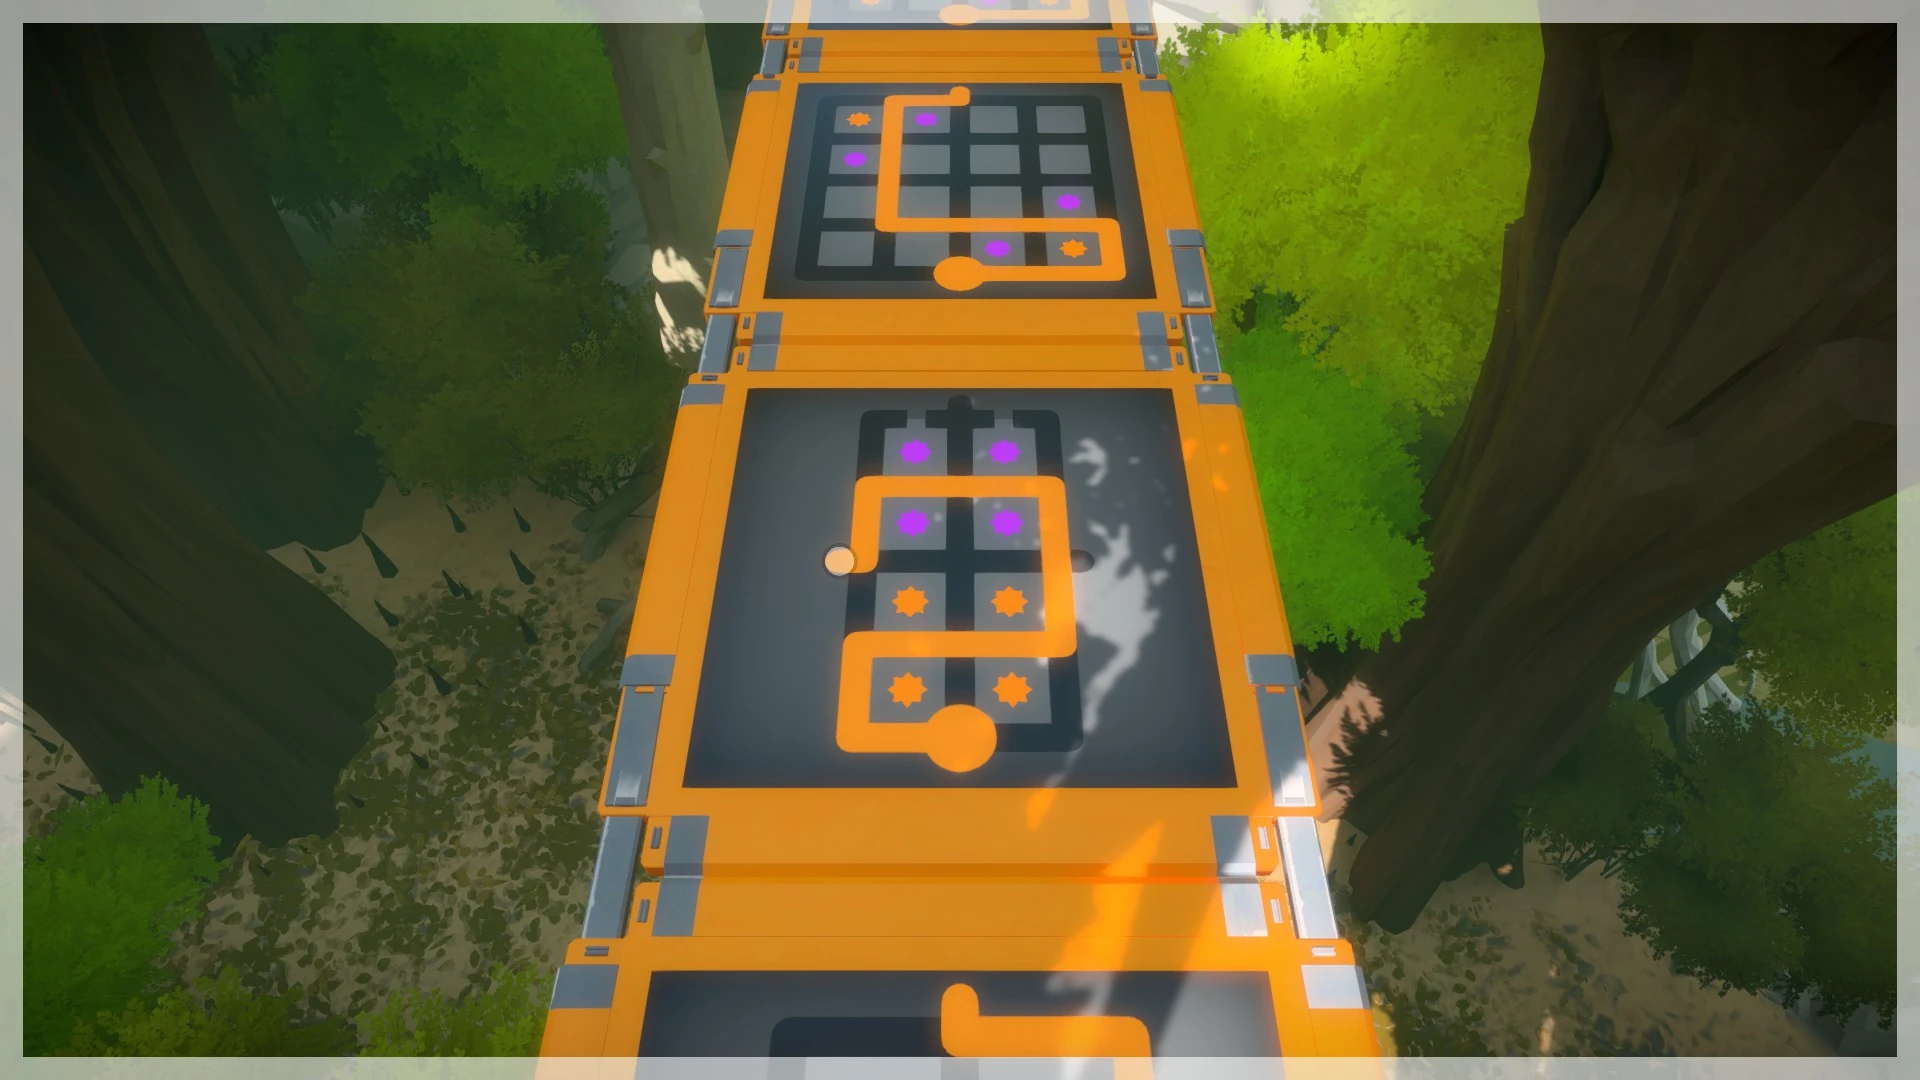
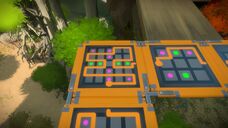
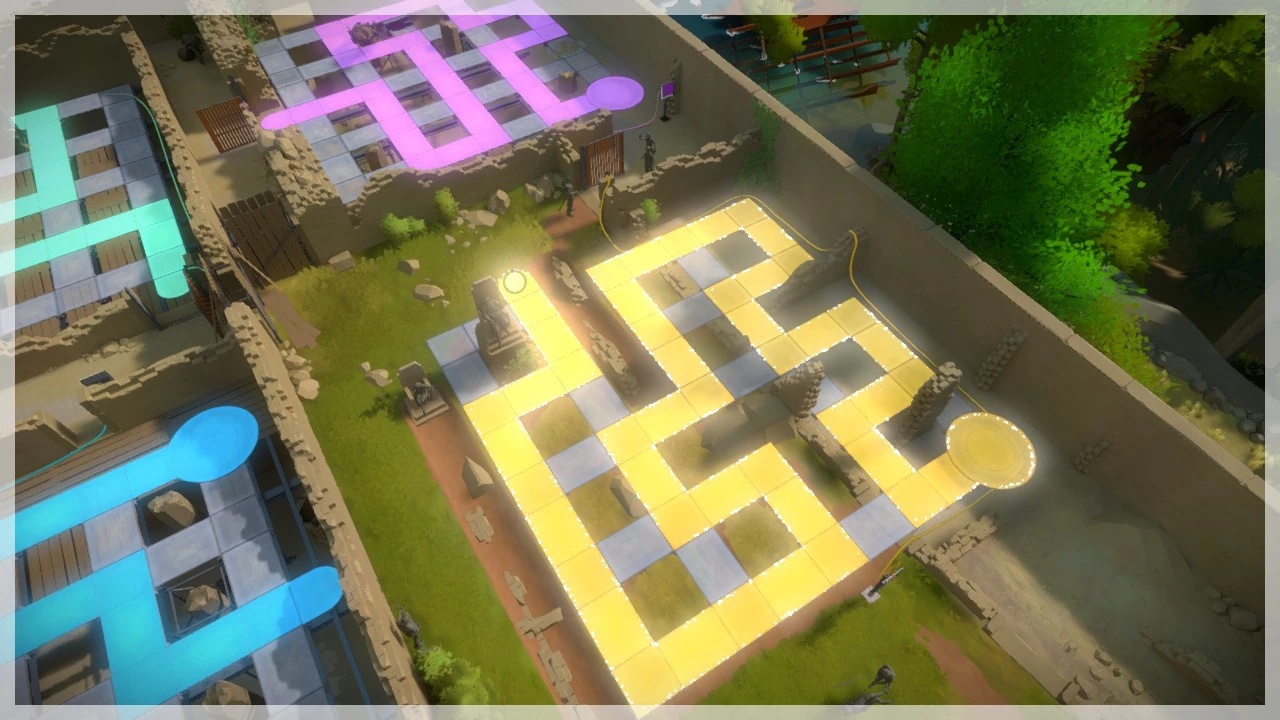
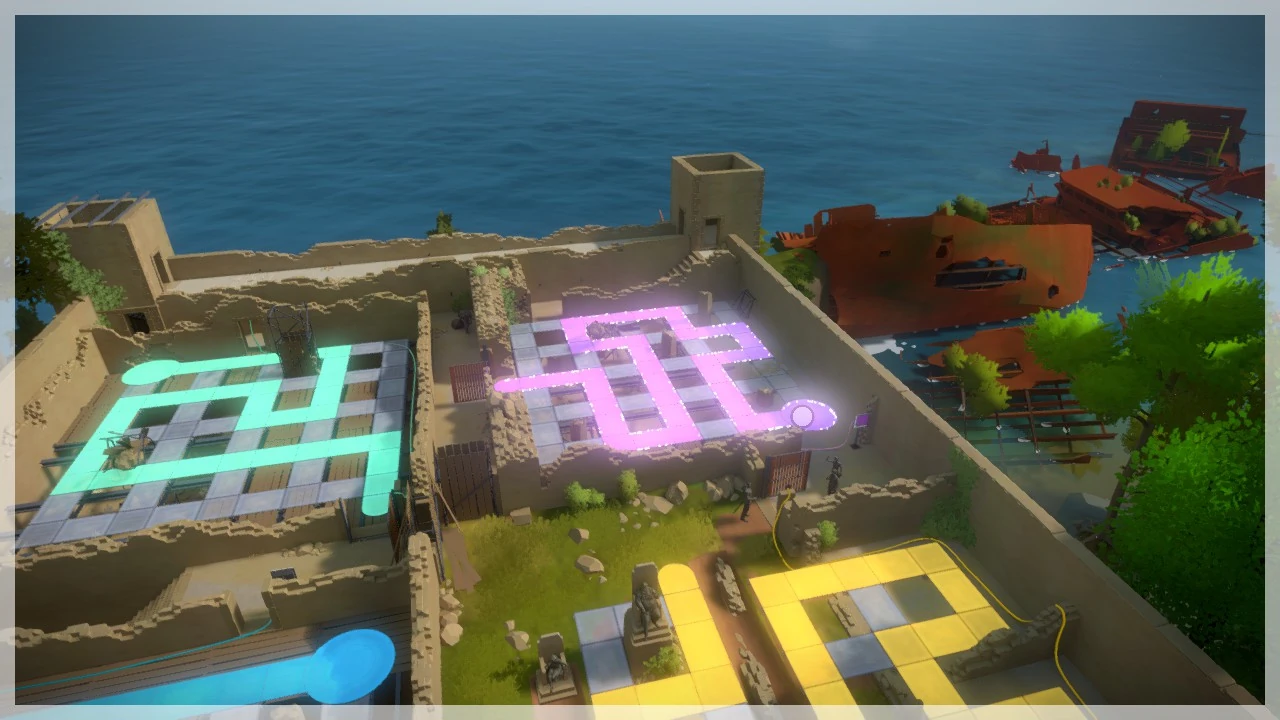
From the top of the tower at the Keep you'll find that only AFTER solving the life-size puzzles that they double as environmental puzzles! The catch with this entire section is that the solutions to the environmental puzzle may be different than the typical solution for the normal puzzle. Take note of the stone pillars in this yellow section. You may find yourself reconfiguring the path to make it work for the environmental puzzle. Keep a birds-eye point of view in mind when approaching the rest of these!
Symbol 2[ | ]
In the purple section you will notice a few things preventing your environmental puzzle from being complete. The stone pillars, broken scaffolding, and an ink spill on one panel means you must reconfigure this. The way it was done in this screenshot was going all the way to the broken scaffolding (next to the ink spill) until you're no longer able to continue because of the walkway being blocked. After that, backtrack to the beginning of the purple puzzle and then walk around the entire life-size panels area (go to yellow, then blue, then green, and lastly purple). Once you backtrack all the way to this area you can complete the puzzle in reverse, head to the top of the tower, and grab your symbol!
Symbol 3[ | ]

The green puzzle of the life-size panels is where symbol 3 is. As before, you may have this solution to begin with, but if not then remember to avoid having the line stuck behind obstacles from the tower's viewpoint. This section's puzzle has you walking right from the control panel onto a part of the track we do not want to use so to avoid using that part step onto the wooden planks between panels and from there reset the puzzle on the control panel. From there go to the start point and go up to begin. Make the backwards-L tetrinomino, go up the side and walk as far as you can until blocked by the scaffolding. Skip by the track by stepping on the wooden planks, connect from where you left off, and complete the puzzle. All that is left to do now is to go to the top of the tower and grab your symbol.
Symbol 4[ | ]

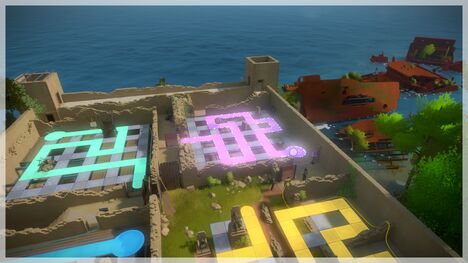
Before you try to get symbols 4 & 5 you need to realize that they are different solutions to the same puzzle. Be sure to check if you can get either of these by looking down from the tower at the blue life-size panels and trying each dot out. Symbol 4 requires a solution that puts both backwards-L tetrinominoes together.
Symbol 5[ | ]
As mentioned in the description for symbol 4, both symbols 4 & 5 are in fact a part of the same life-size panel puzzle, but you cannot get both at the same time. Check to see if you can get either of these before proceeding with reworking your puzzle. Symbol 5 requires the top right start point (closest to the panel where you can reset the panels). This may be the easier solution for you: just make a backwards-L shape, run back to the top of the tower, and get the symbol.
Tree House Obelisk - Side 6[ | ]
| # of Symbols | Symbol Locations | |
  |
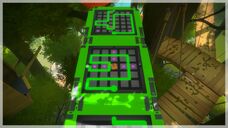
2 | Keep - Hedge Mazes |
Symbol 1[ | ]

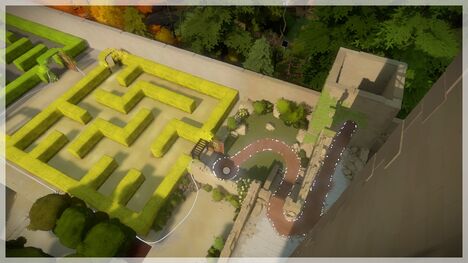
210970 screenshots 2016-01-31 00010.jpg
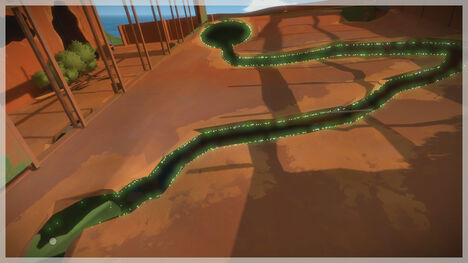
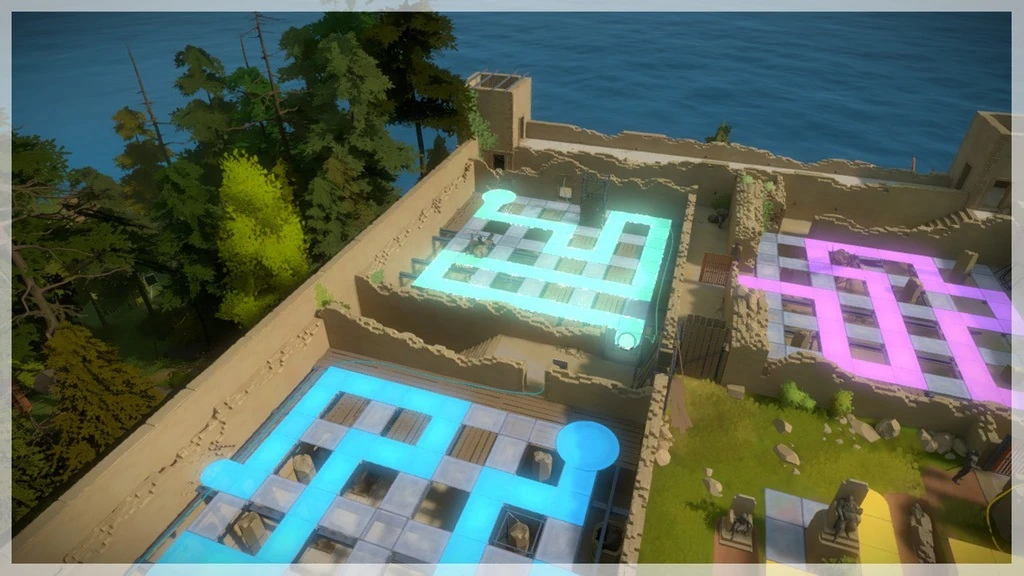
Go to the Keep and get to the top of the tower (after completing the hedge maze) and you'll be able to look down at all that's inside the keep. From here you will find a dirt trail from the hedge maze leading into a small room that is actually an environmental puzzle.
Symbol 2[ | ]
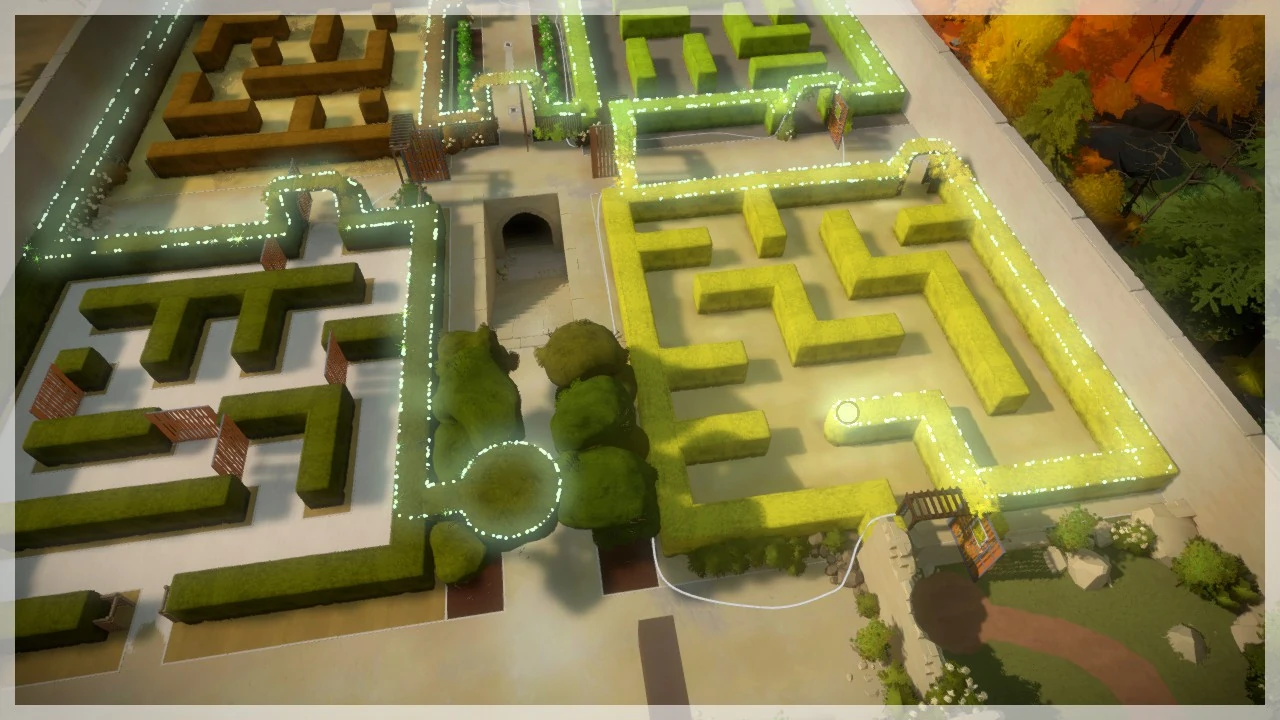
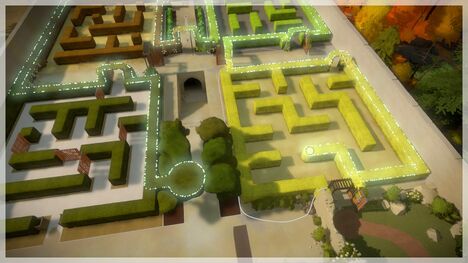
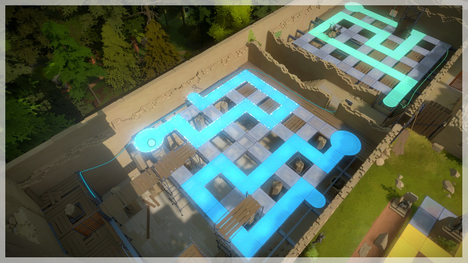
At the Keep's tower you can see all of the hedge maze you toiled through from earlier. It turns out that the entire hedge maze is an environmental puzzle! Start at the bottom left portion of the maze and work your way around clockwise to get this symbol!