 | ||||
|
| ||||
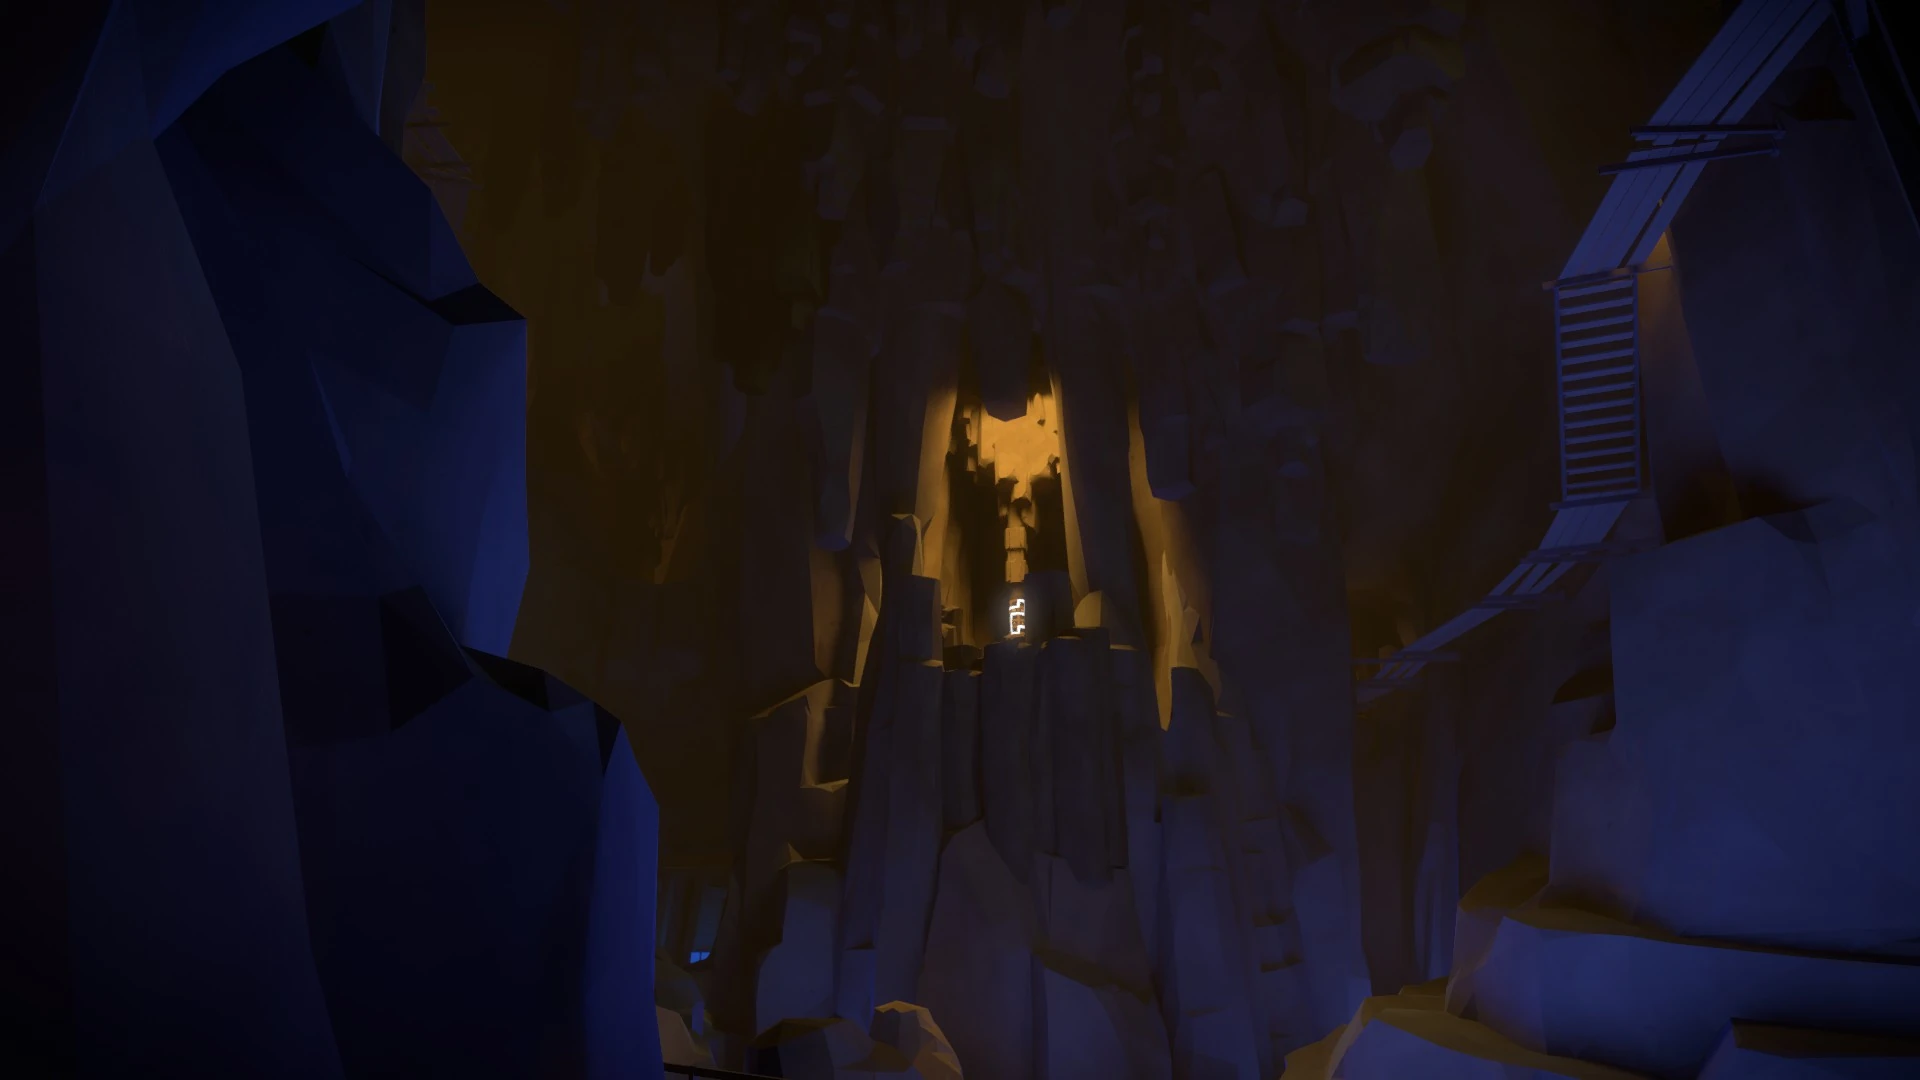
The Caves are a puzzle area in The Witness.
Hints[ | ]
- Hint #1: Have you activated ALL of the lasers?
- Hint #2: Take a closer look at the cube on top of the mountain.
- Hint #3: Where does the newly lit cable go?
Warning: This Article Contains a complete description and screenshots of how to complete The Challenge below.
Solutions[ | ]
The Way In[ | ]
First, make sure you have completed all other areas and activated all the lasers, in addition to finishing the game's main ending so you have all access down through the mountain. Next, take a look at the bottom of the cube:
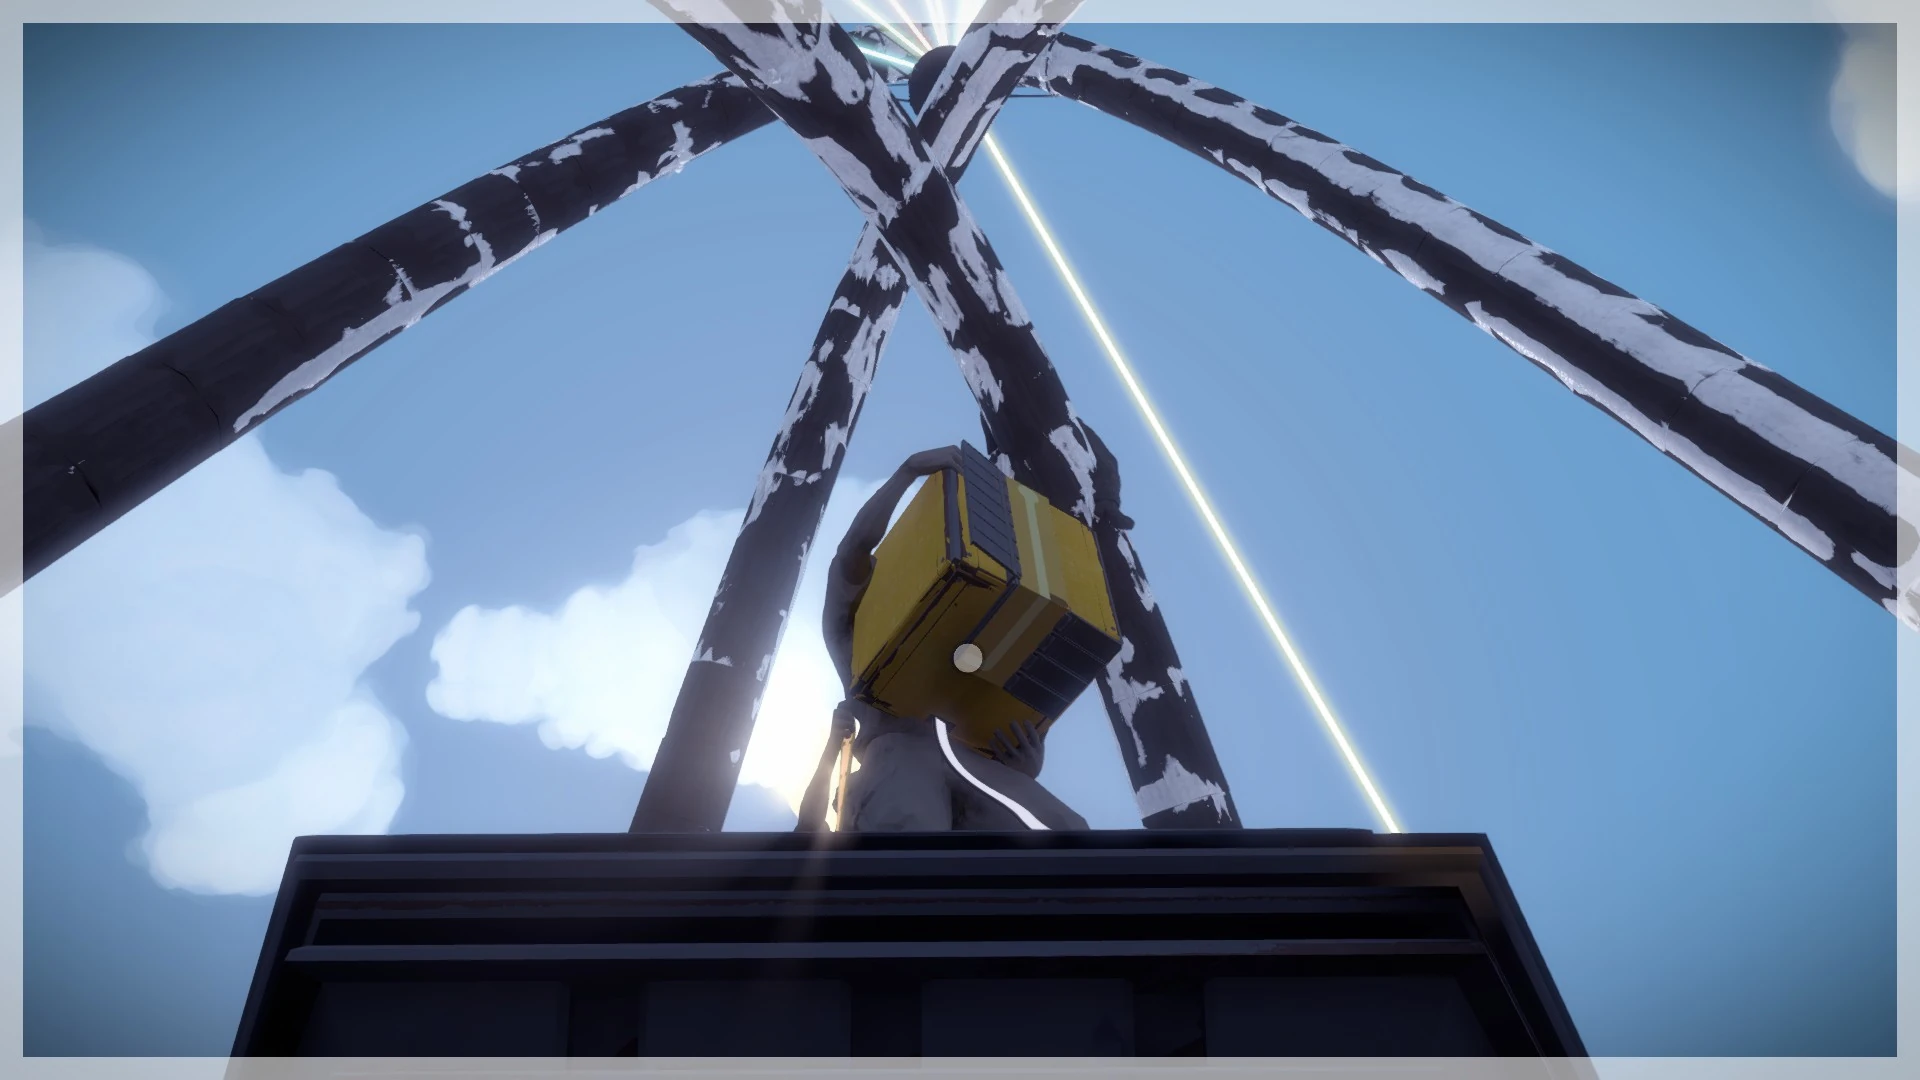
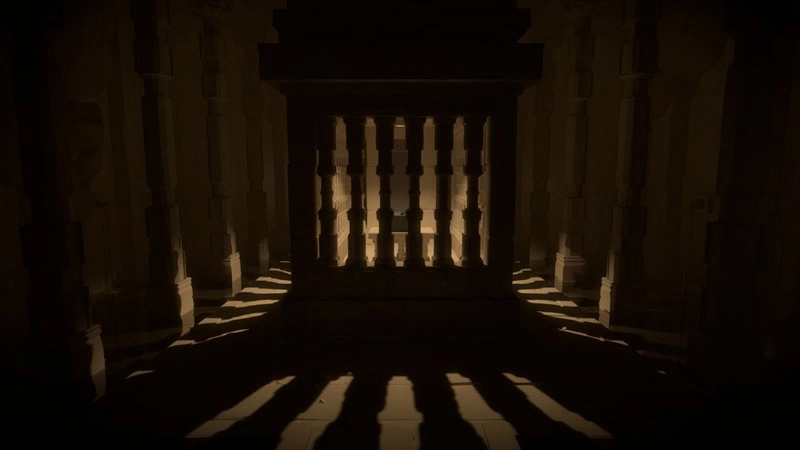
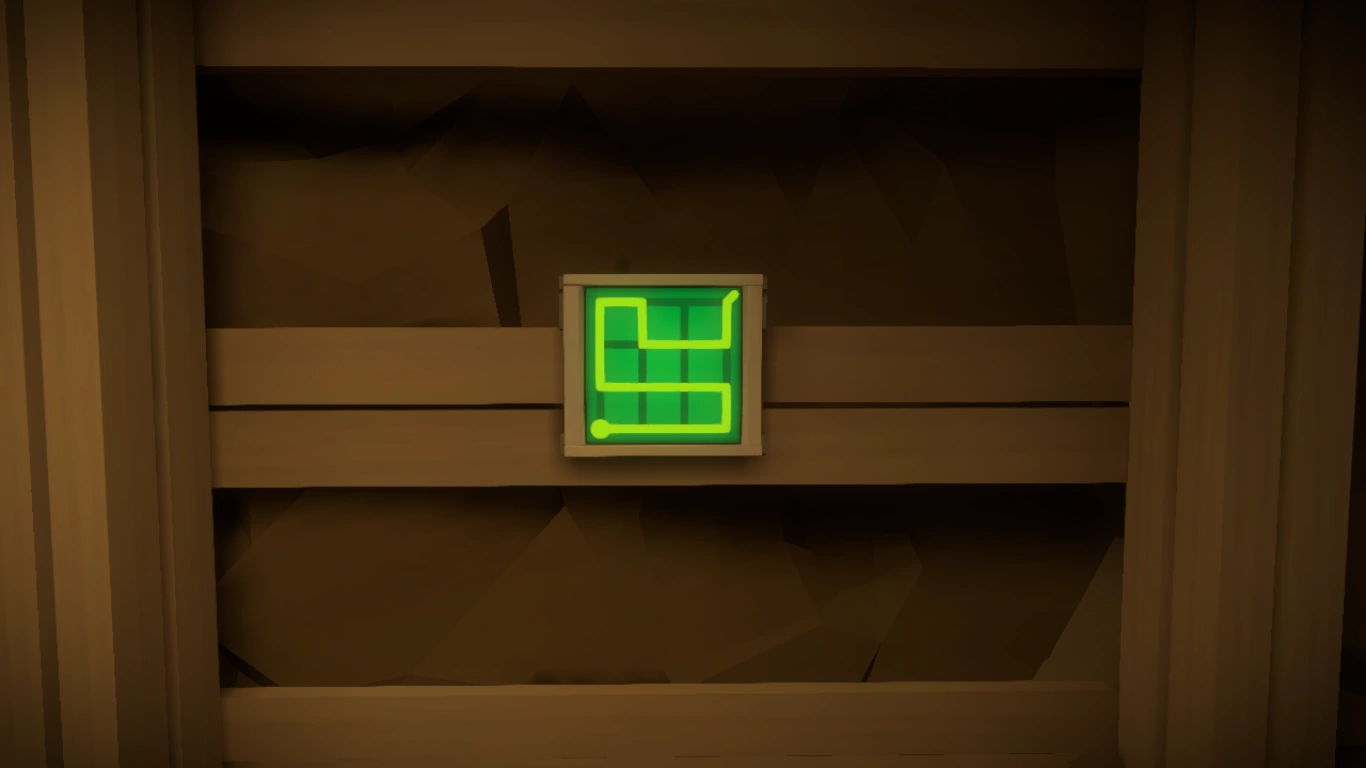
You'll notice there is a second place to finish the line. Upon activating it, the until-now unlit cord coming out of it will light. Following it down inside the mountain, you'll find it has activated the screen sitting just before the end area:
Solving this puzzle opens a timed door behind you to your left:
Quickly walk through it to enter a passage. You'll find another puzzle at the end of it.
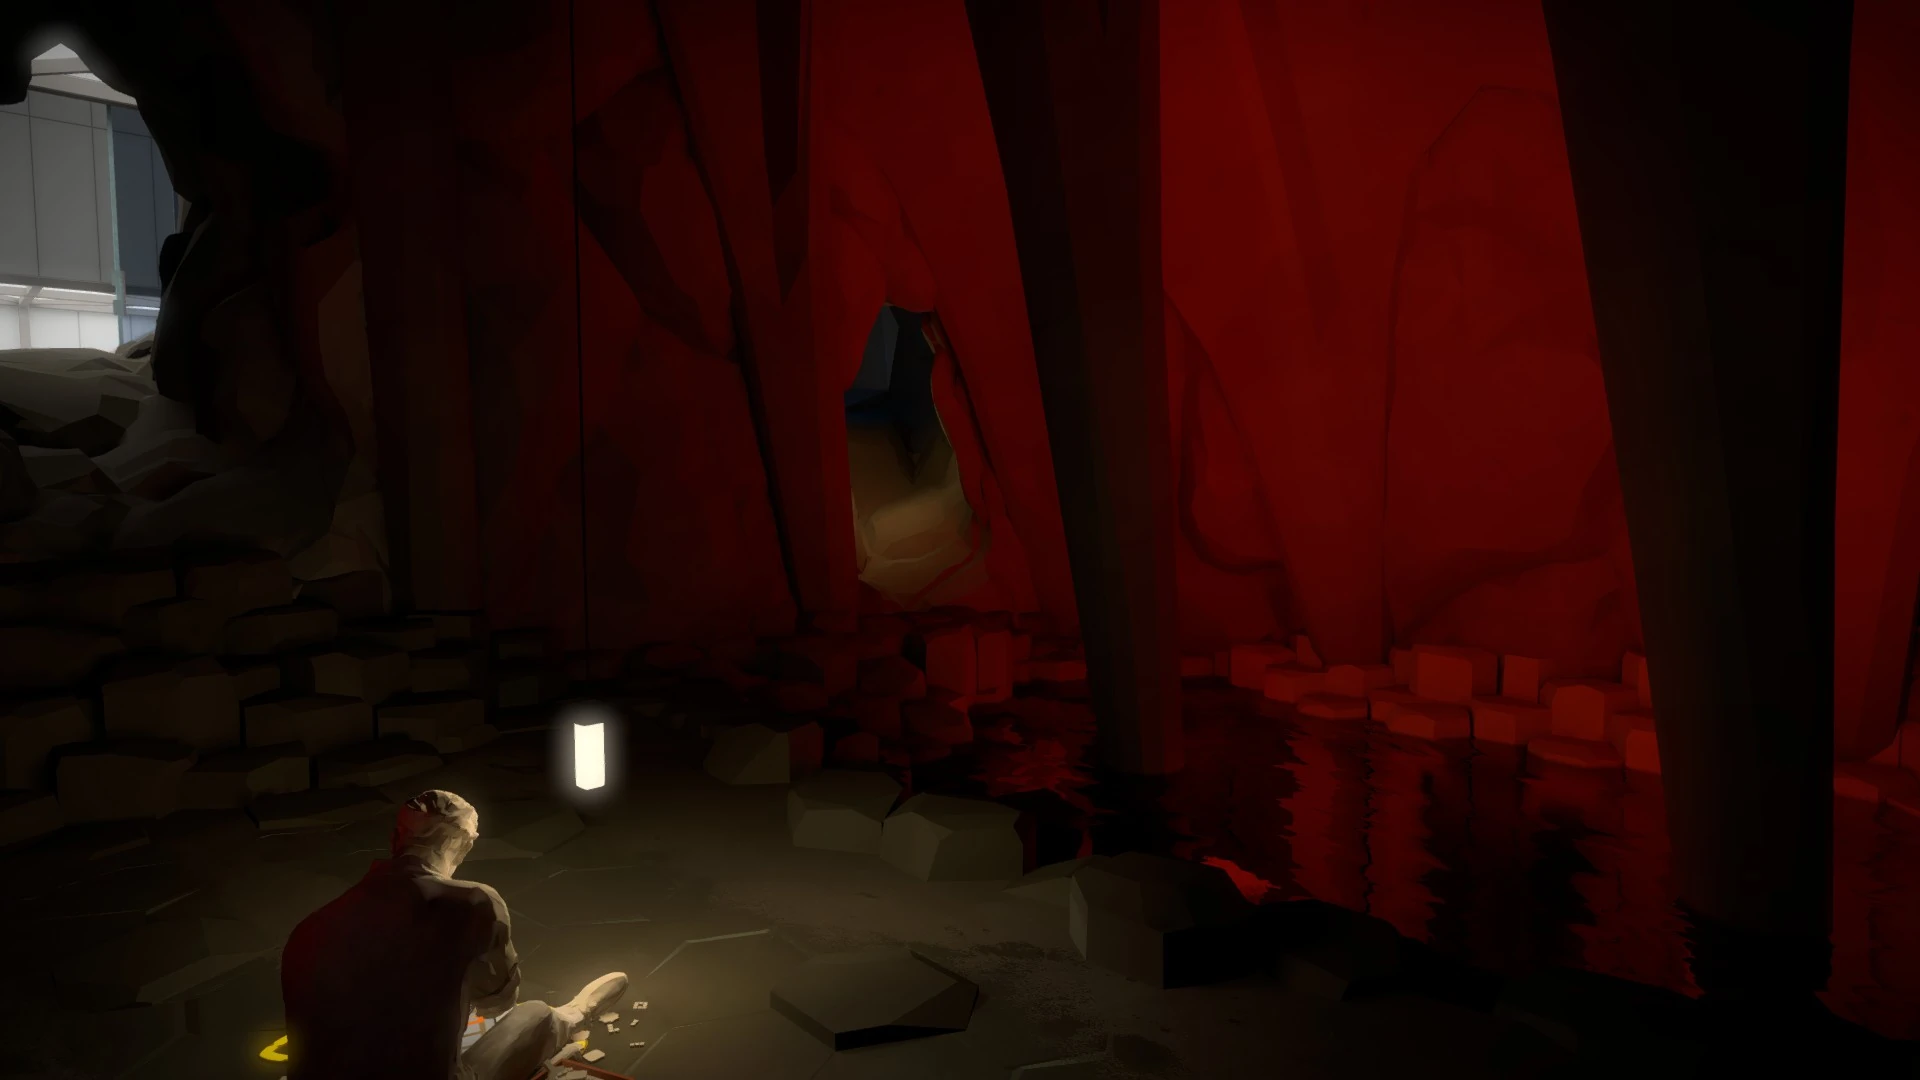
The Cavern[ | ]
Now you have unlocked the first half of the challenge caves. The puzzles in here employ nearly every mechanic and introduce some new spins, such as the square floor puzzles with the post in the middle. All their solutions can be found here.
First, on the lower portion of the cavern you can find a tunnel with puzzles on blue tiles:


Near that tunnel, you can find some stairs leading to an small alcove:


At the right side of this alcove, there's a room with some puzzles on the ground, each with a pole in the middle:
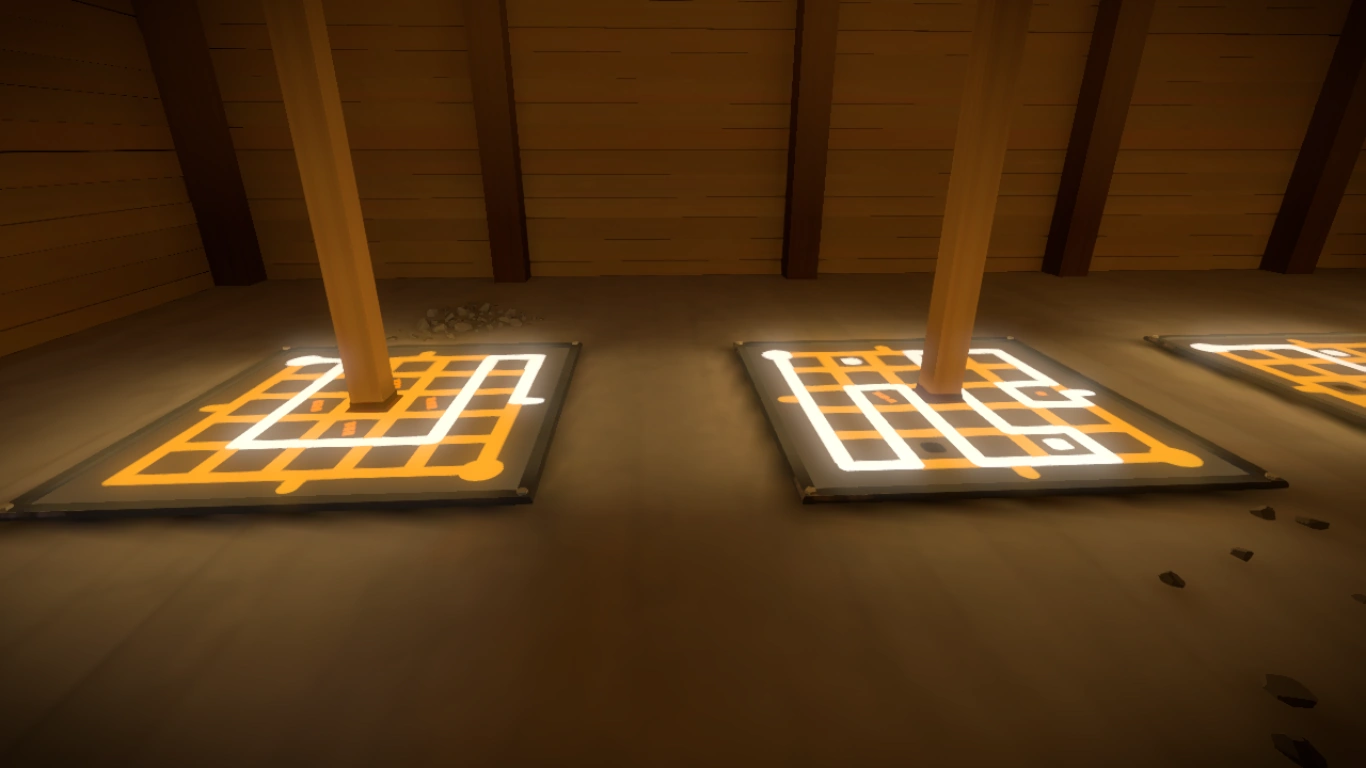

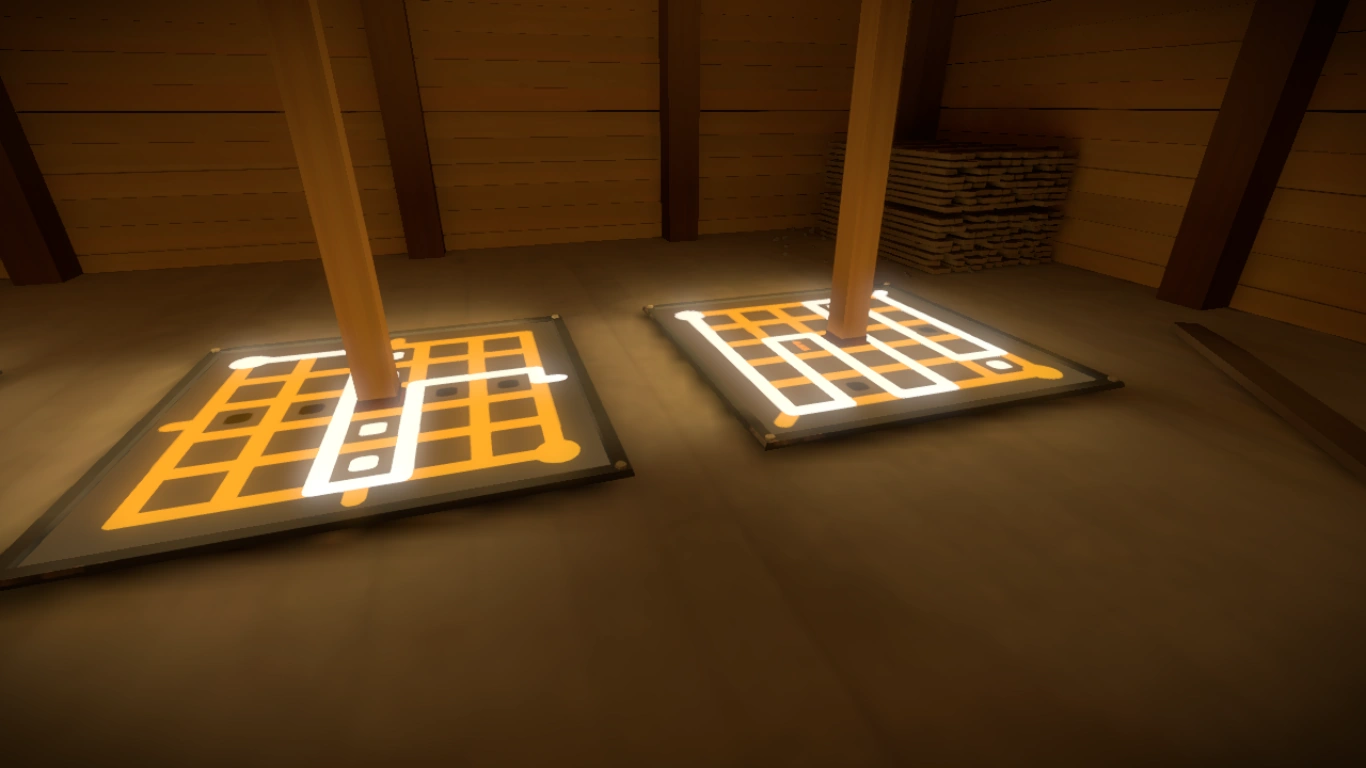
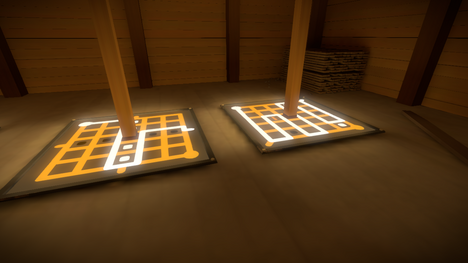
This room has some stairs leading to the middle portion of the cavern. In the intersection, take the right path to reach the upper portion of the cavern. Here you'll find two sets of puzzles, one with green tiles and another with orange tiles:

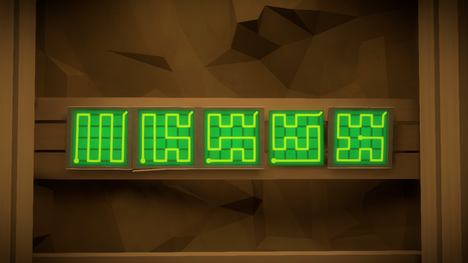


Head back to the intersection at the middle portion of the cavern. This time take the left path, at the second intersection take again the left path and you'll find an elevator. On your left, you'll find two shortcuts that lead back to the swamp area:

The elevator inside The Caves has three control panels attached to it, and solving each counts separately towards the main puzzle count. You'll want to use the ground floor control panel and the second floor control panel to call the elevator up or down, then the control panel inside the elevator itself to either ride the elevator up or down.
All the puzzles in here have no apparent point (except to provide further entertainment to those who enjoy them) except one:
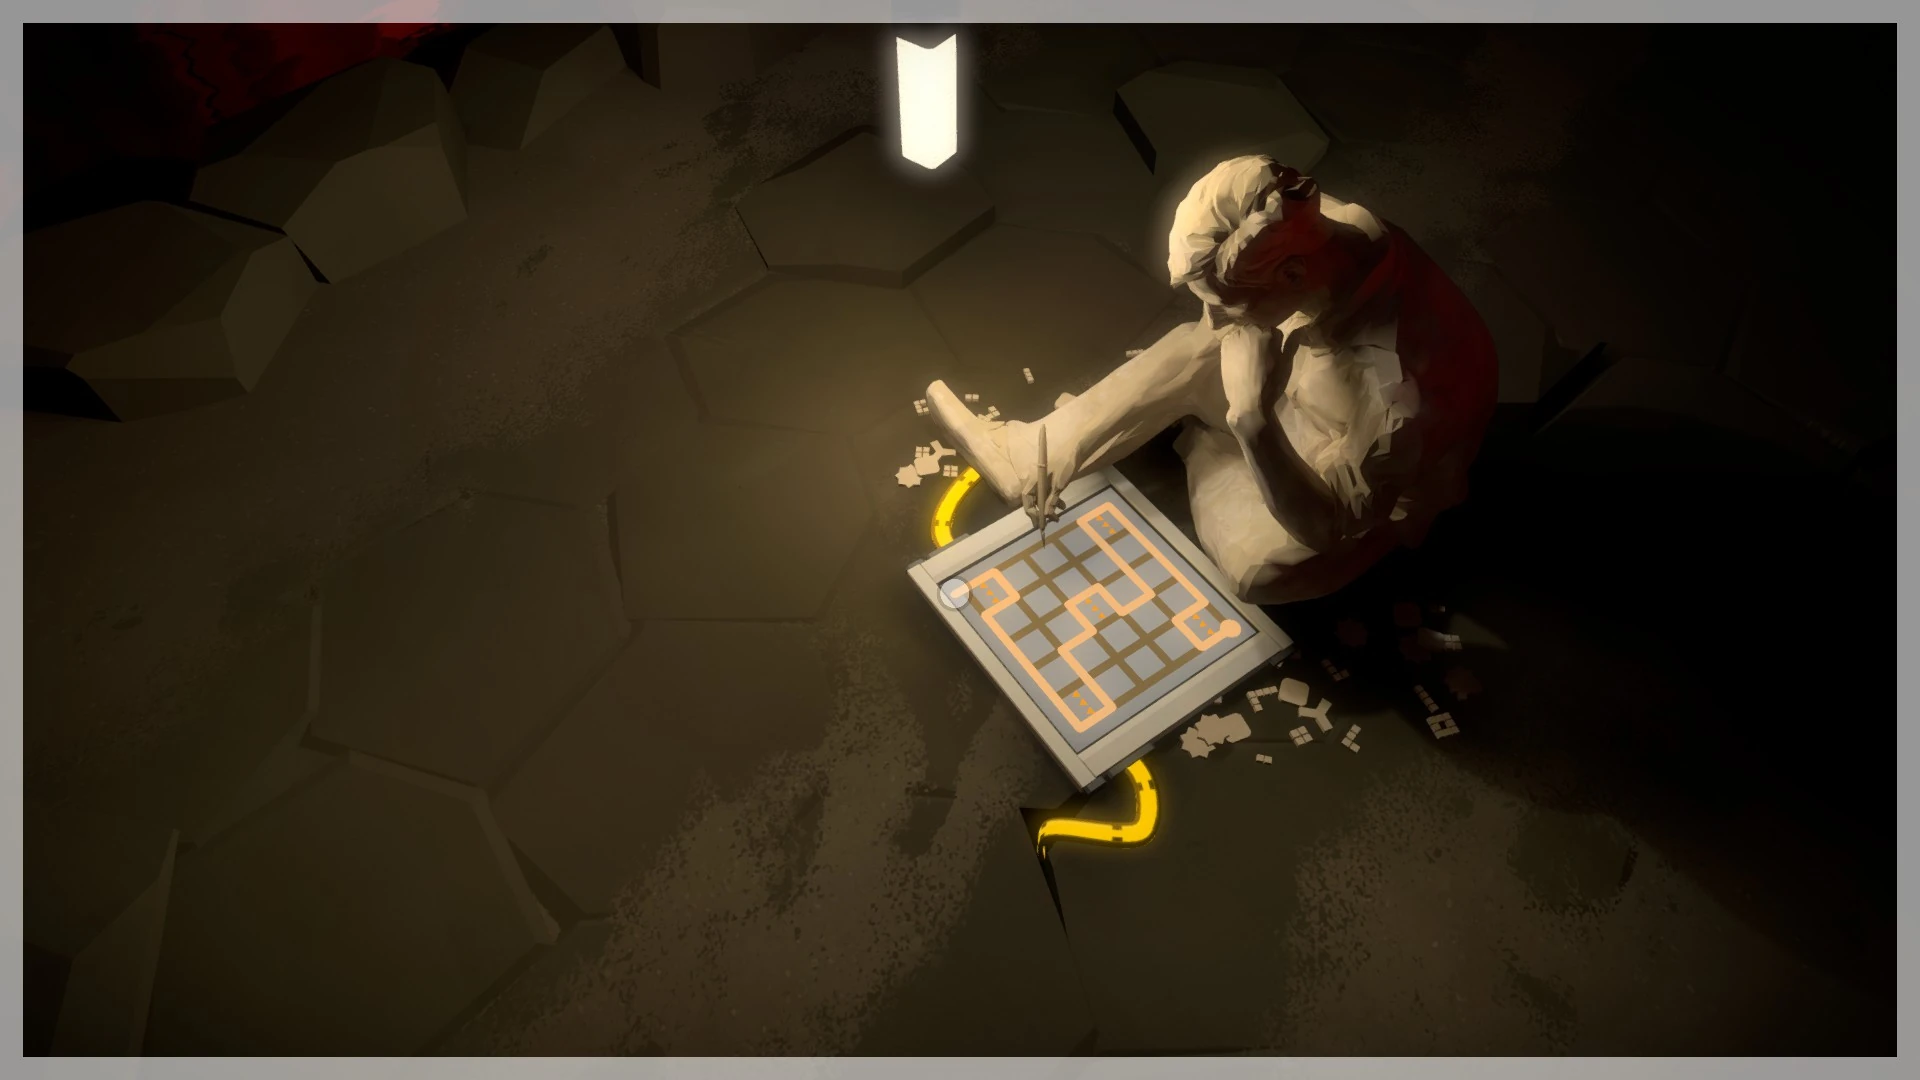
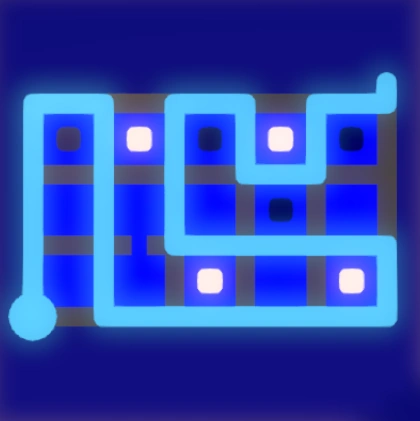
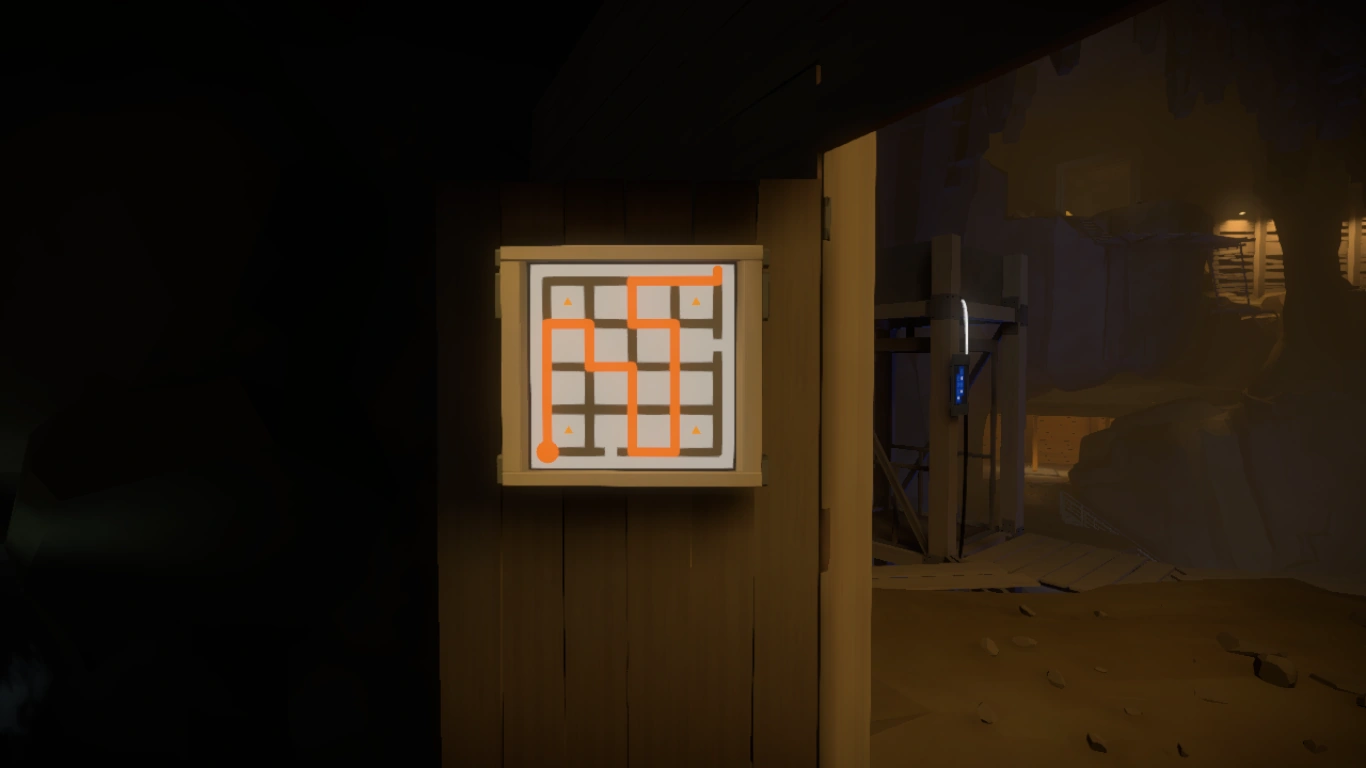
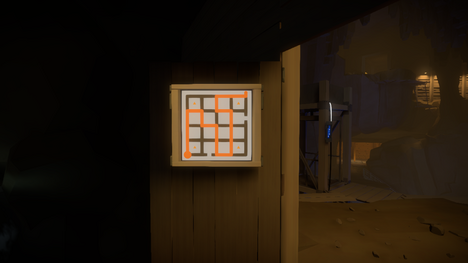
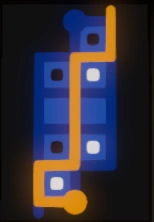
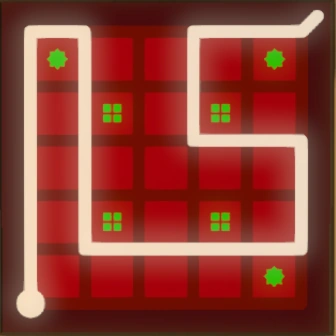
It's the circle one at the middle-top alcove. The solution is as follows:
RIGHT 1, UP 2, RIGHT 1, DOWN 2, RIGHT 3, UP 1, RIGHT 1, UP 1, LEFT 2, DOWN 1, LEFT 1, UP 3, RIGHT 2, UP 2, LEFT 1, DOWN 1, LEFT 2, DOWN 1, LEFT 1, DOWN 1, LEFT 1, UP 2, RIGHT 1, UP 1, LEFT 1, FINISH


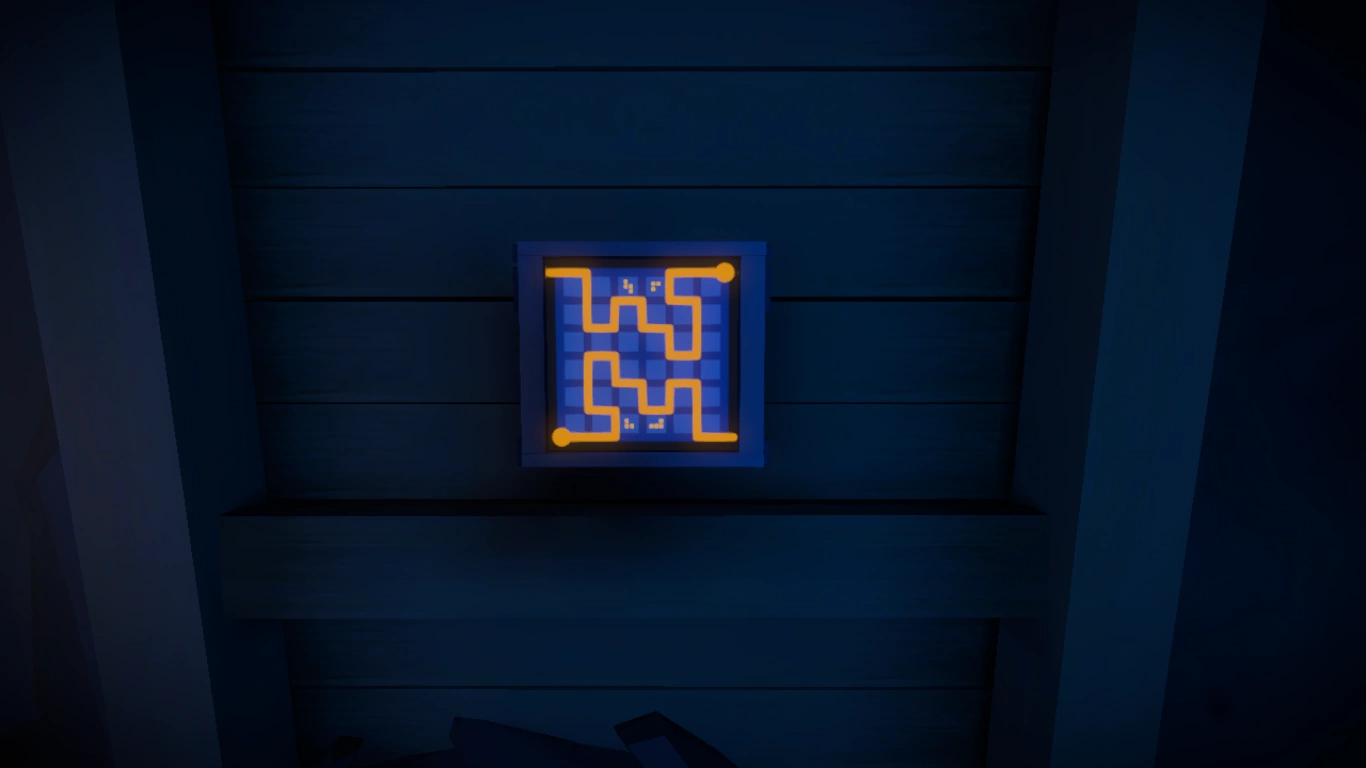
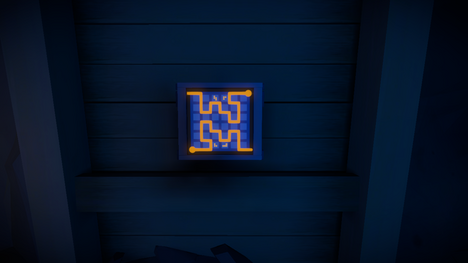
Now it's to complete the final puzzle in the cavern, on a door behind you when you're facing this pillar:
Upon completing this puzzle this hidden door will open (this time permanently) behind you. This is the (as with everything in this game, assumed to date) final locked area; from here you can travel to the rest of the locked places shown in the beginning, and start The Challenge.
The Challenge[ | ]
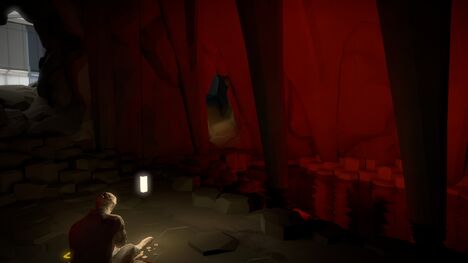
Welcome to hell. At this point, all that can be offered are instructions and explanations of what you must do. The Challenge is a timed and randomized sequence of puzzles. Read these instructions entirely first before starting if you want to know everything going in. Head through the newly unlocked door, past the last vault then continue on down until you reach a record player.

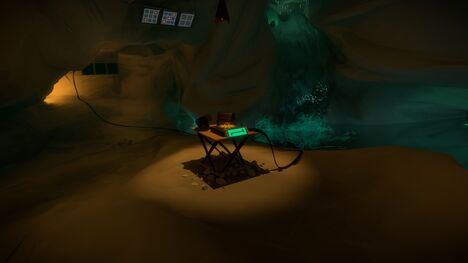
To start, drag accross the long part of the panel to start the music:

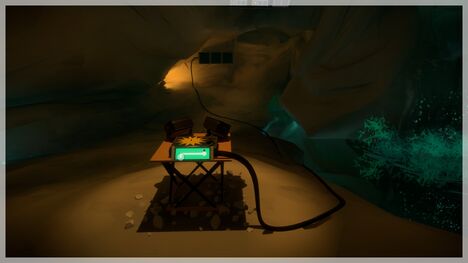
At this point you have until the music ends to finish the following tasks, in order, as each unlocks after the previous task is finished. Note that at any point if you feel you've taken too long on a given step, to save time, you can run back to the record player and stop the music by drawing up the short part and then start it again.
Important: puzzles from here on out are example images only. Each time you start the challenge, a random puzzle is chosen from a set of puzzles for each panel (or sometimes a group of panels). While the mechanics contained will always be the same for a given panel, i.e. black/white squares or stars and shapes, the actual puzzle itself will change.
The First Panel[ | ]
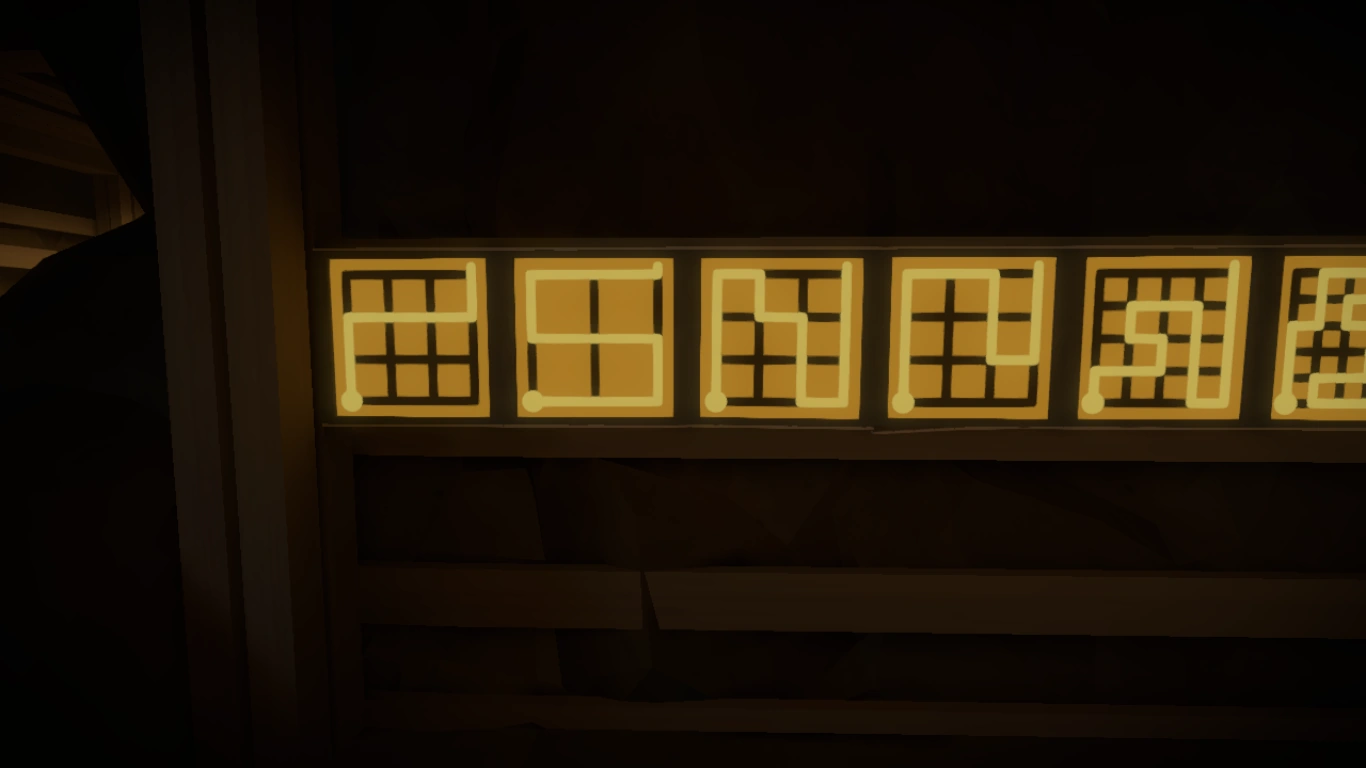
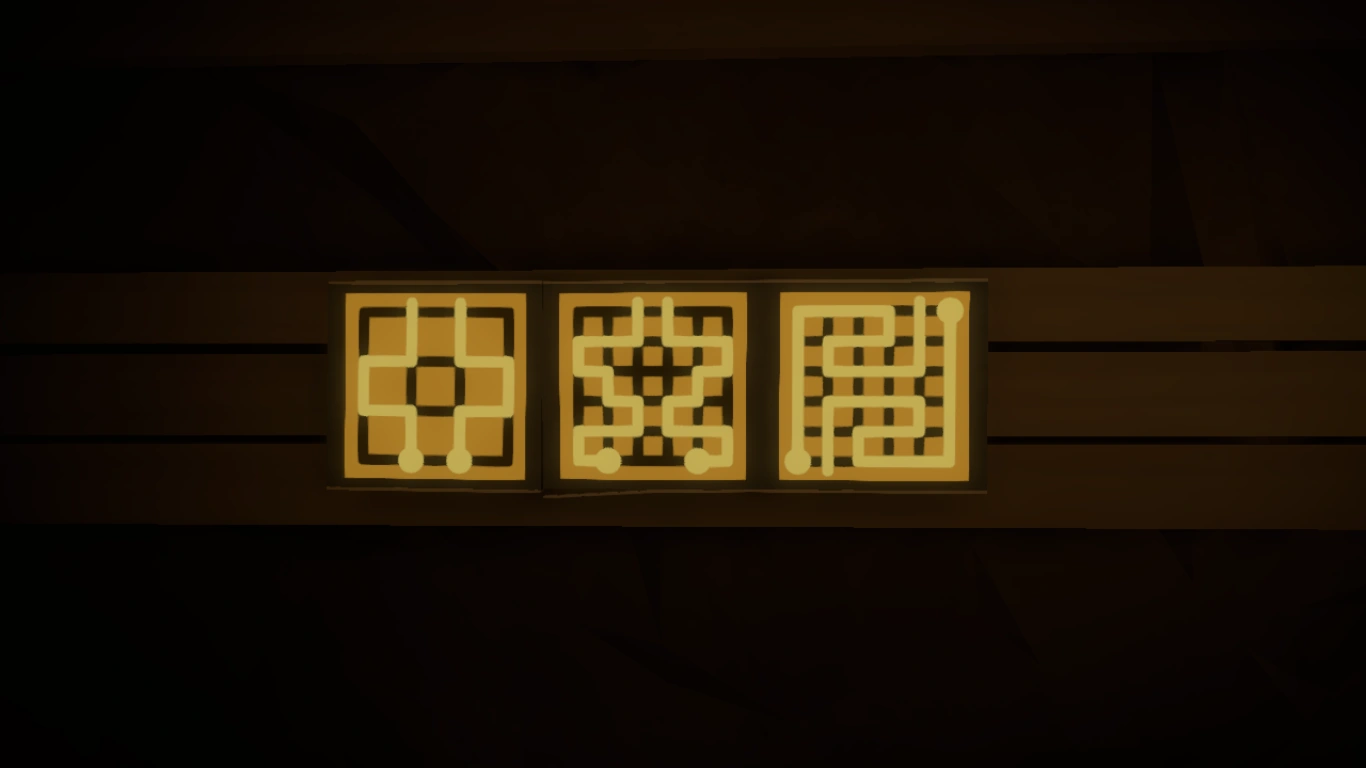
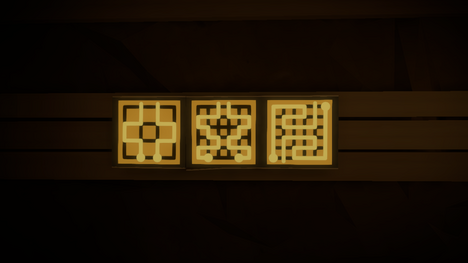
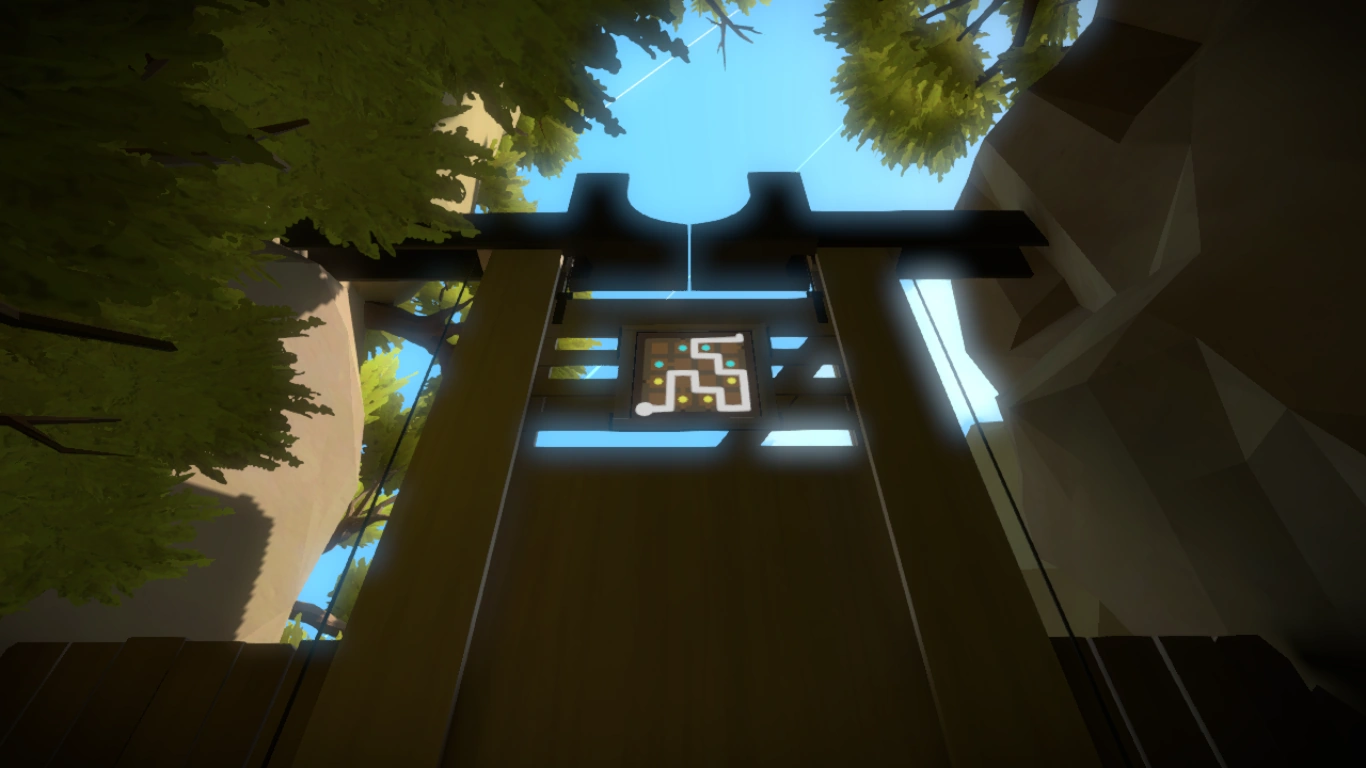
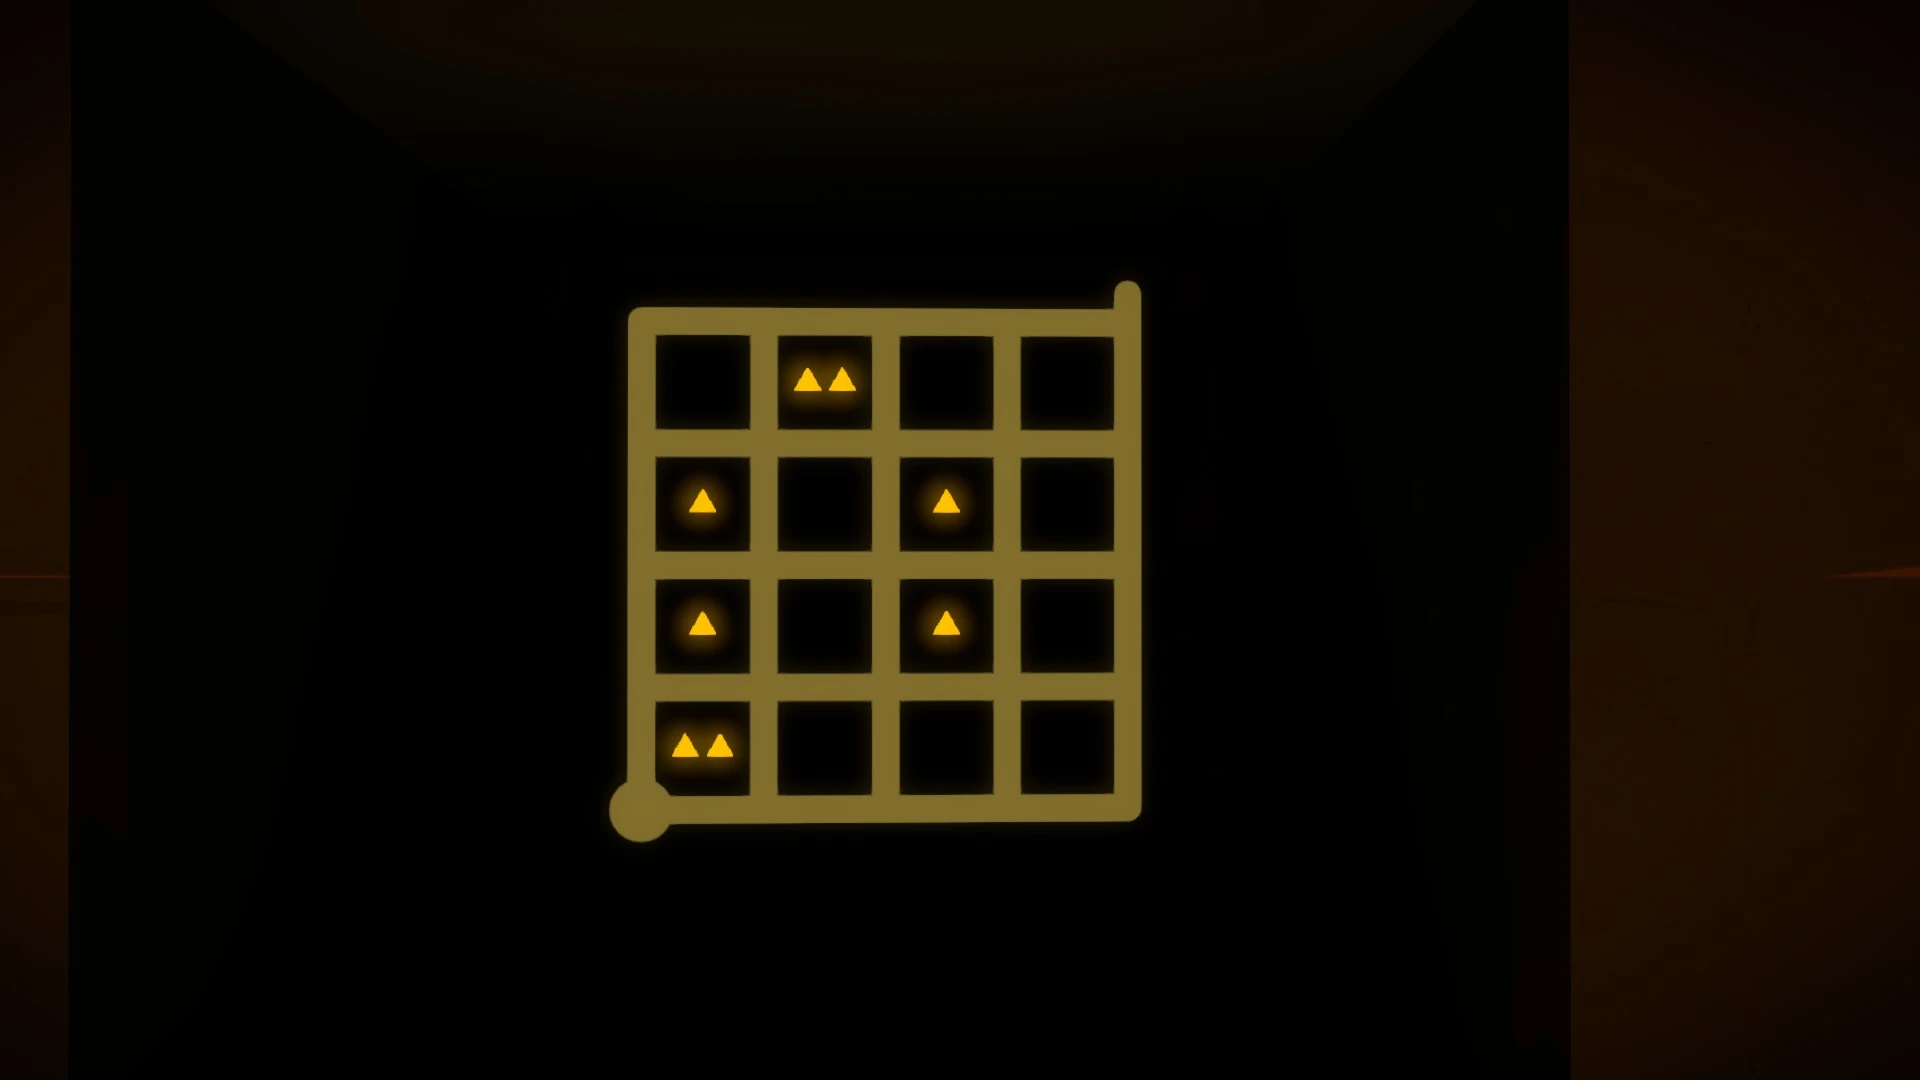
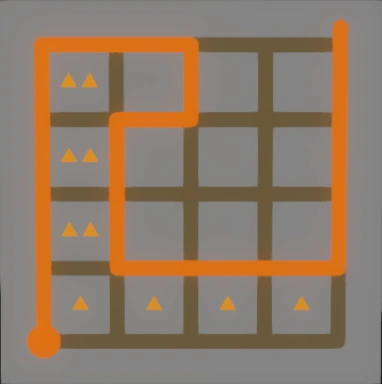
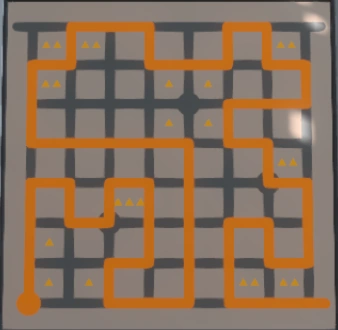
As soon as you start the record player, you have about a second or two until the music actually starts. Move over to the first panel set immediately to be ready when it lights up. The first panel set will consist of three very simple puzzles: a 4x4 maze, a dot puzzle, and a slightly larger maze. Complete each as fast as possible.
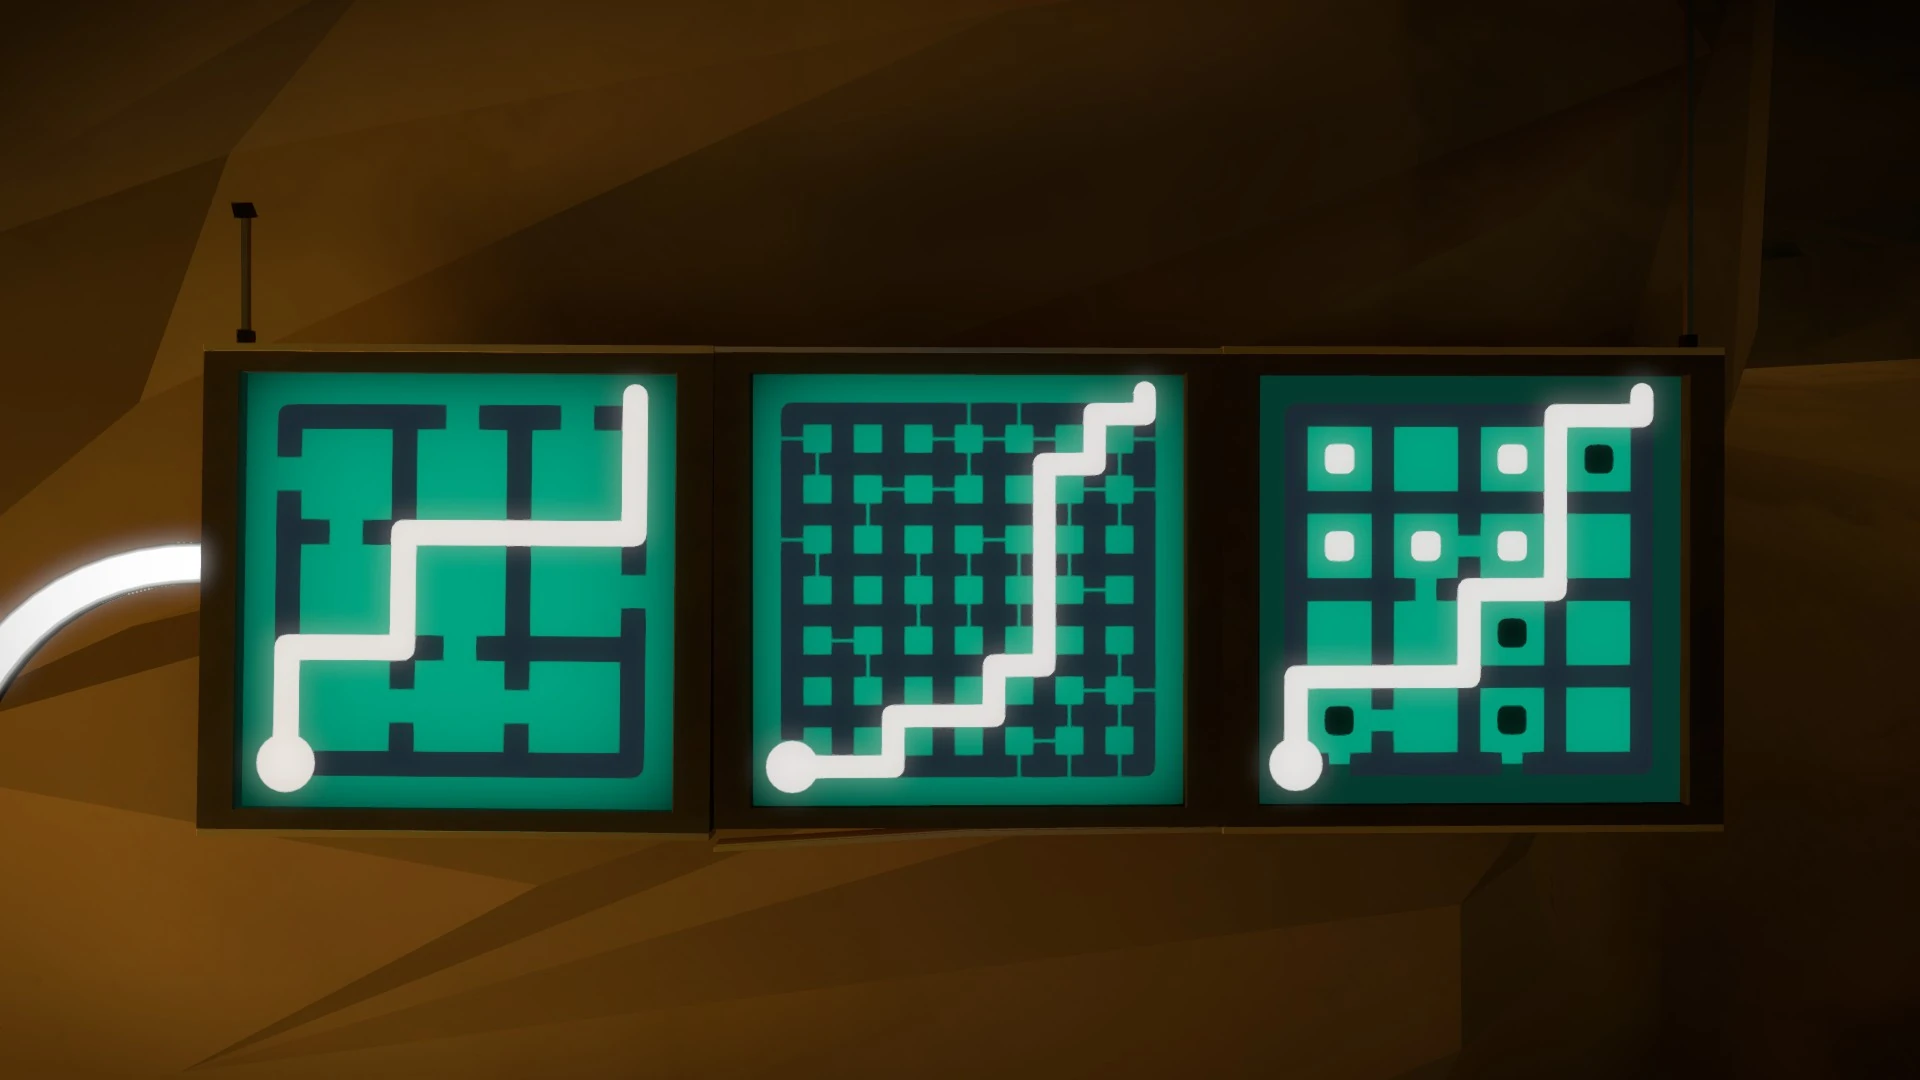
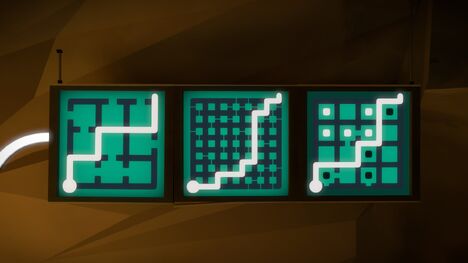
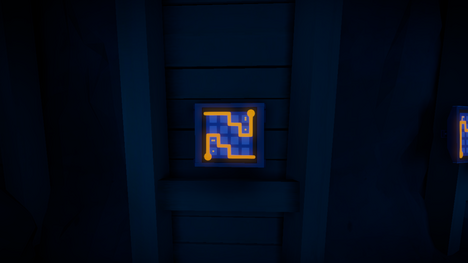
The podium[ | ]
Once done, head up the tunnel just to the right. You'll see a podium has lit up. It will always be a maze with two hexagon dots in it. Complete this, and make a note of the path, because that will be the exact path you have to take in the maze further on. Then, continue up the tunnel.
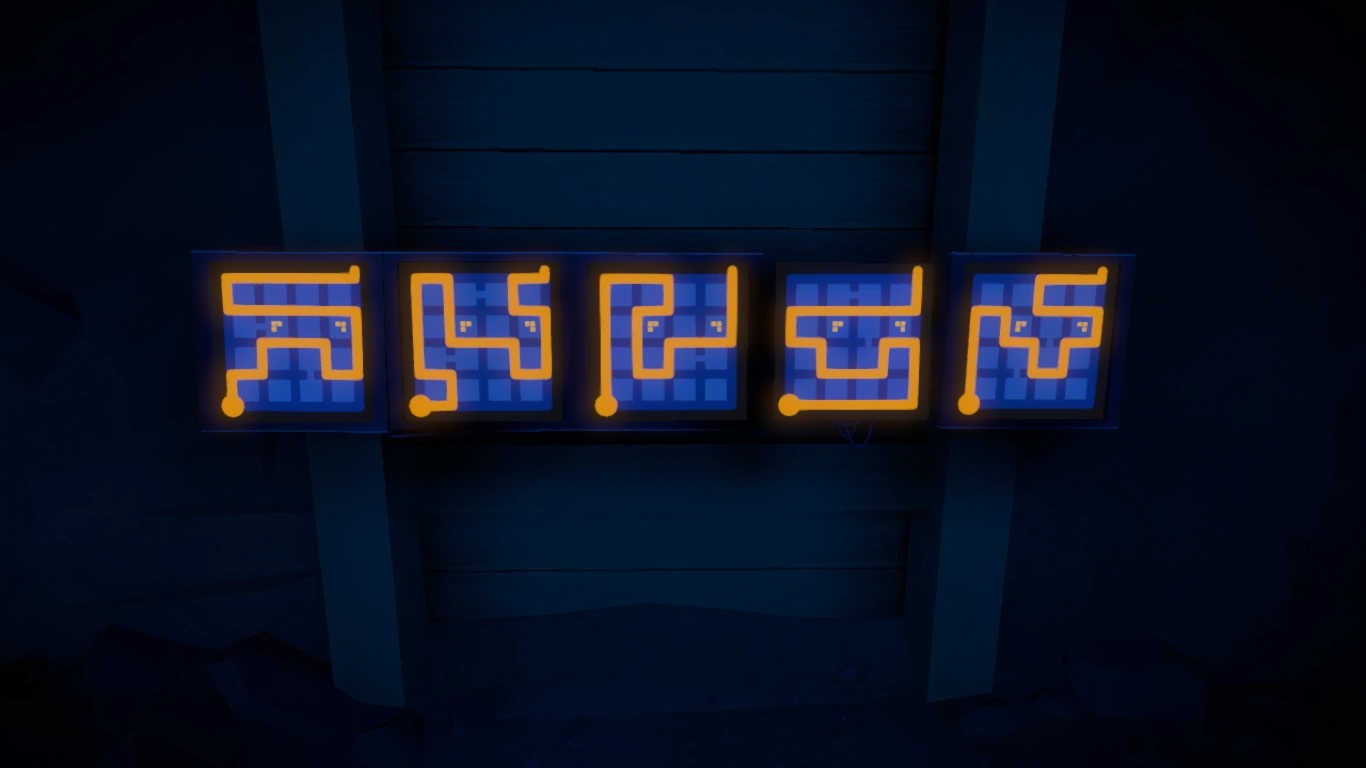
The Random Four[ | ]
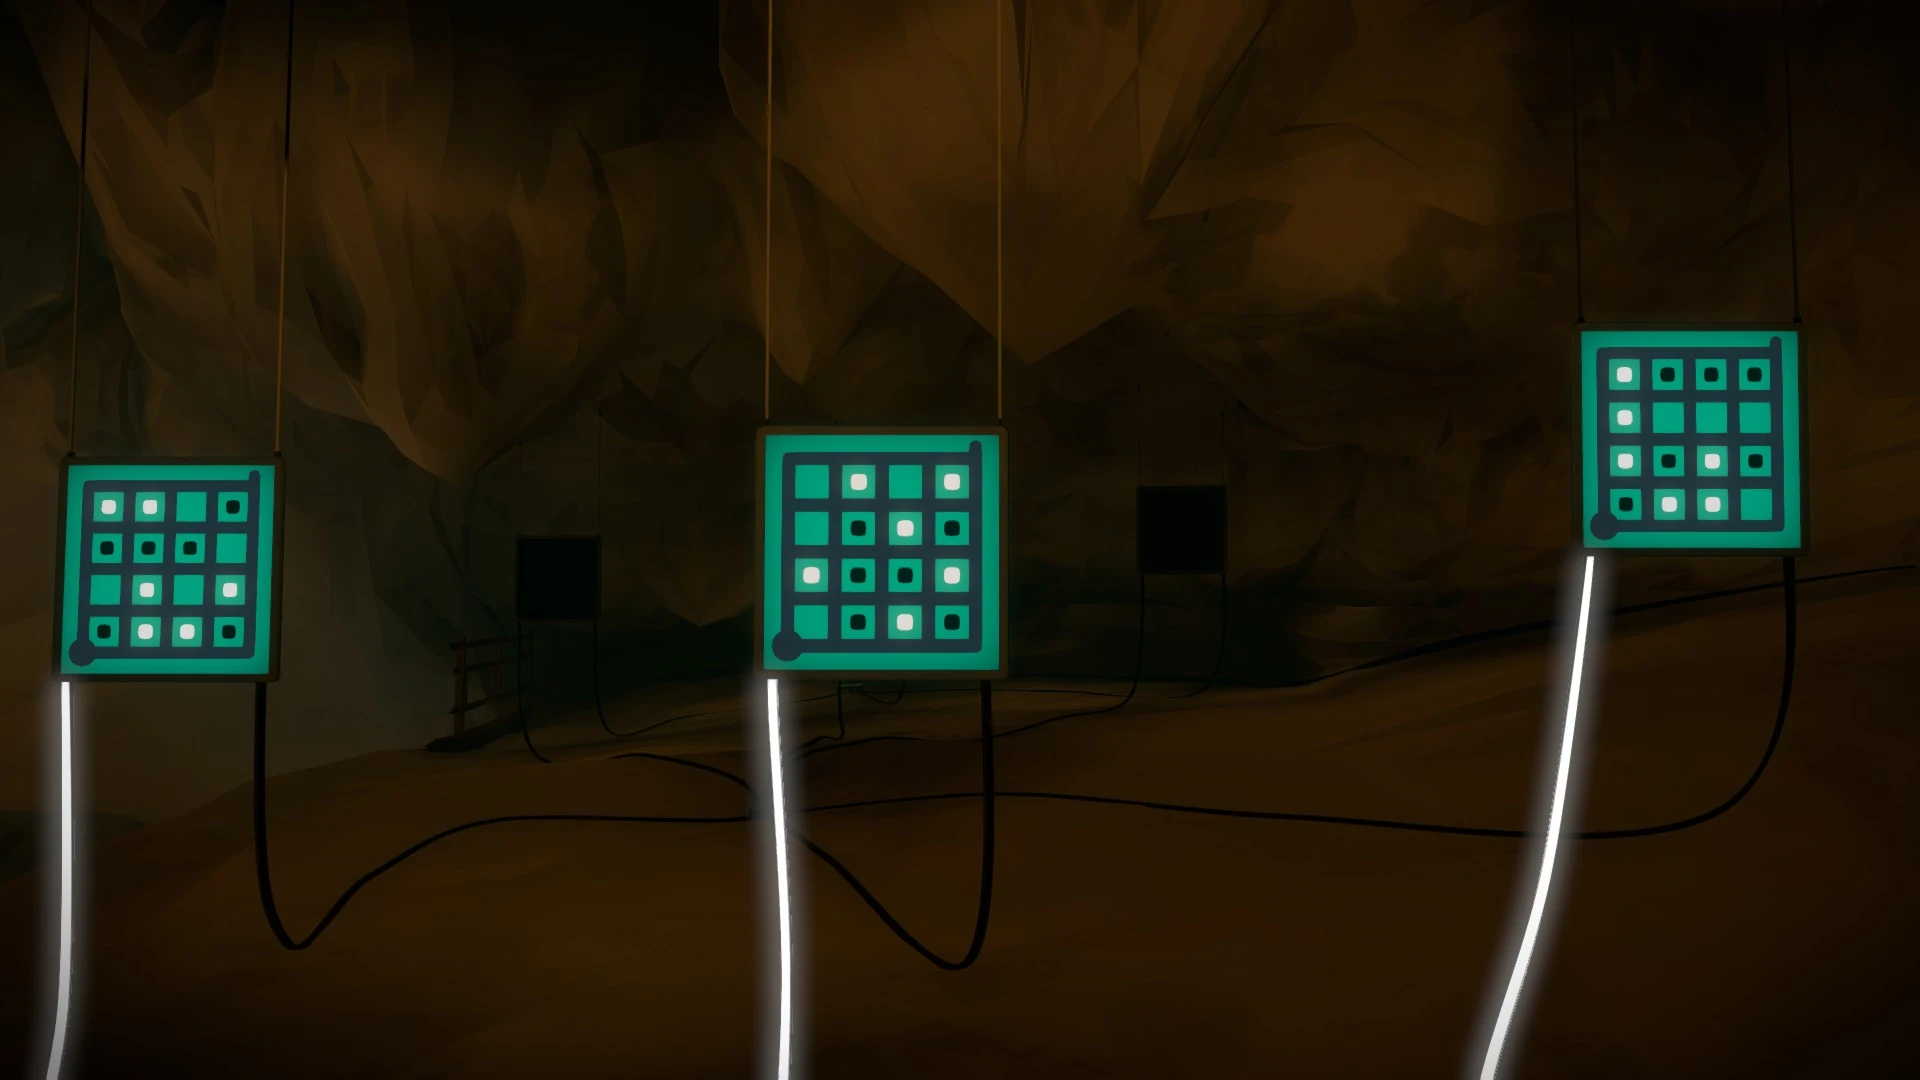
Next, there are four panels placed around a rock formation in the immediate right next room:
These always light up in a random order, displaying (randomly) one of four puzzle types (each type always appears once: which panel it appears on changes along with the order in which they light up). Those are:
- Shapes with stars
- Large maze
- Black/white squares
- Hexagons with stars
The aim here is to complete each as fast as possible while figuring out which one has lit up next as fast as possible.
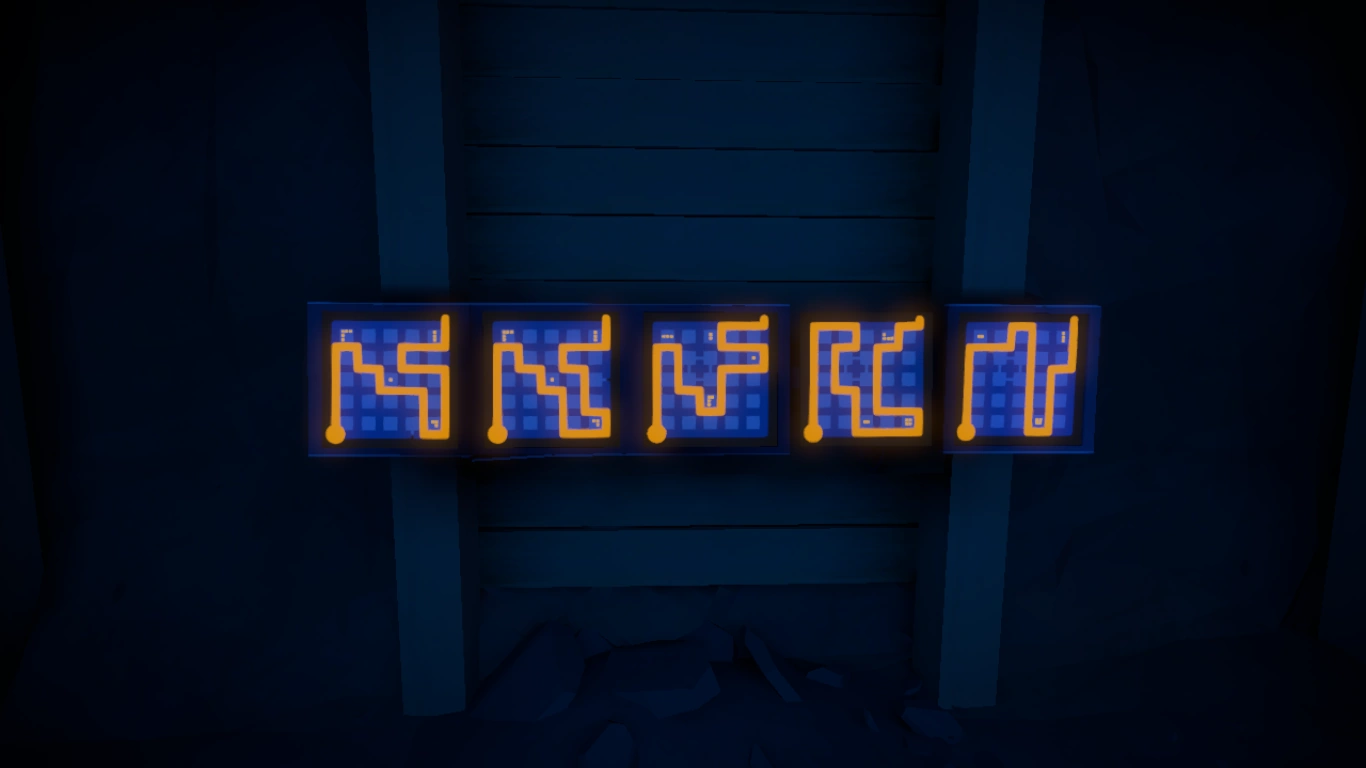
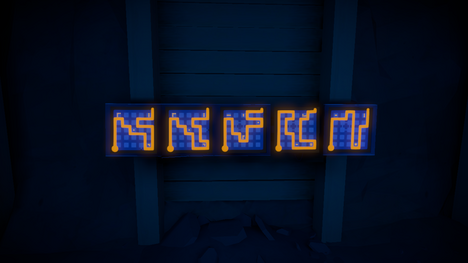
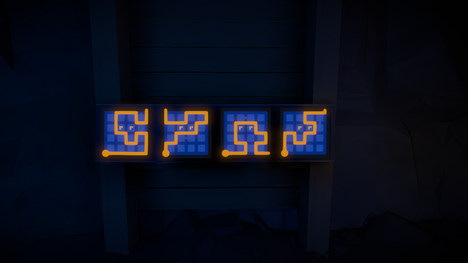
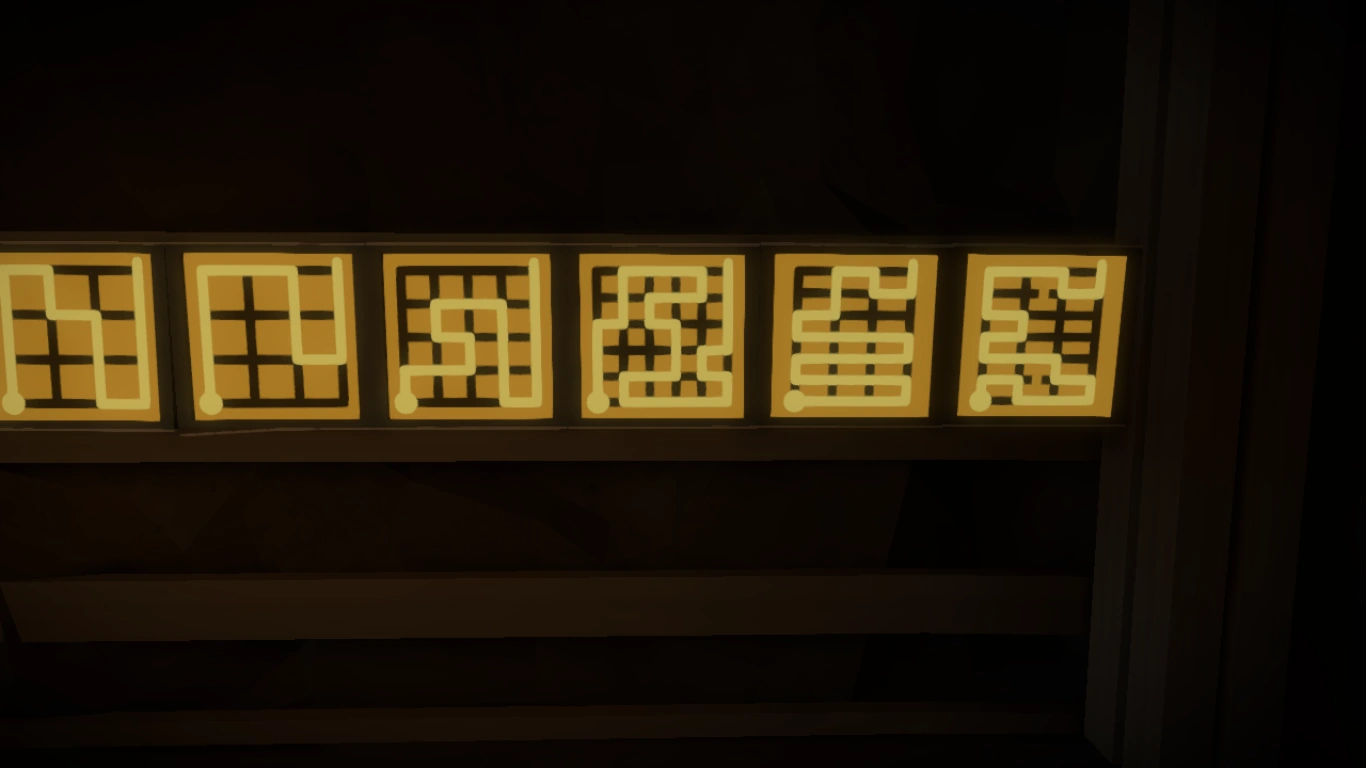
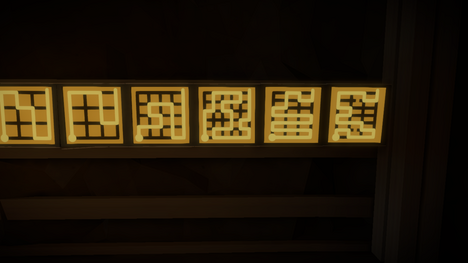
The sets of three[ | ]
Once you've finished the four panels from the previous step, head up the metal stairs. You'll be presented with two sets of three colored dot puzzles: the first set all black and white puzzles, the second set all three-color. You only need to solve one per set. Scan them each quickly for the most plausible and easiest looking to solve. Some are impossible (for instance the second puzzle from the left) so it's important not to get hung up here.
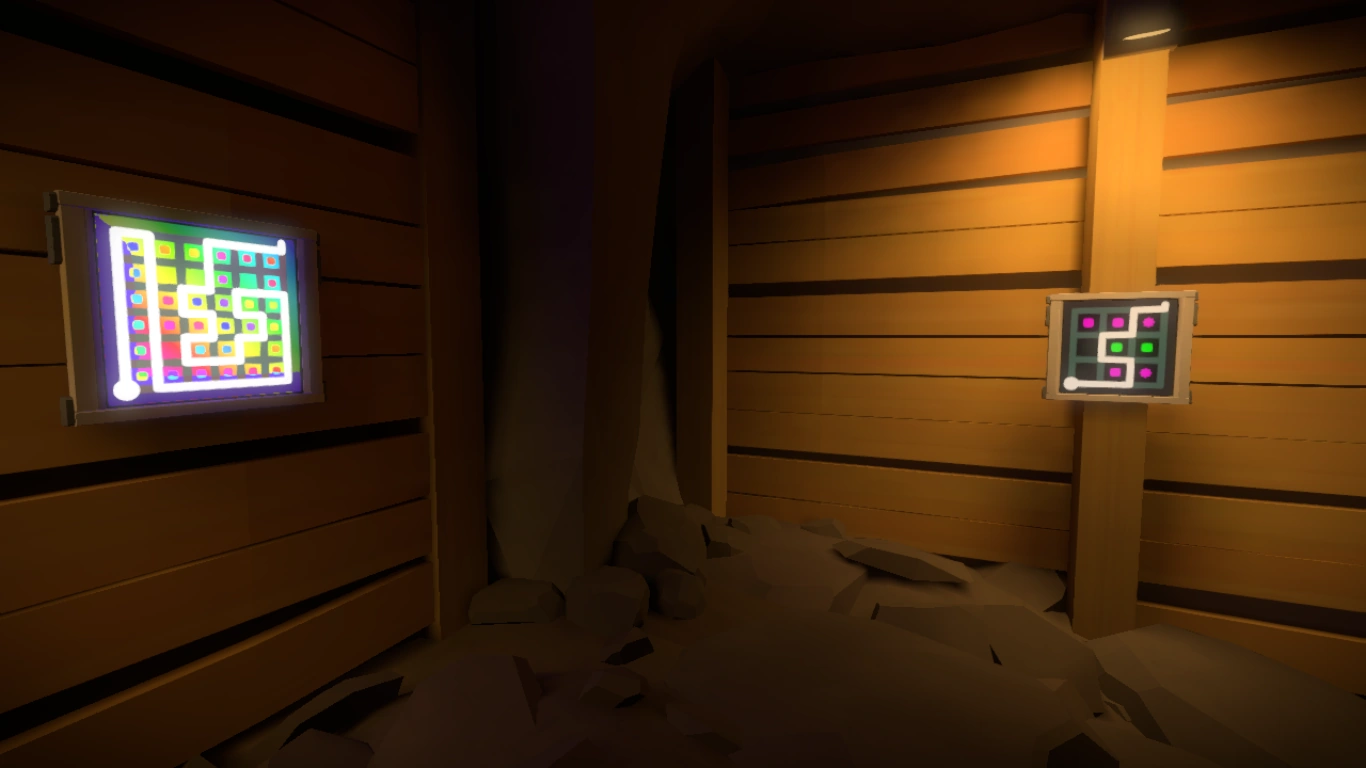
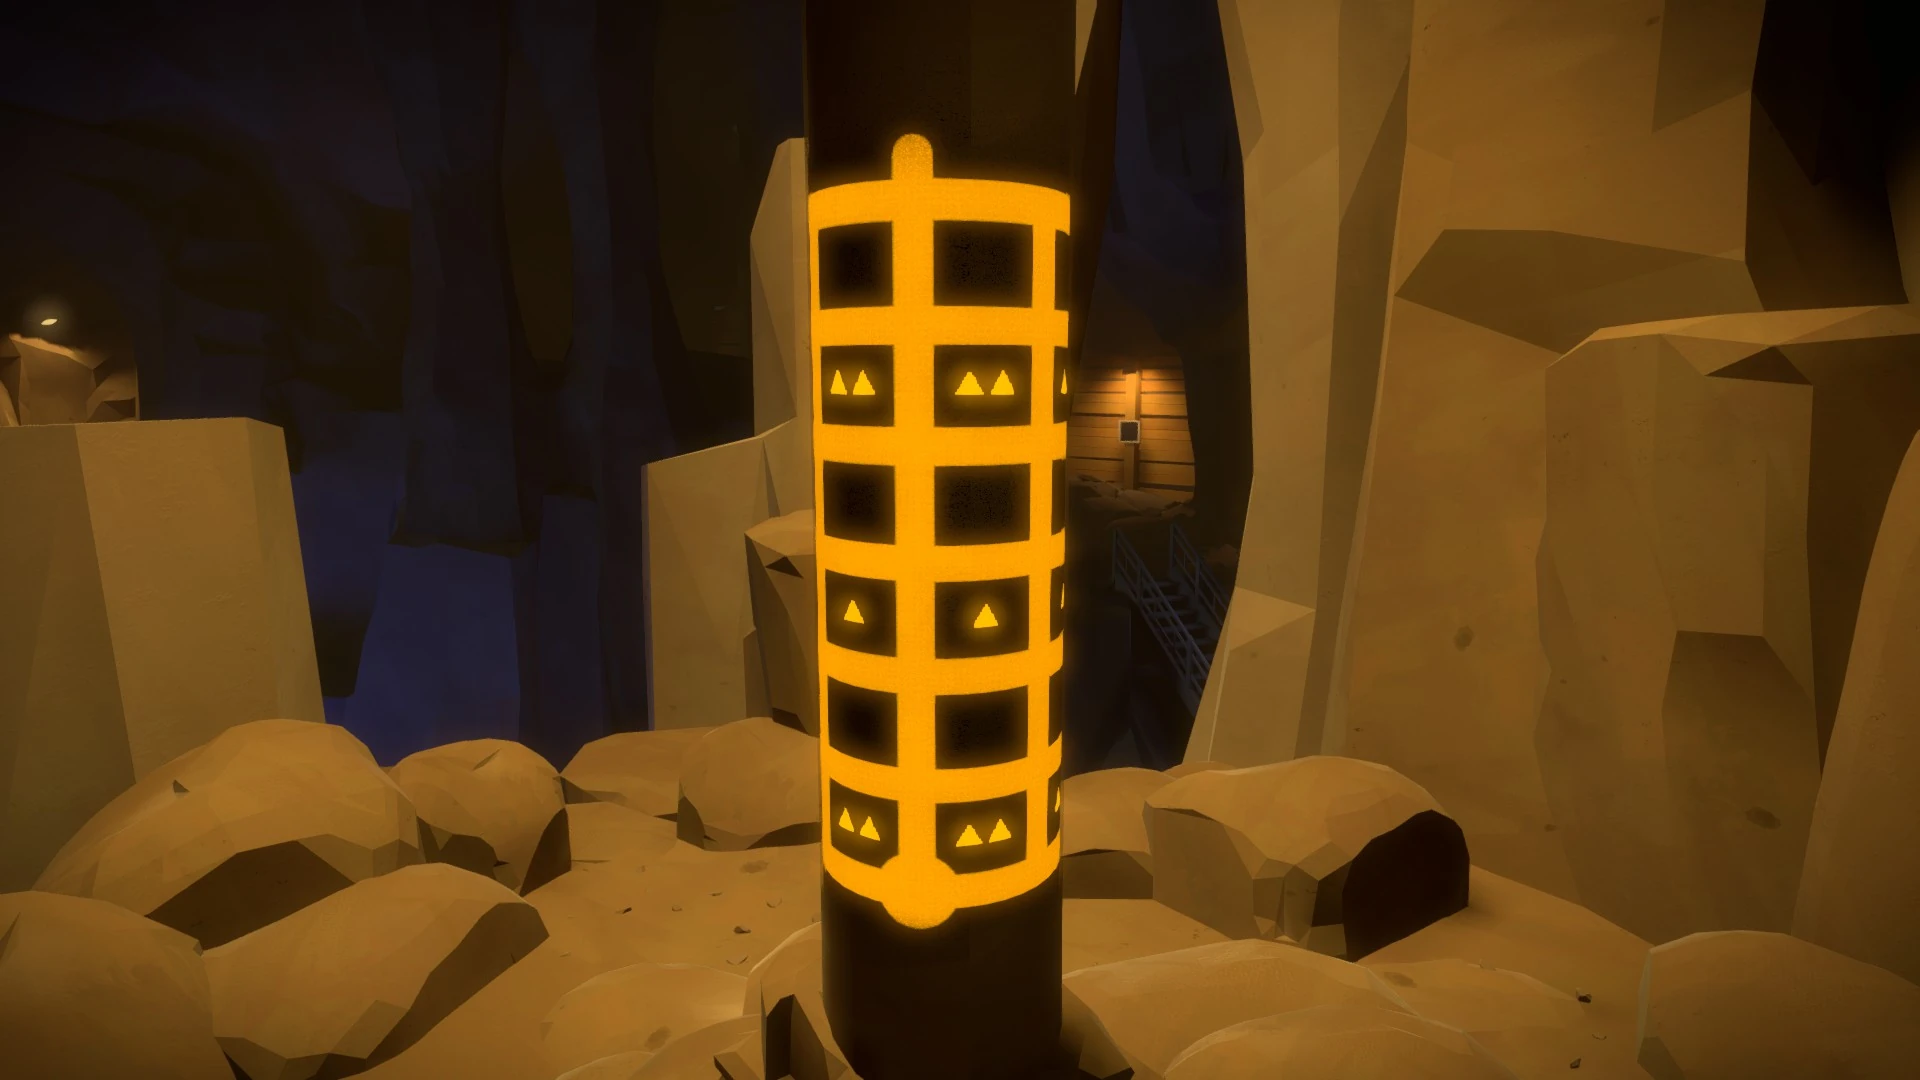
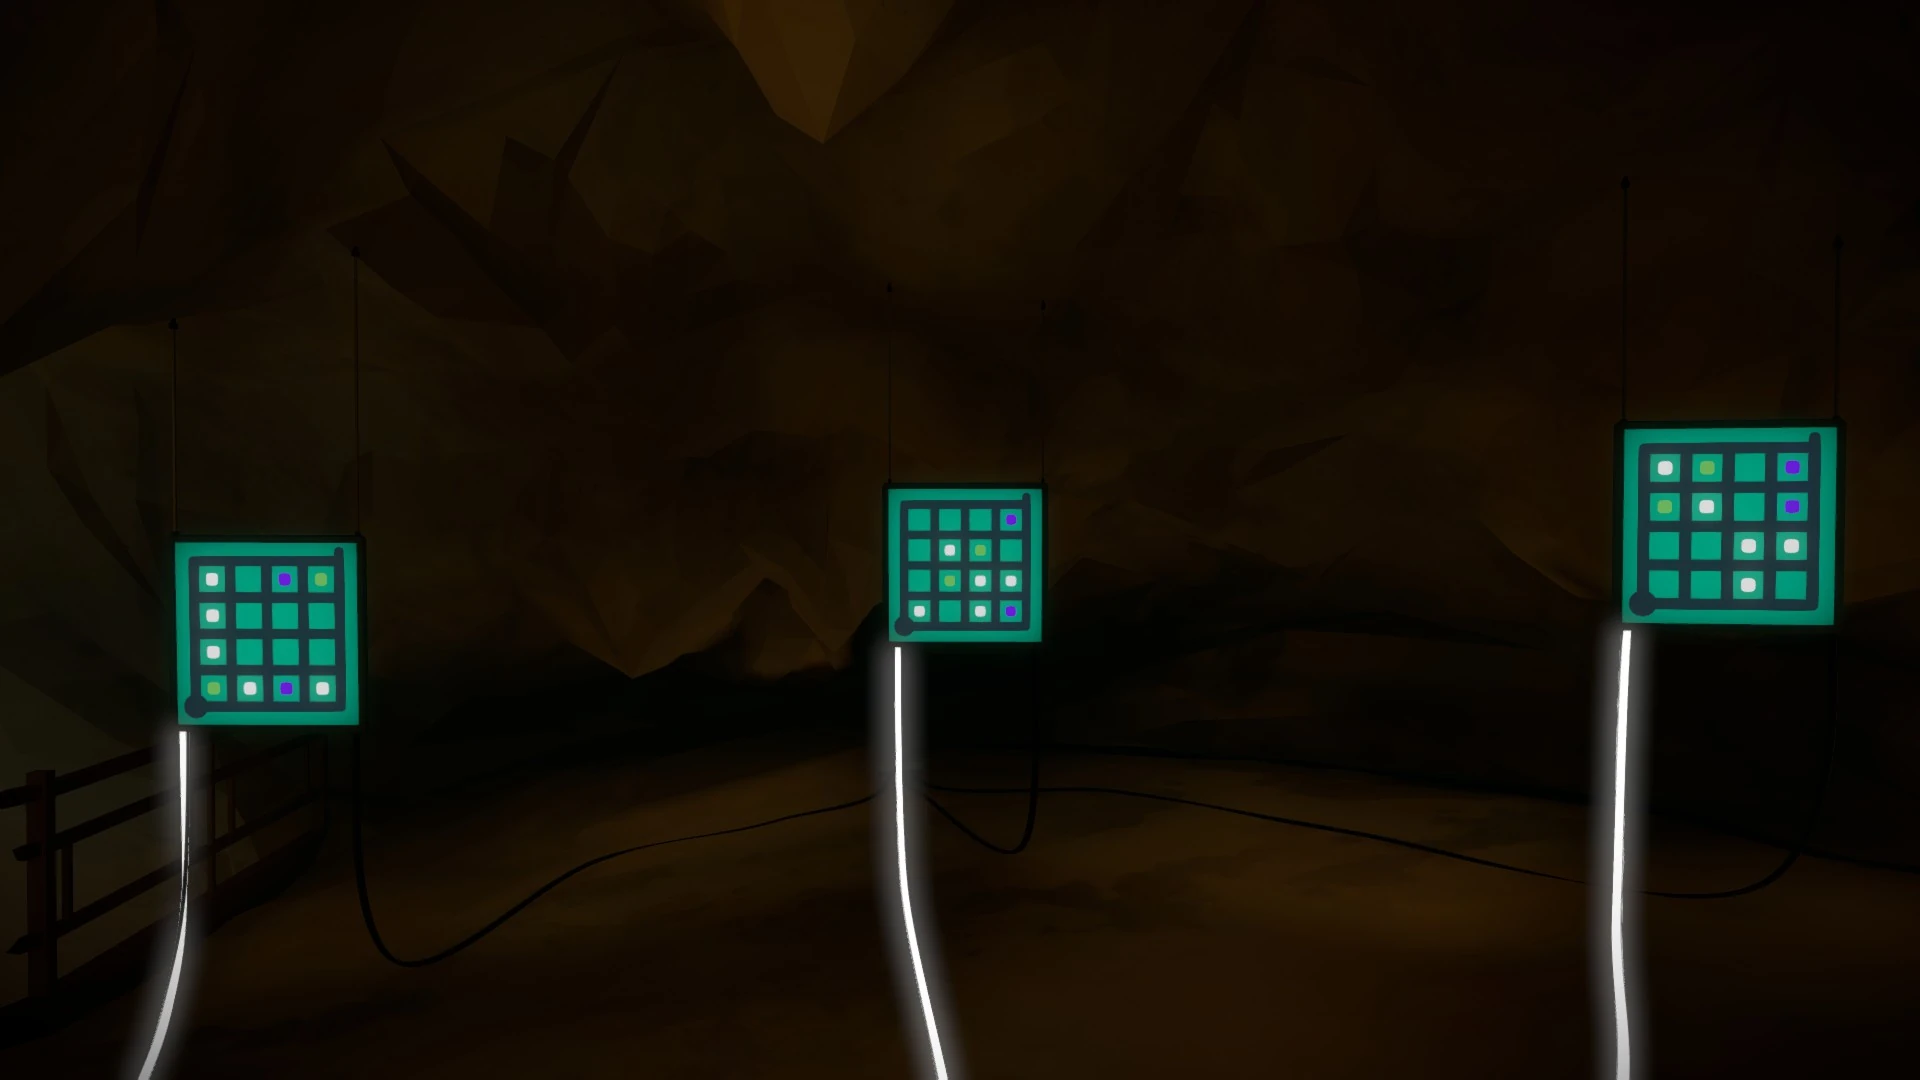
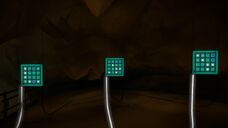
The invisible maze[ | ]
Once you've solved the sets of three, you head right into a room full of colums with screens on every side. The two hexagon dots from 'The Podium' represent two lit screens with triangle puzzles, which you will need to complete.

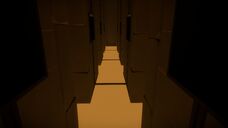
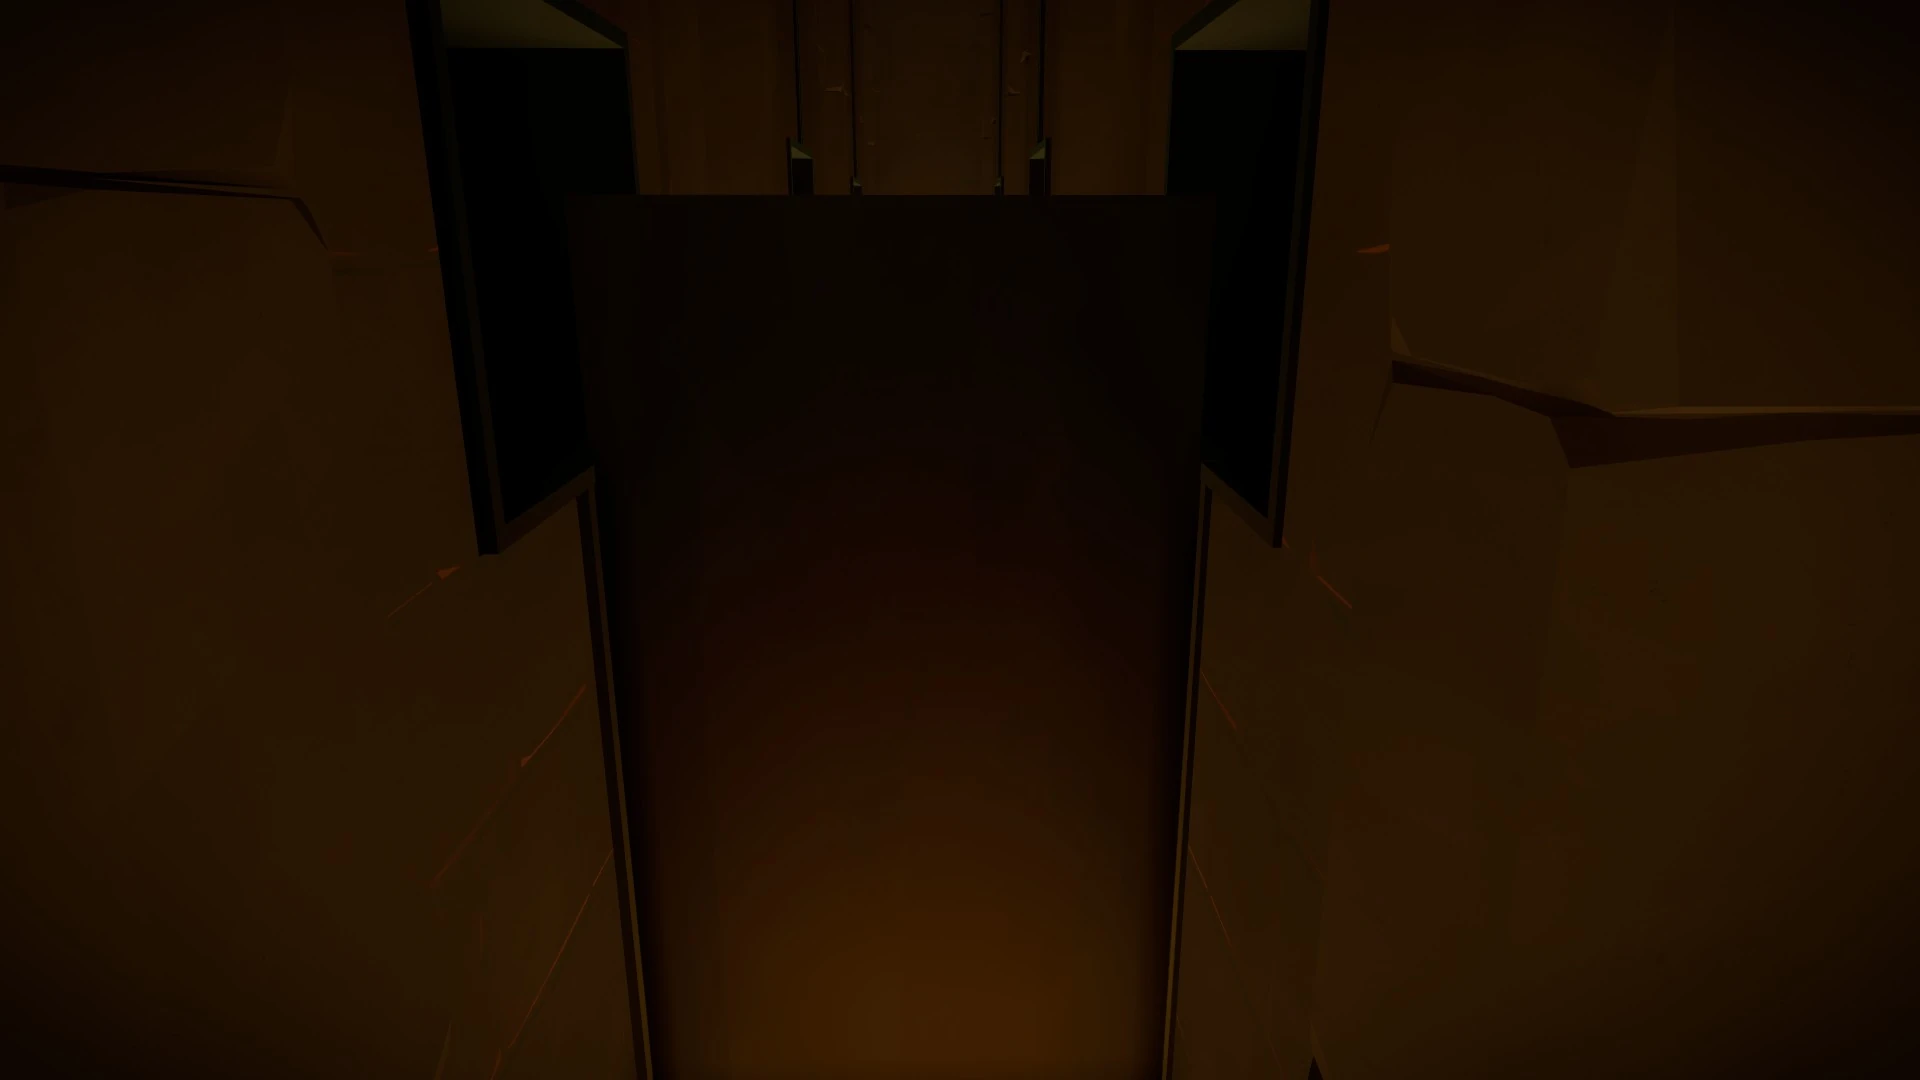
If you don't take the exact path you found on The Podium previously, you will be stopped by black walls that pop up at most intersections.
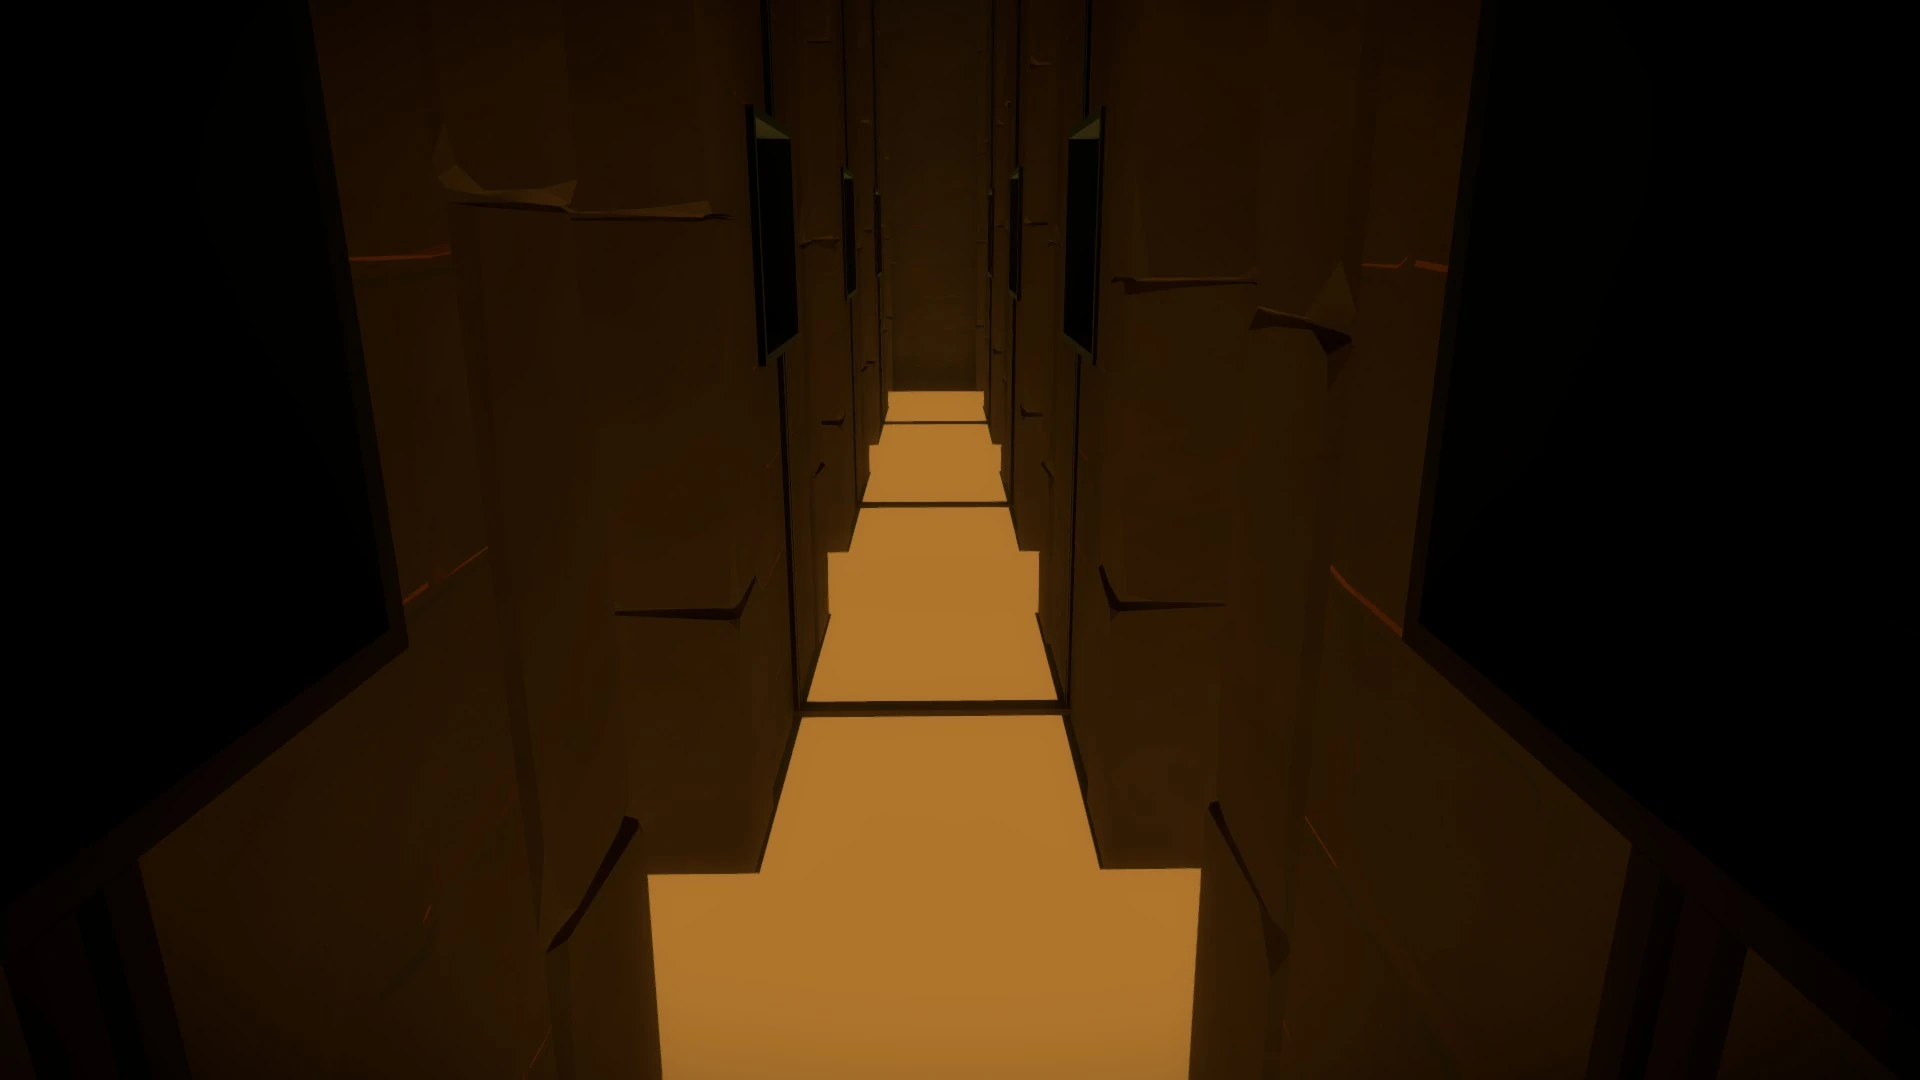
Once you find and solve both, you need to navigate to the other exit that leads to the vault you walked past in the beginning (not the one you came in).
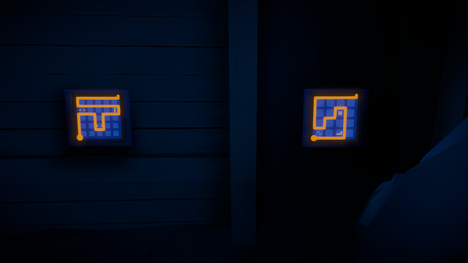
Here you'll find two column puzzles lit up to you left and right, just inside where you came in. This part's pretty simple: once again, they are random, and once again you simply need to finish them both before the music runs out. One will be a black/white square problem, the other will be a two-line symmetry hexagon dot problem. Once you complete both, the final vault will unlock in front of you.
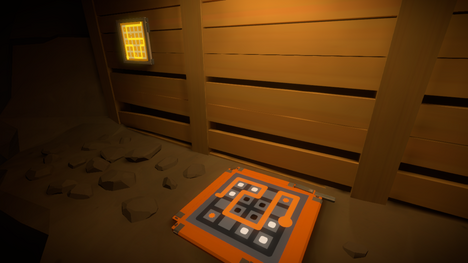
After the Challenge[ | ]
In the area with music box, you'll find a thin passage in the opposite direction from the one you entered. Follow it until you find another puzzle:
You'll enter a passage that goes above the windmill theatre. You'll reach an intersection. The right path connects to the windmill and the desert ruins, while the left path leads to a shortcut to the town, blocked by another puzzle: