 | ||||
|
| ||||
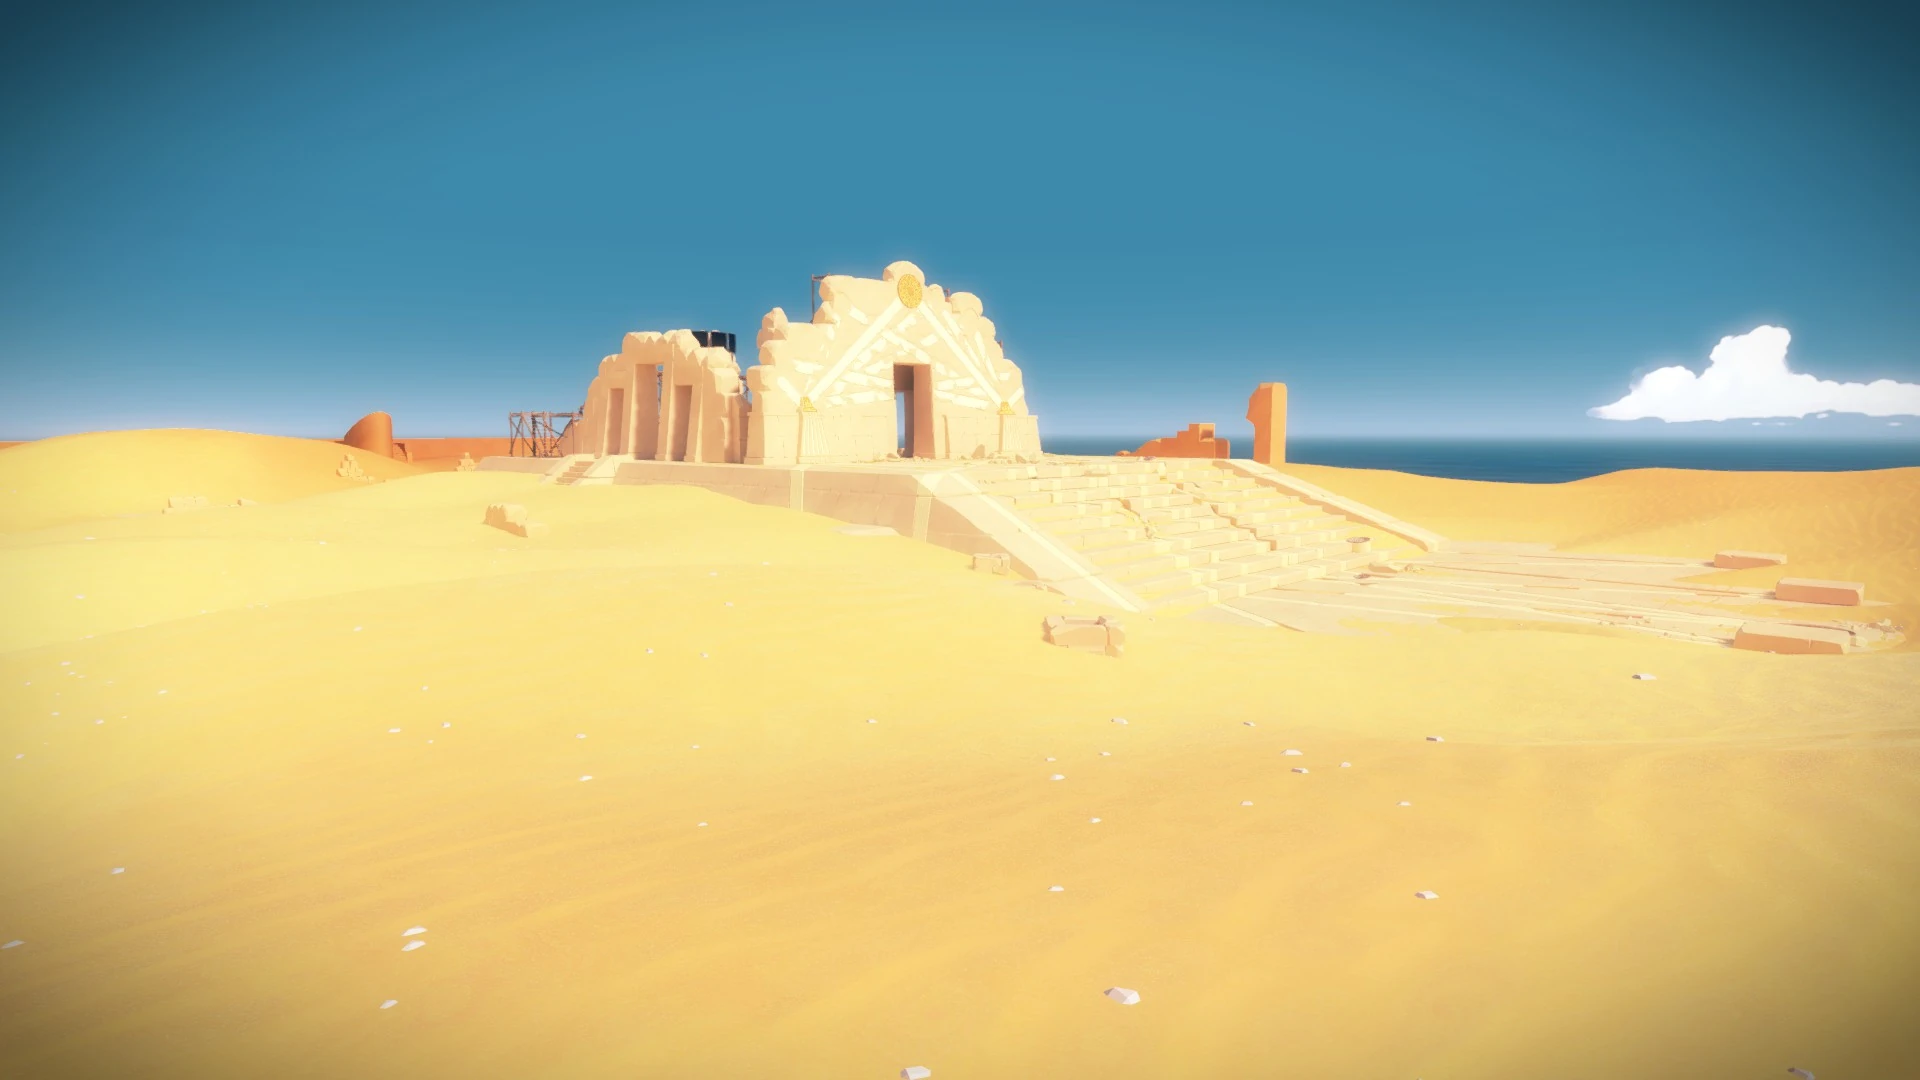
The Desert Ruins are a puzzle area in The Witness.
Desert Ruins Hints[ | ]
Puzzles in the Desert Ruins are shaped like ship wheels and have several possible end points with seemingly no obstacles in between. But it isn't as easy as drawing a line. Sometimes you need to look at puzzles from a different perspective.
Part 1 (Exterior)[ | ]
- Hint 1: Praise the Sun!: The sun is very important here.
- Hint 2: The Right Angle: Try looking at the panels from a different angle or perspective. You may need to find ways to move the panels themselves or manipulate light manually.
- Hint 3: Scratches: When viewed from the right angle, you'll notice scratches on the panel.
Part 2 (Interior)
[ | ]
- Hint 1: Water: Water is very important here.
- Hint 2: Mirror Image: Try looking at the panels from a different angle or perspective. Remember that reflections are mirrored.
- Hint 3: No Reflection: Can't get a reflection? There is more than one way to raise and lower the water. Keep experimenting with the right angle.
- Hint 4: Road Block: If a panel is made of translucent glass, there is probably a reason for it. Still lost? Try looking behind it.
Desert Ruins Solutions[ | ]
Part 1 (Exterior)[ | ]
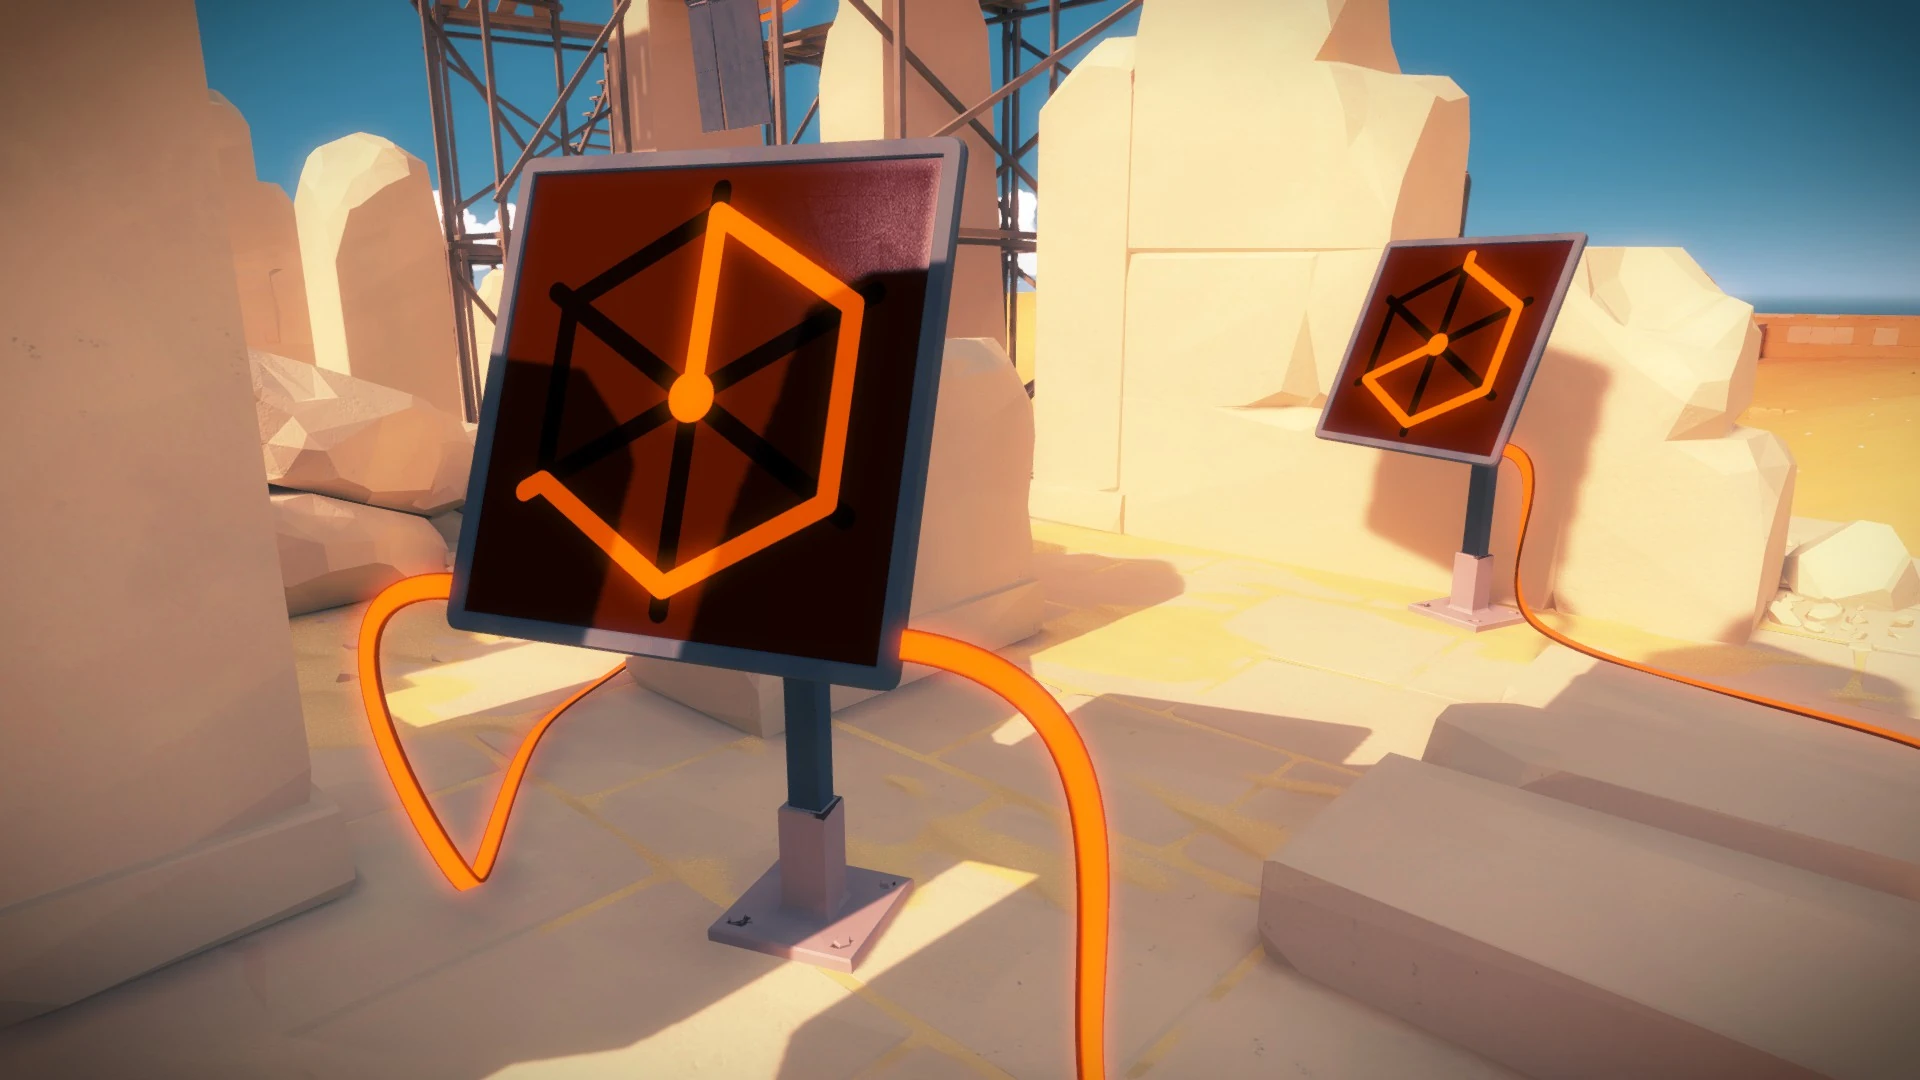
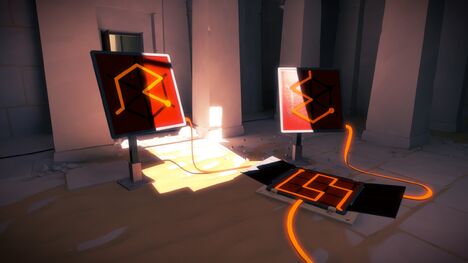
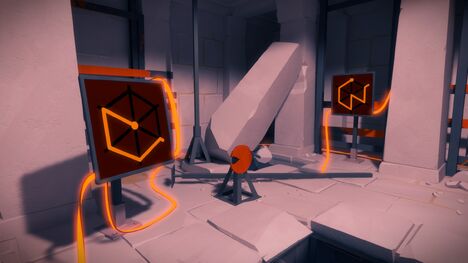
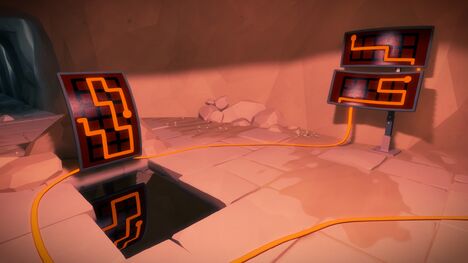
Solving the puzzles outside the Desert Ruins unlock the door that leads inside. As you may have figured out by now, the solution to each puzzle has been scratched onto the panels, revealed by illuminating the surface with light from the sun.
It's all about getting the right angle.
You can rotate or move some panels using switches below or behind them, which let you catch sunlight.

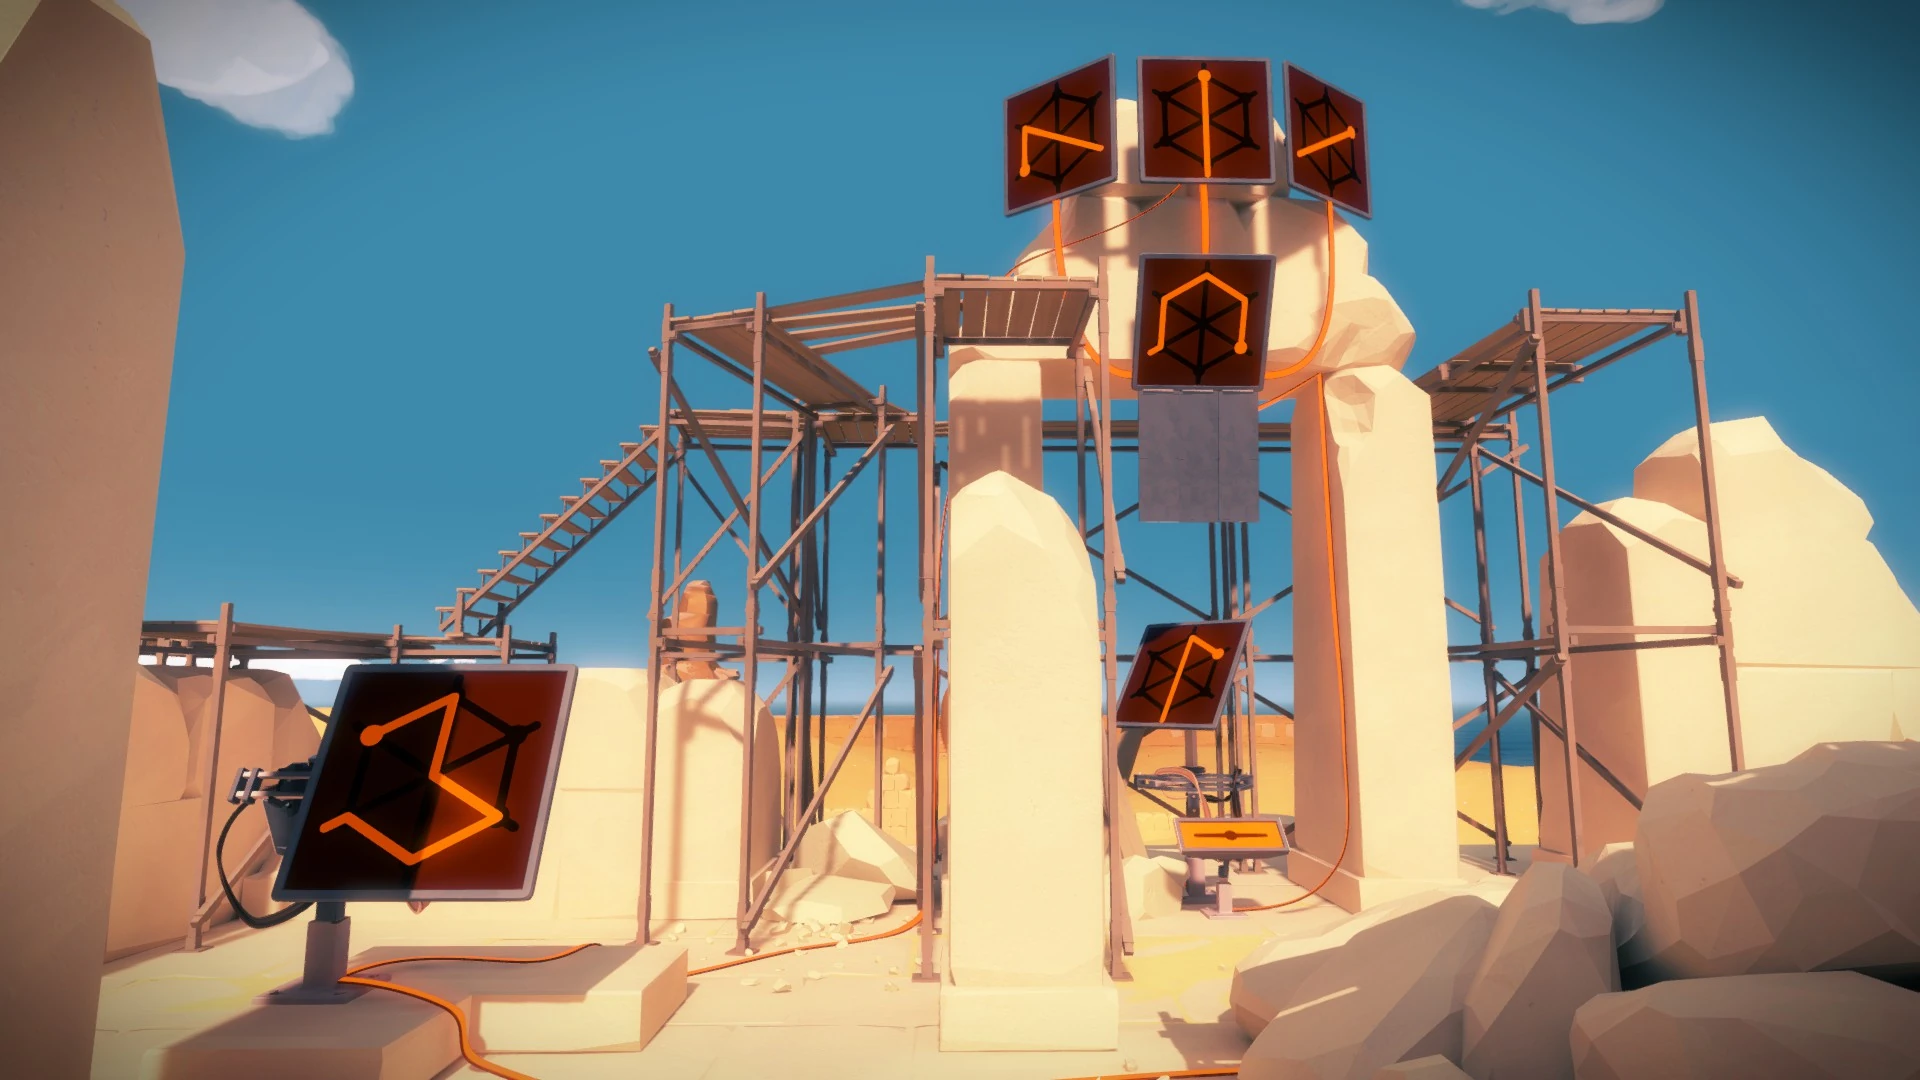
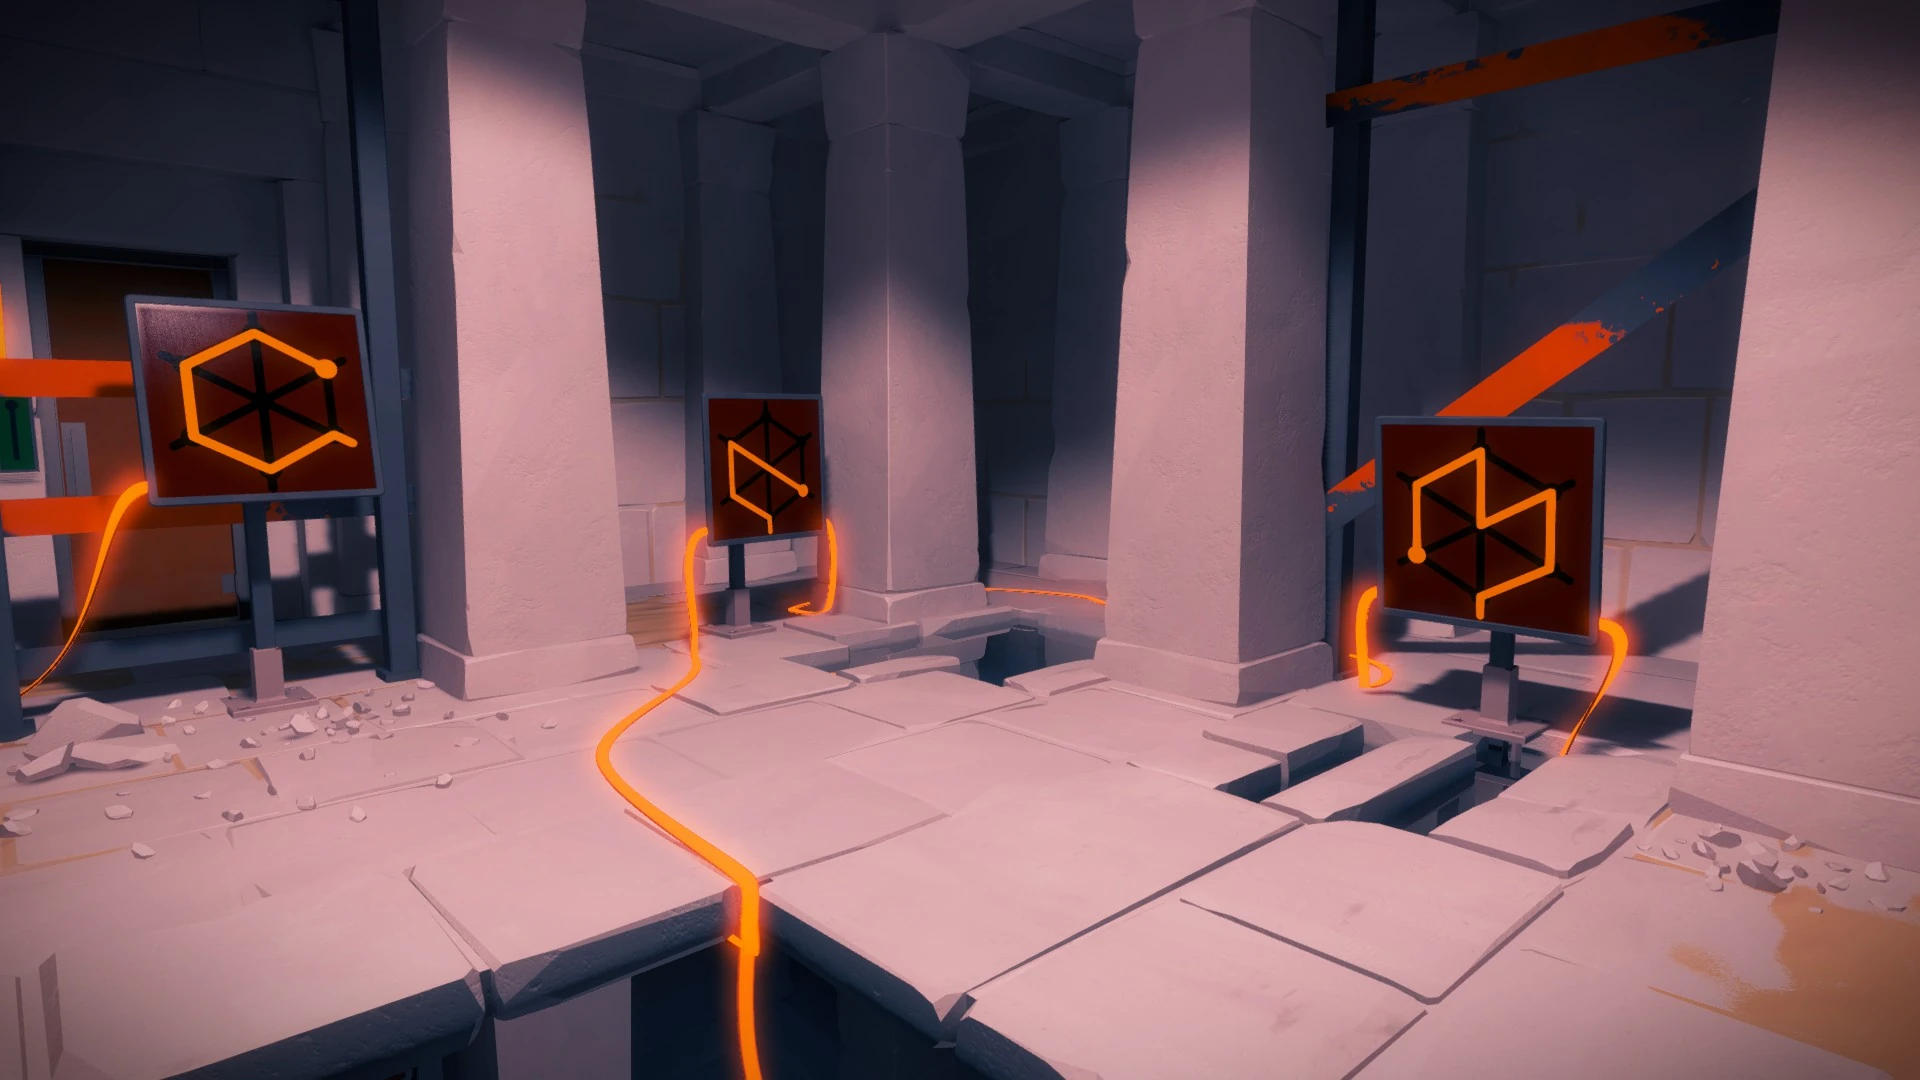
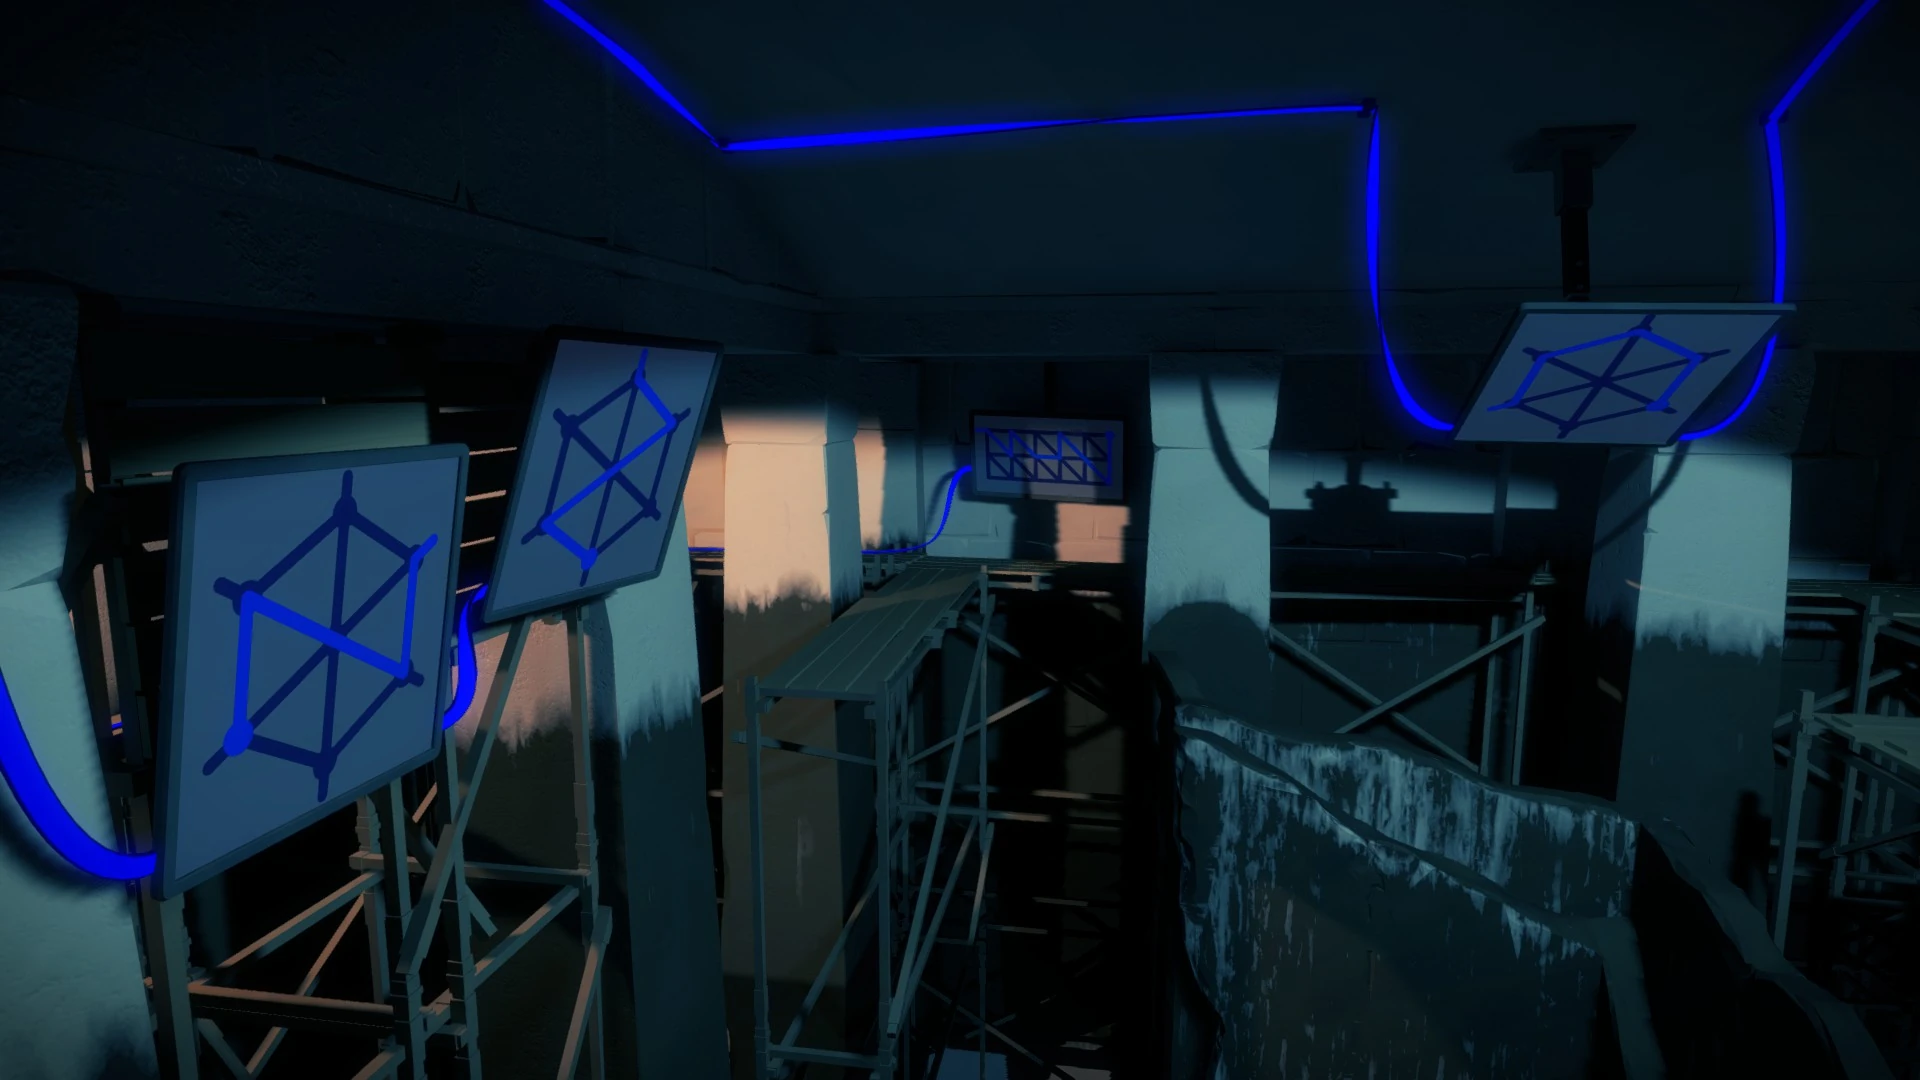
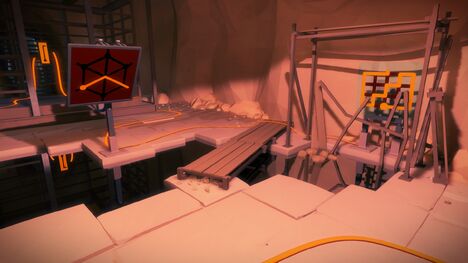
Once you've solved these, move behind the Desert Ruin to unlock the door. The puzzles inside use the same logic as the ones above, but take a bit more manipulation to get right.


You'll need to use this panel to change the direction of the light if you want to solve the puzzles here on your own.

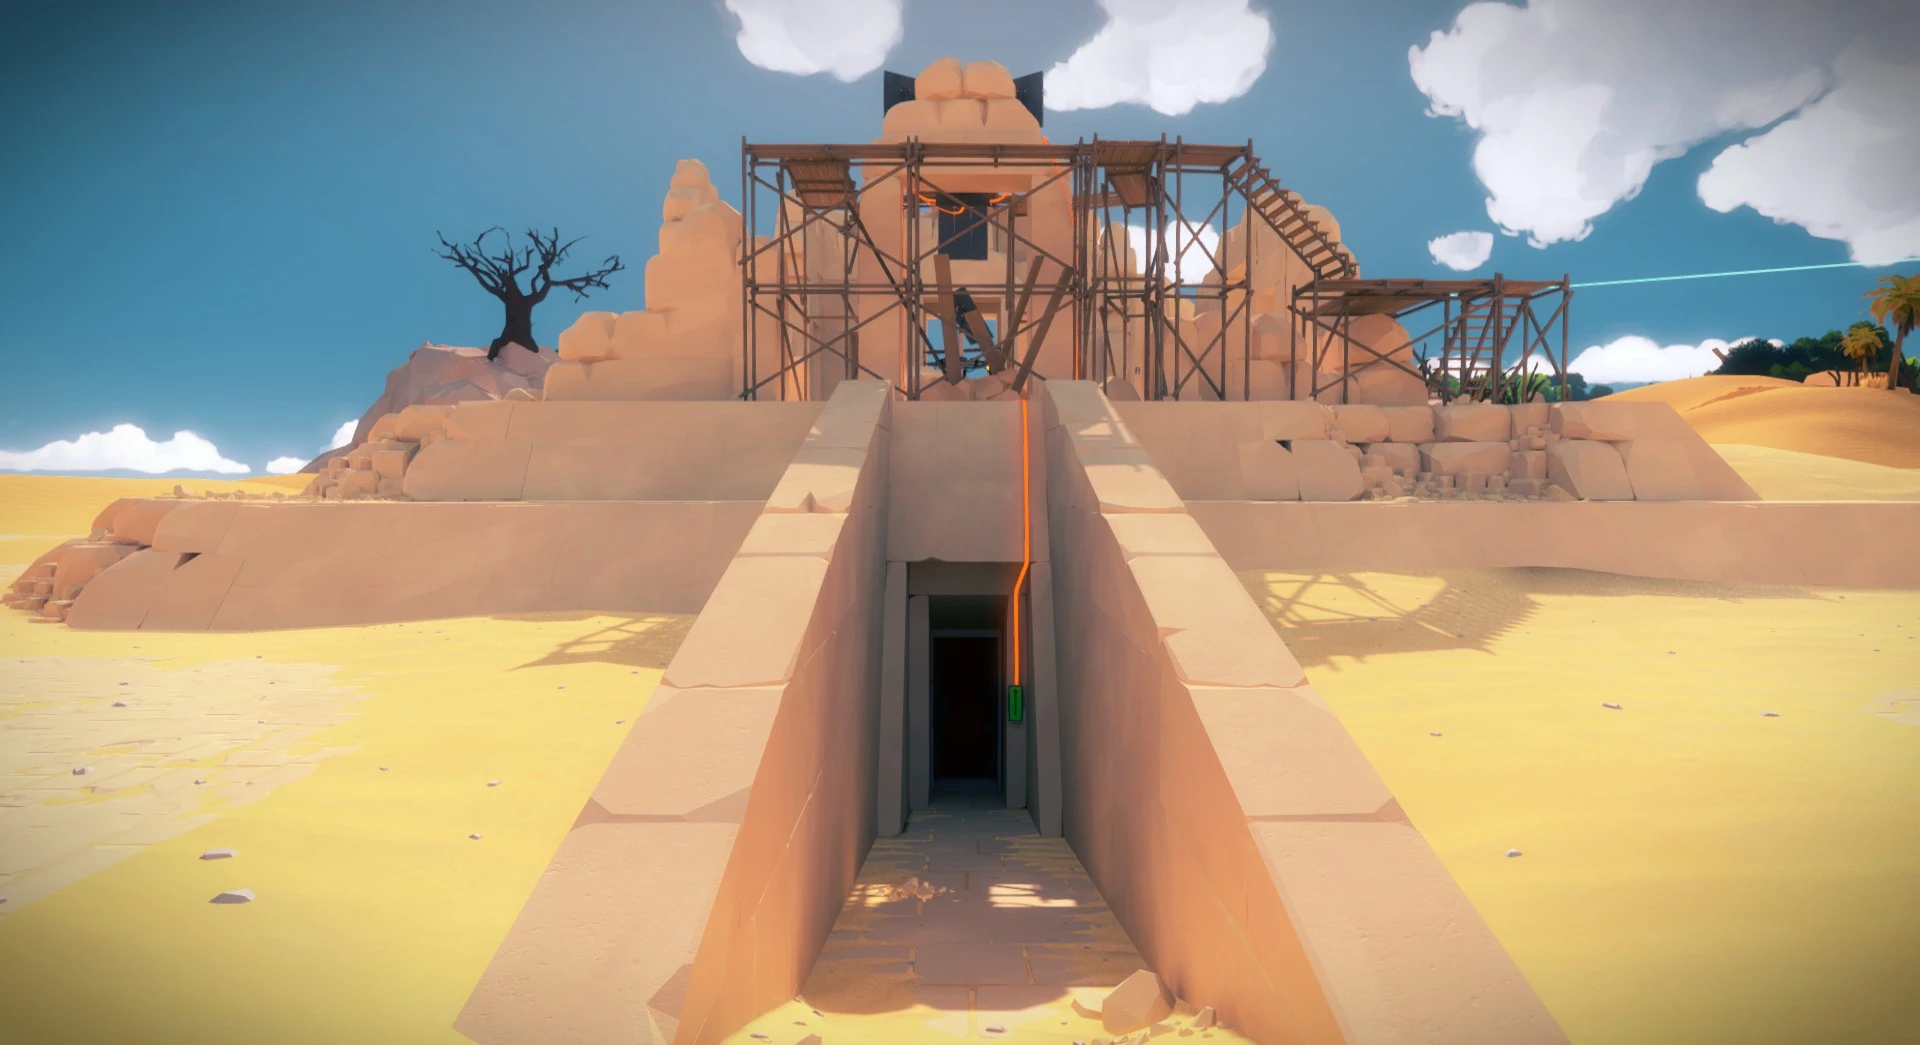
Once you're done here, head downstairs into the Desert Ruins - Interior.
Part 2 (Interior)[ | ]
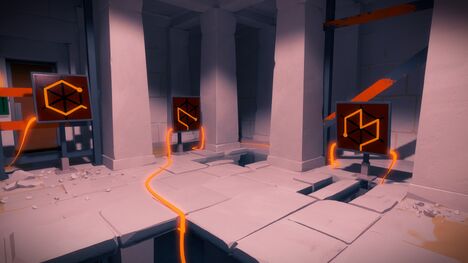
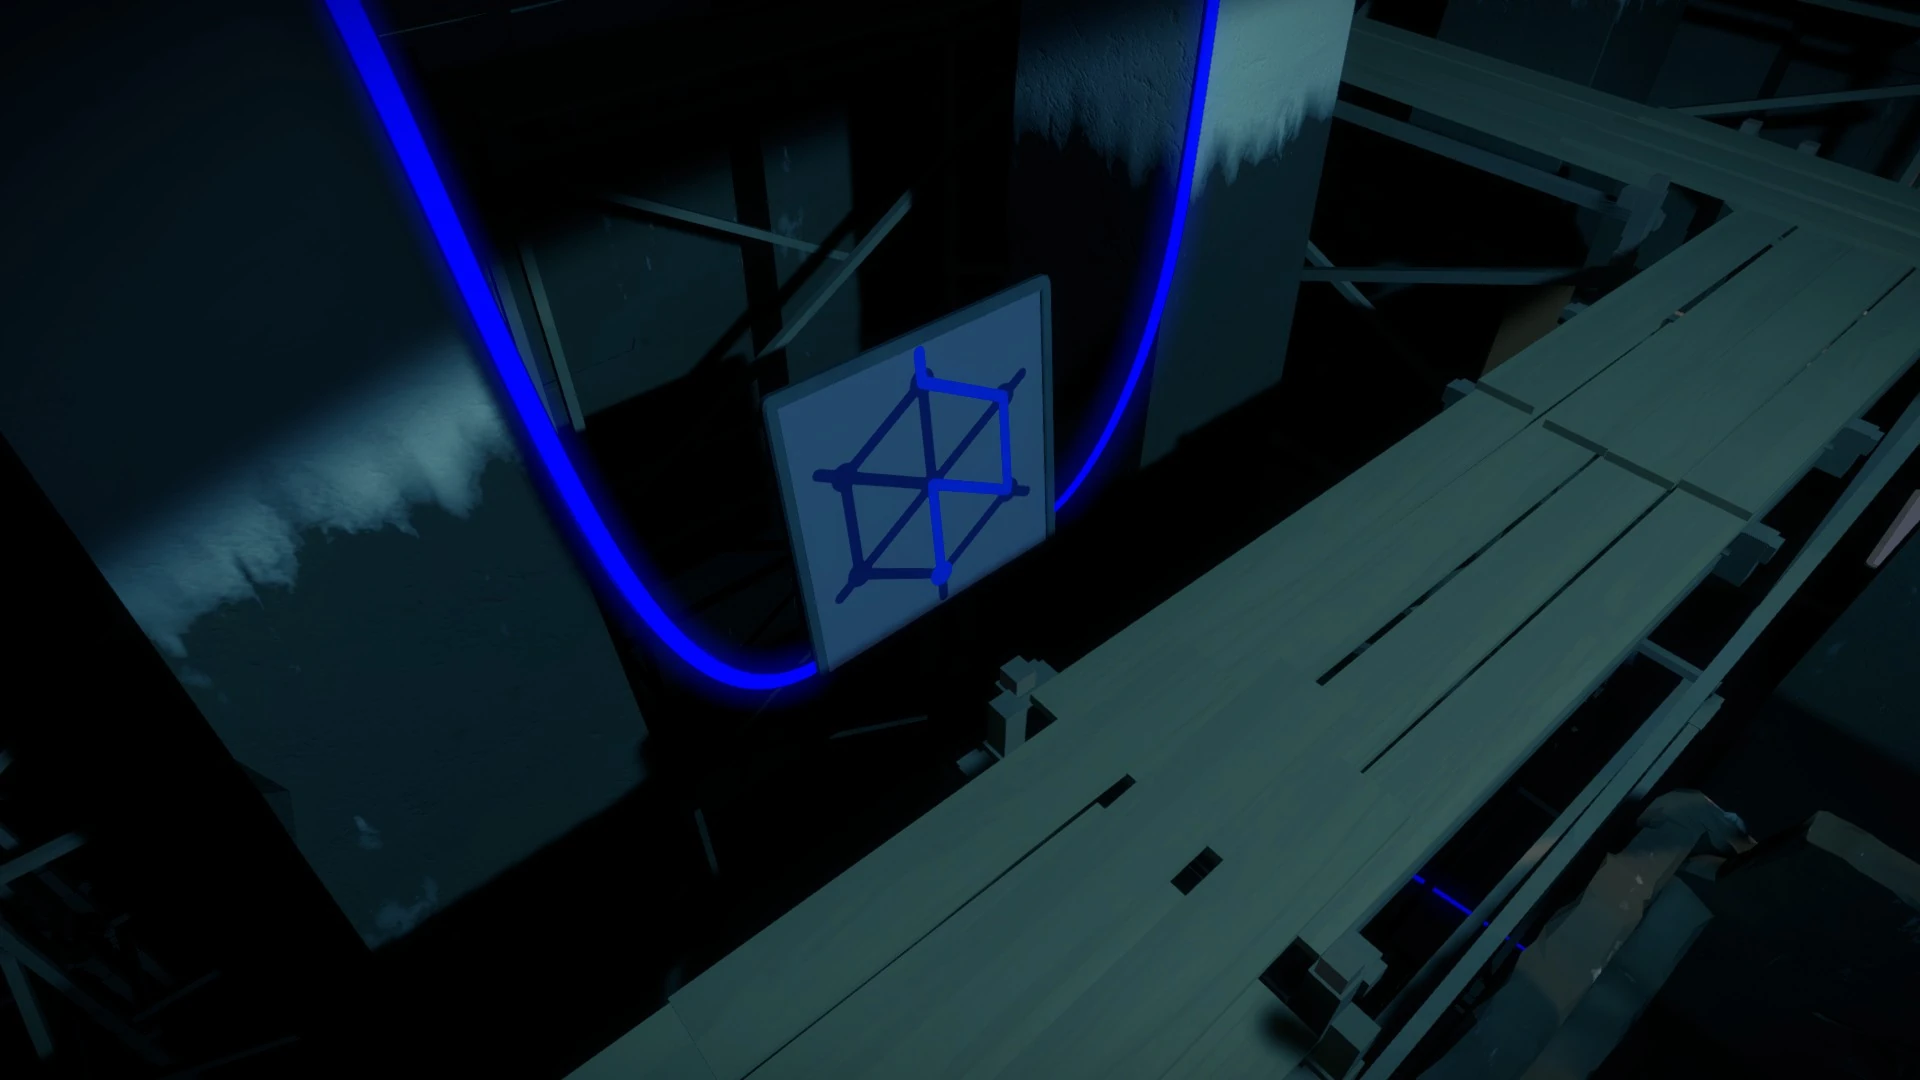
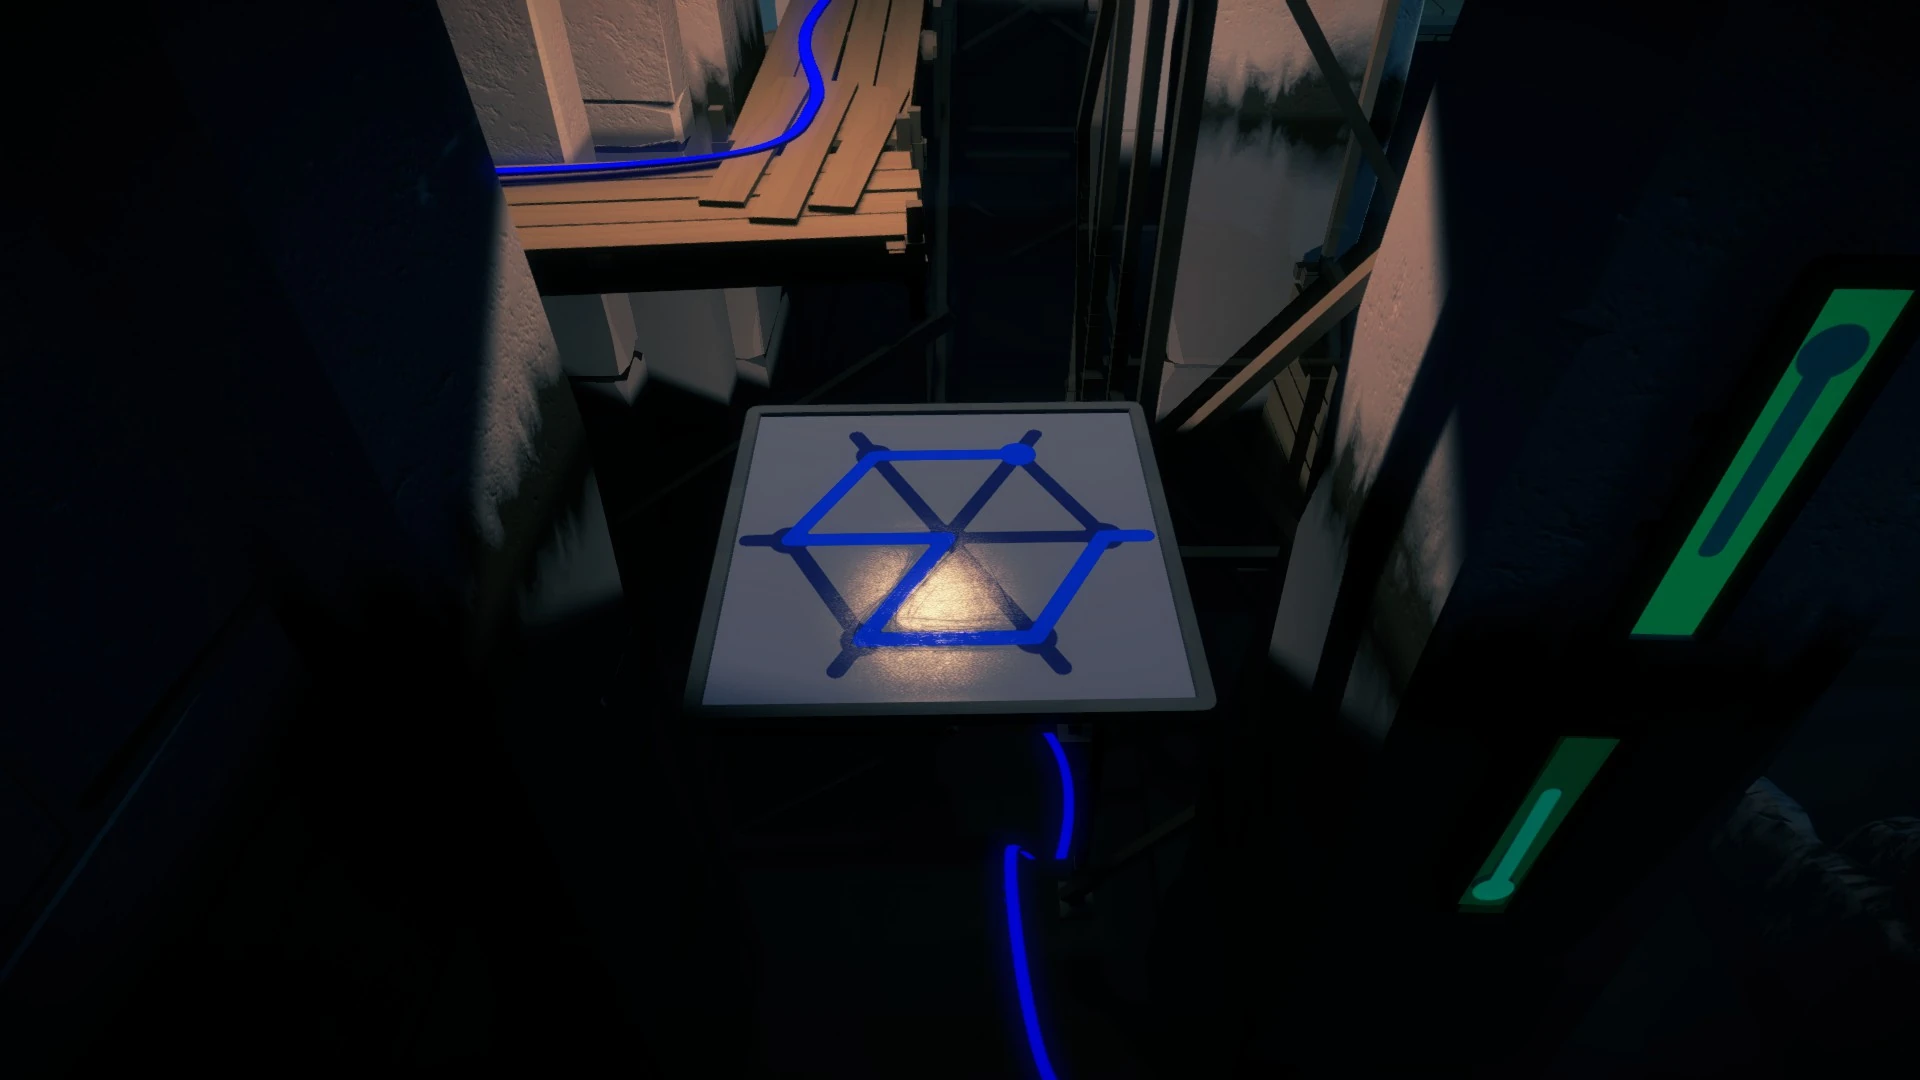
Things get a bit tricky after this area, where light sources become very limited. Here, the key is looking at the water pools under the panels to see the reflection.

You may need to expand the image above to see the paths, because the colors are dim. The key to this area is raising and lowering the water in the right places and keeping an eye on reflections while the water is moving.

Once you're done here, move into the final area of the Desert Ruins


.
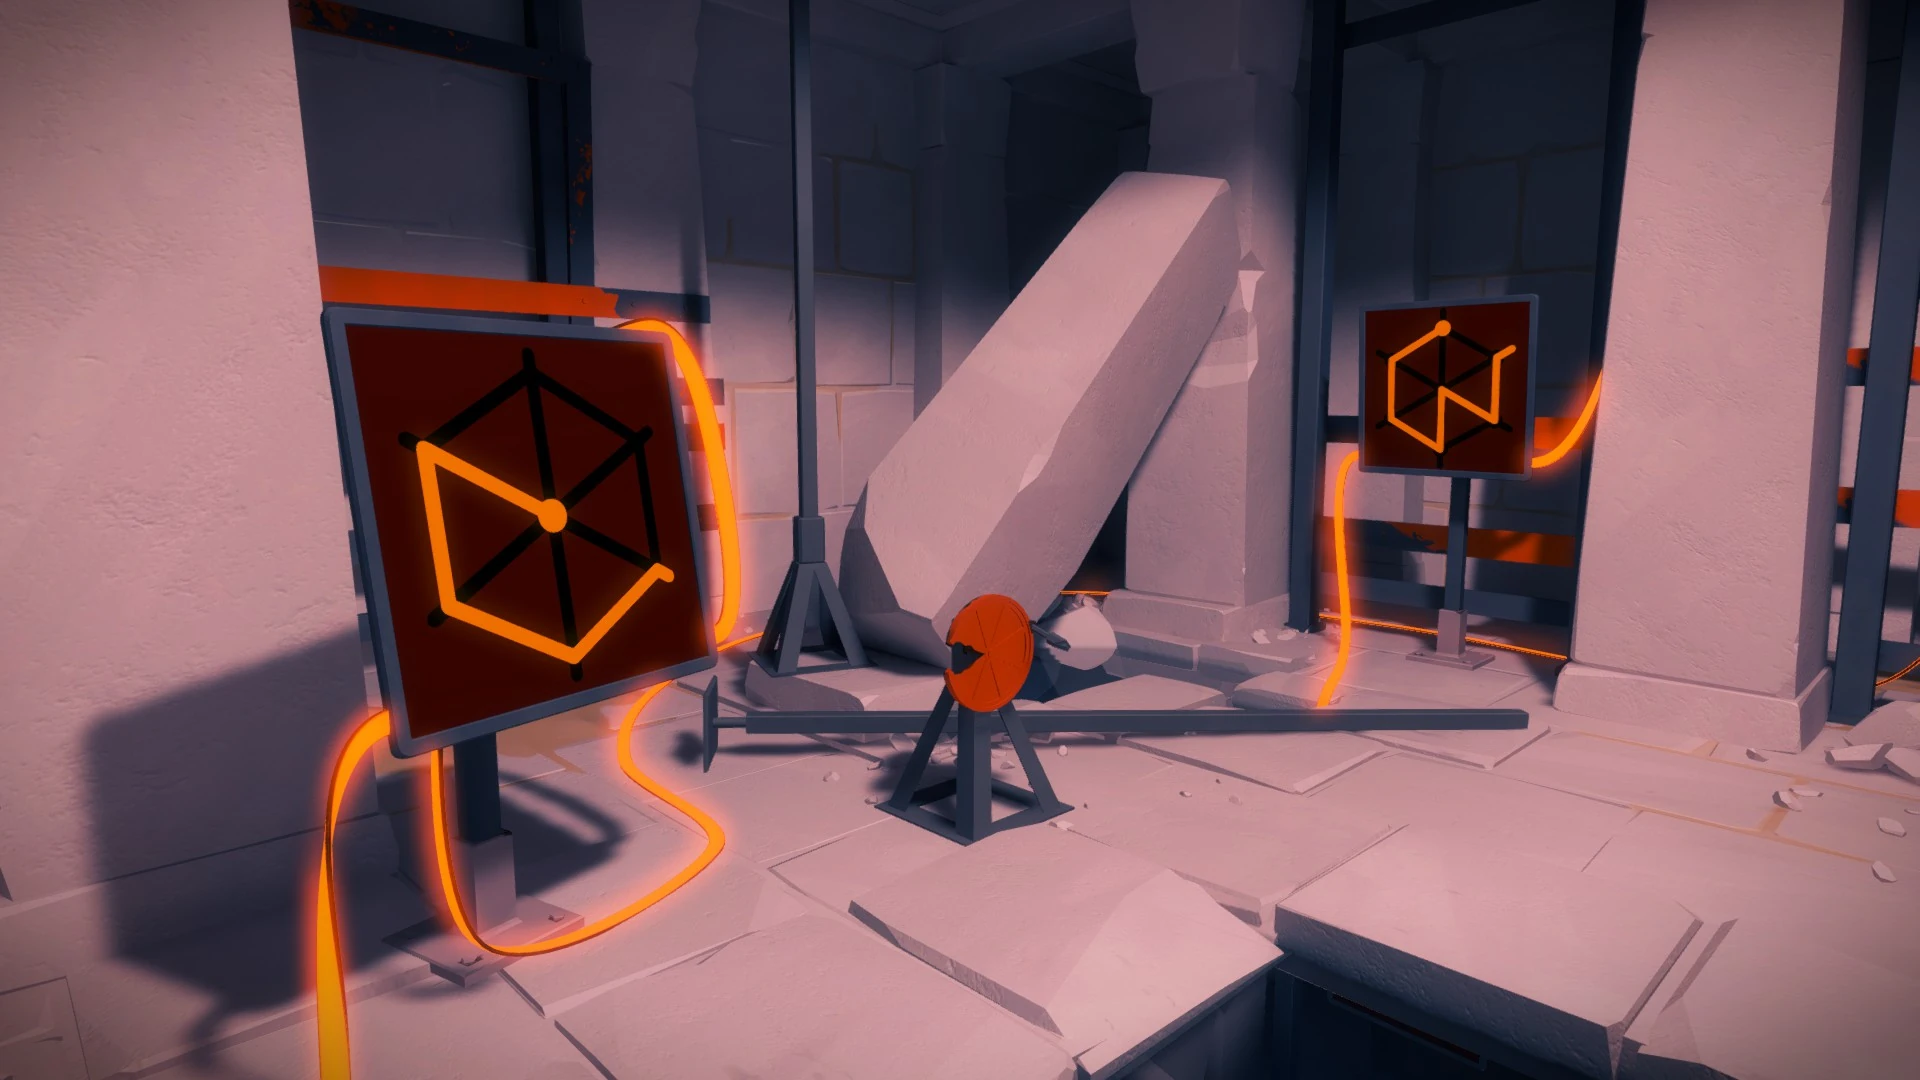
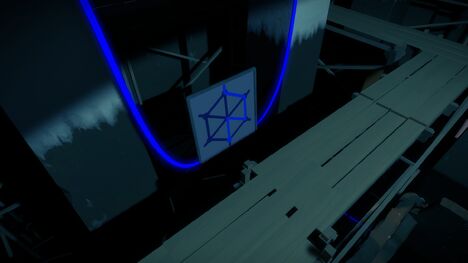
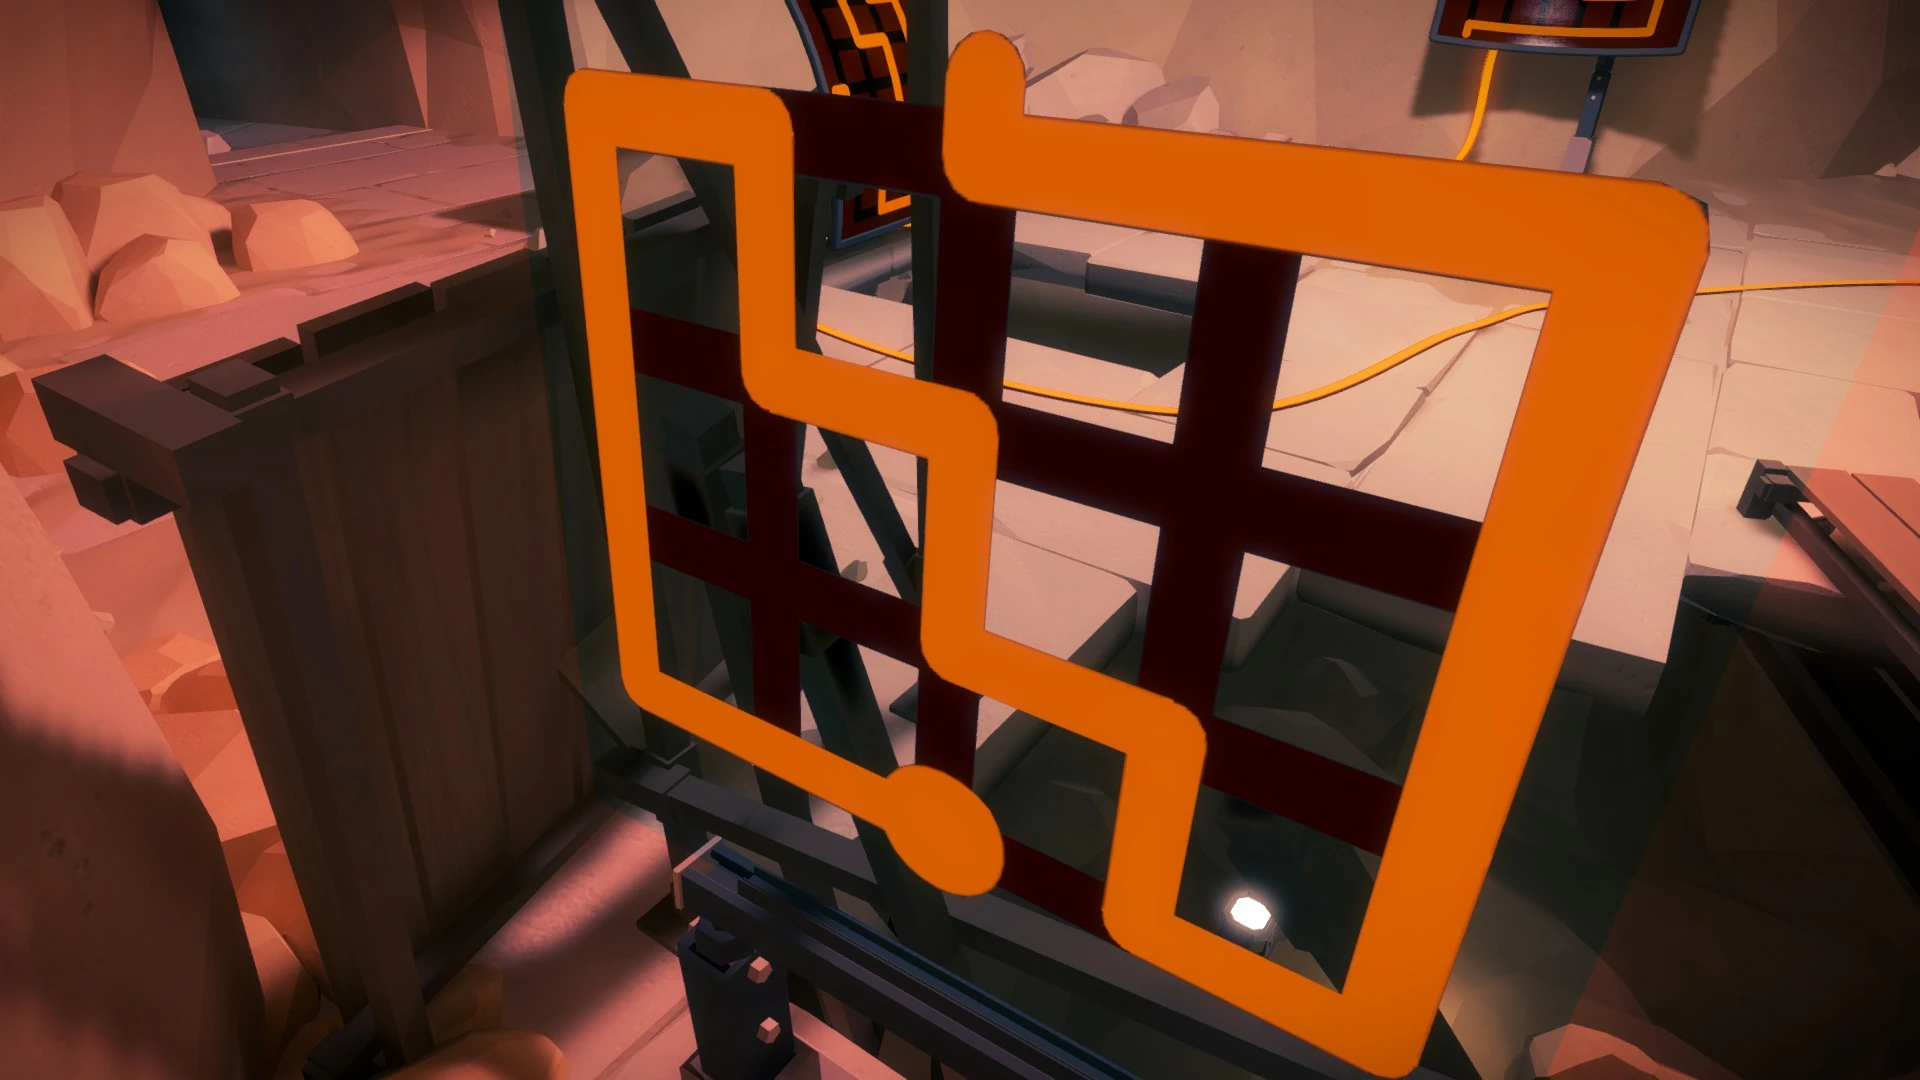
The puzzle on the right in the image above is tricky. You can see the solution in the reflection of the water, but you can't draw a path from this side of the puzzle because the rubble is blocking your way.
But notice how the panel is made from translucent glass, while the other puzzles in this area are not. To solve this one, you'll need to move behind it to try the correct line.

Done! Once you've completed this area, you can activate the elevator up ahead, take it back up to the surface, and fire off the laser in this area.