 | ||||
|
| ||||
The Bunker is a puzzle area in The Witness.
Bunker Hints
[ | ]
The majority of the Bunker area may be difficult or impossible for people with different types of colorblindness. Solutions to everything are posted beyond the spoiler tag below.
Part 1 (Greenhouse)[ | ]
- Hint 1: The Colors...: The goal here is to use the line to separate colors into groups. Only like-colors can share the same space.
- Hint 2: ...Are Not What They Seem: Maybe the colors you're looking at aren't actually the "true" color.
- Hint 3: The Lab's Secret: There's a reason the panels of glass in the lab are different colors.
- Hint 4: The Lab's Second Secret: Combining colors makes new colors. What happens if you layer the colored panes of glass?
- Hint 5: Fresh Air: If you're stuck upstairs, try opening up the wall with the switch. A change of light could help.
Part 2 (Elevator)[ | ]
- Hint 1: Colors: Each floor of the Bunker is lit with a different color, changing the color scheme on the elevator control panel as you go up. Keep solving to keep moving.
- Hint 2: Trapped: If you get trapped by the broken wire, you can deliberately fail the puzzle or use the solution from another floor to get back down.
- Hint 3: The Way Around: Think about what you've learned about colors so far to figure out how to skip the floor with the broken wire. You can also take a step back while on the floor with the broken wire and look at the puzzle for a hint. Stumped? Scroll down for the solution to the top floor.
Bunker Solutions[ | ]
Part 1 (Greenhouse)[ | ]
If you've done Entry Area - Part 2, you understand the principle of using a line to separate black and white squares. The Bunker introduces multicolored squares, which must also be separated into their own isolated groups. Let's begin.
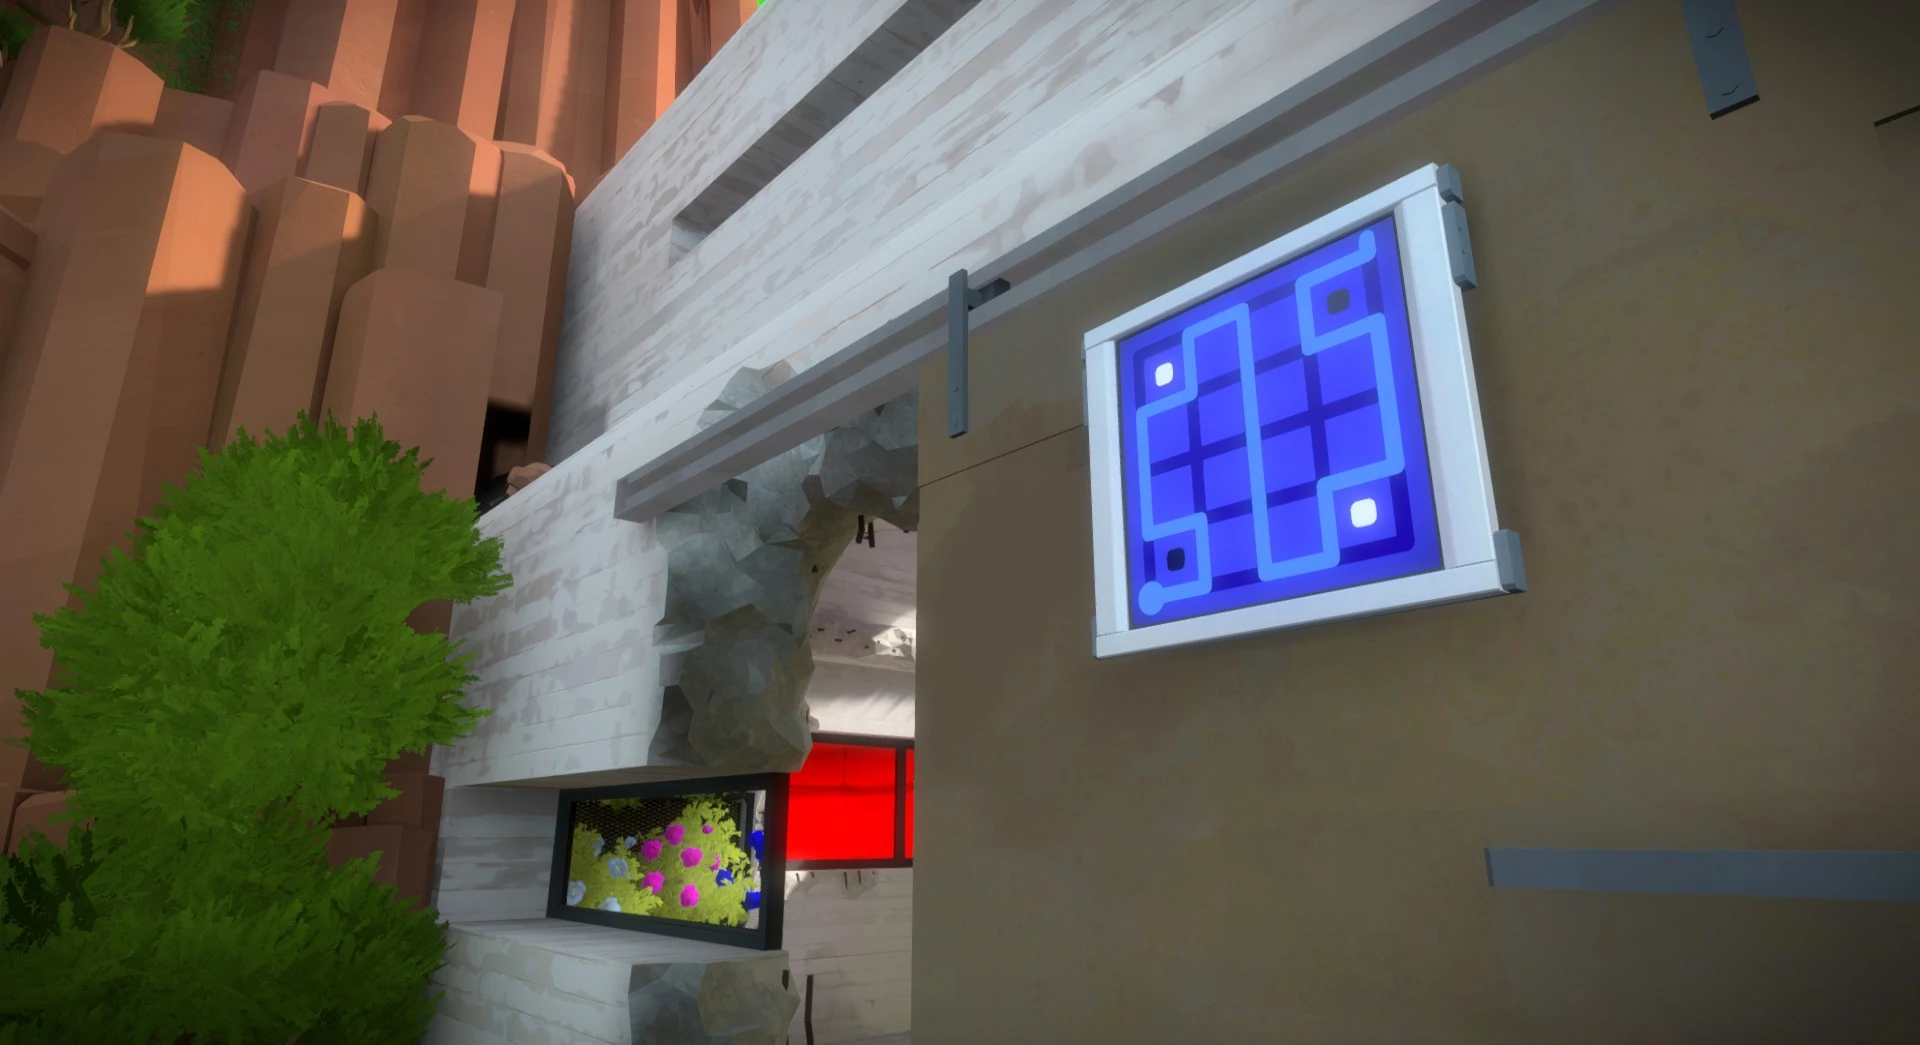
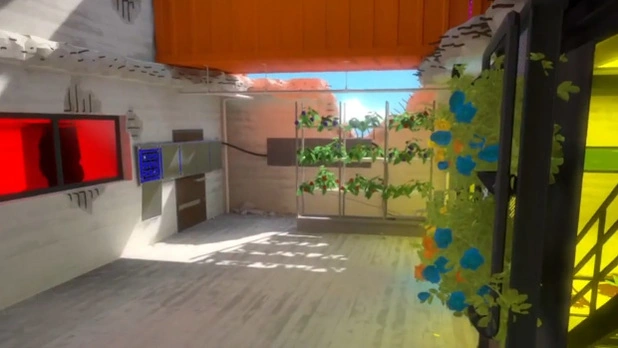
Opening the door is simple enough. Once you're inside, you'll see all kinds of plant life and brightly colored windows, the latter of which will play a role very soon.
There's more than one way to solve some of these. Remember also that it's okay for individual squares to be completely isolated even if there are colors on the board it can match up with. The only rule here is squares can't occupy the same space as a square of a different color.

Solving the sequence above activates the control panel for the blue sliding glass door, pushing it out and letting you go inside to solve the next puzzles.


Notice something about the colored squares on the panel inside before and after you go in, though. They're different when viewed through the yellow glass.

For the second panel in this sequence, you'll notice that basing the solution off the colors through the yellow glass doesn't work, and the panel shuts down. Reactivate it with the first panel and then try looking at it through the blue glass adjacent to the second panel for the correct color scheme.

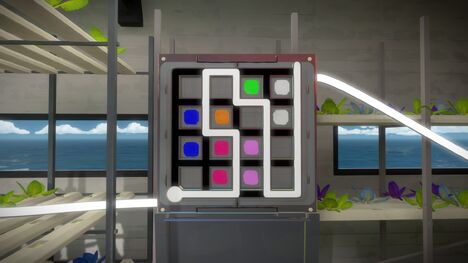
This third puzzle takes it a step further. You'll need to go back out into the main room and look at this panel through both the yellow and blue glass, overlapping, to see the correct color scheme.
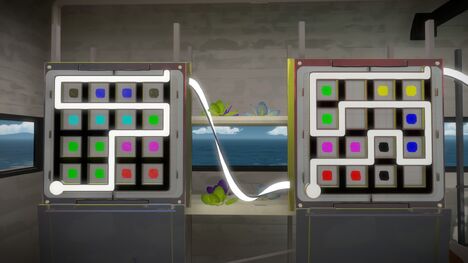
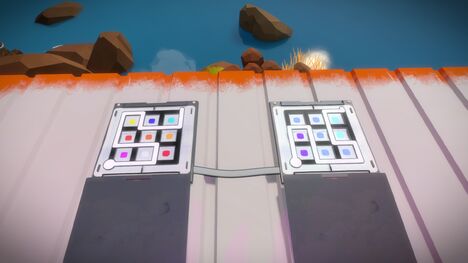
Follow the wire up the stairs and go through the newly unlocked door to find two panels on a wall next to a switch. The colors all appear the same here until you lower the wall out using the switch on the right. Raise the wall back up to solve the second panel in this sequence.
A door down the hall will now be unlocked, leading you to a stairwell. You can explore some of the rooms you want, but the stairs to the top of the Bunker are broken. Head down to the room with the red light to get into the elevator.
Part 2 (Elevator)
[ | ]
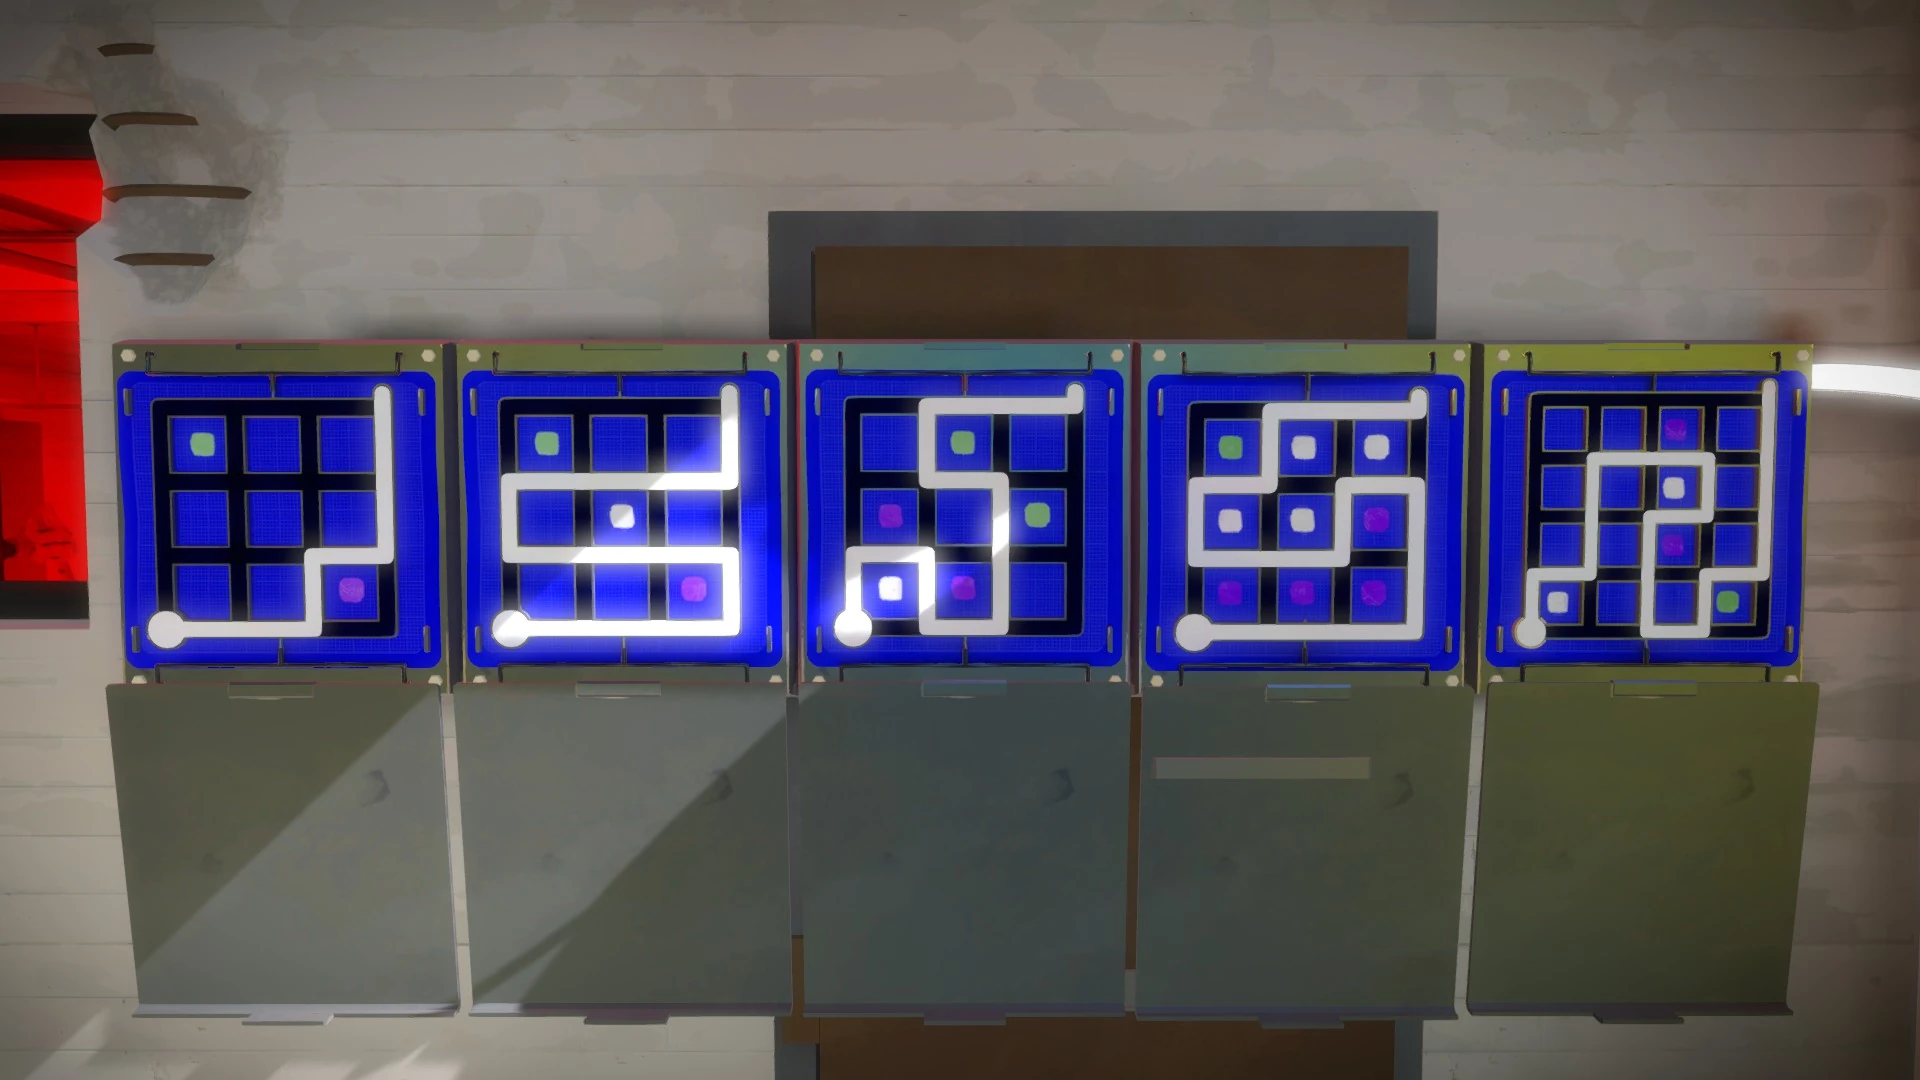
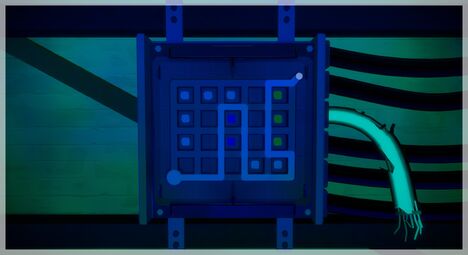
The elevator contains a control panel that changes color scheme every floor it moves up, thanks to changes in lighting. You can use the following six solutions to move up one floor at a time, or just input the last solution to skip all the floors and go straight to the top.

This activates the first wire.


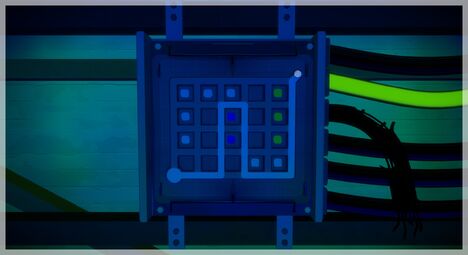
This activates the second wire.
This activates the third wire.
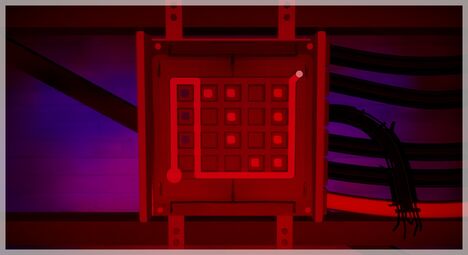
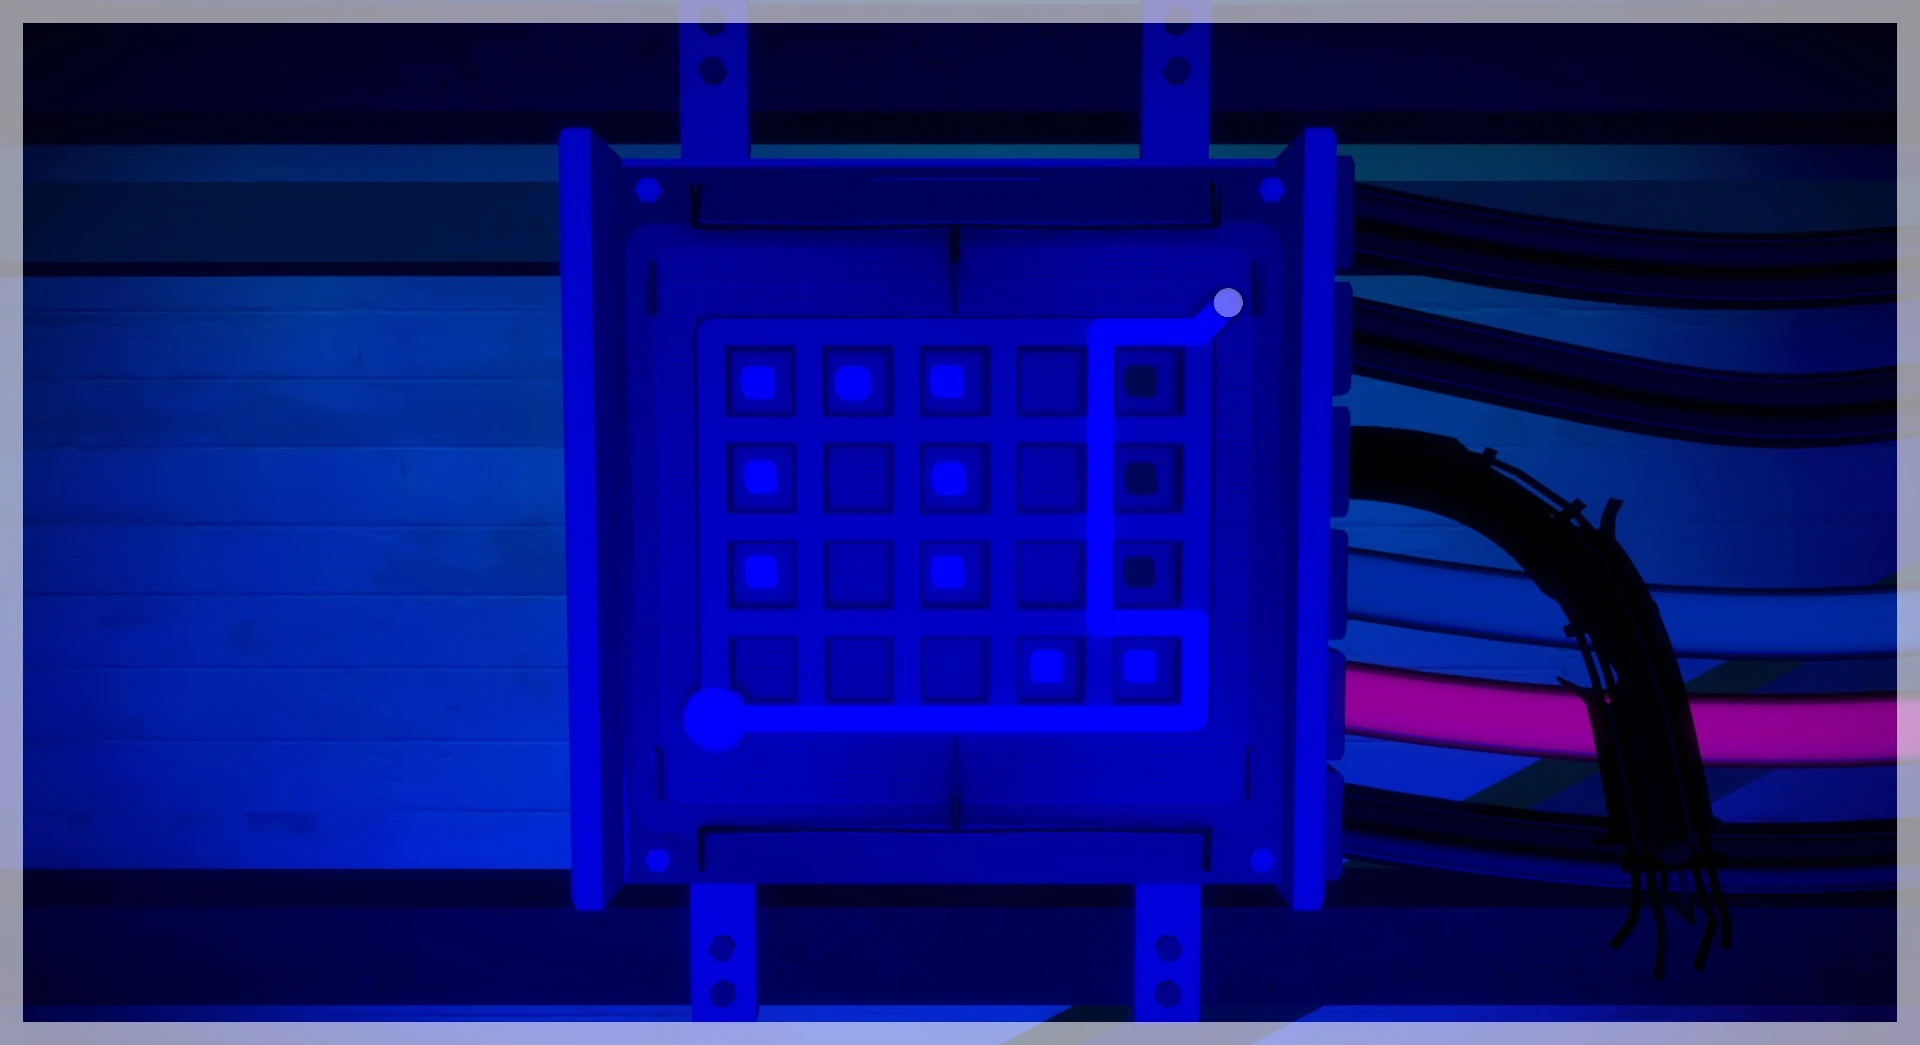
This activates the fourth wire, which is broken and won't take you anywhere.

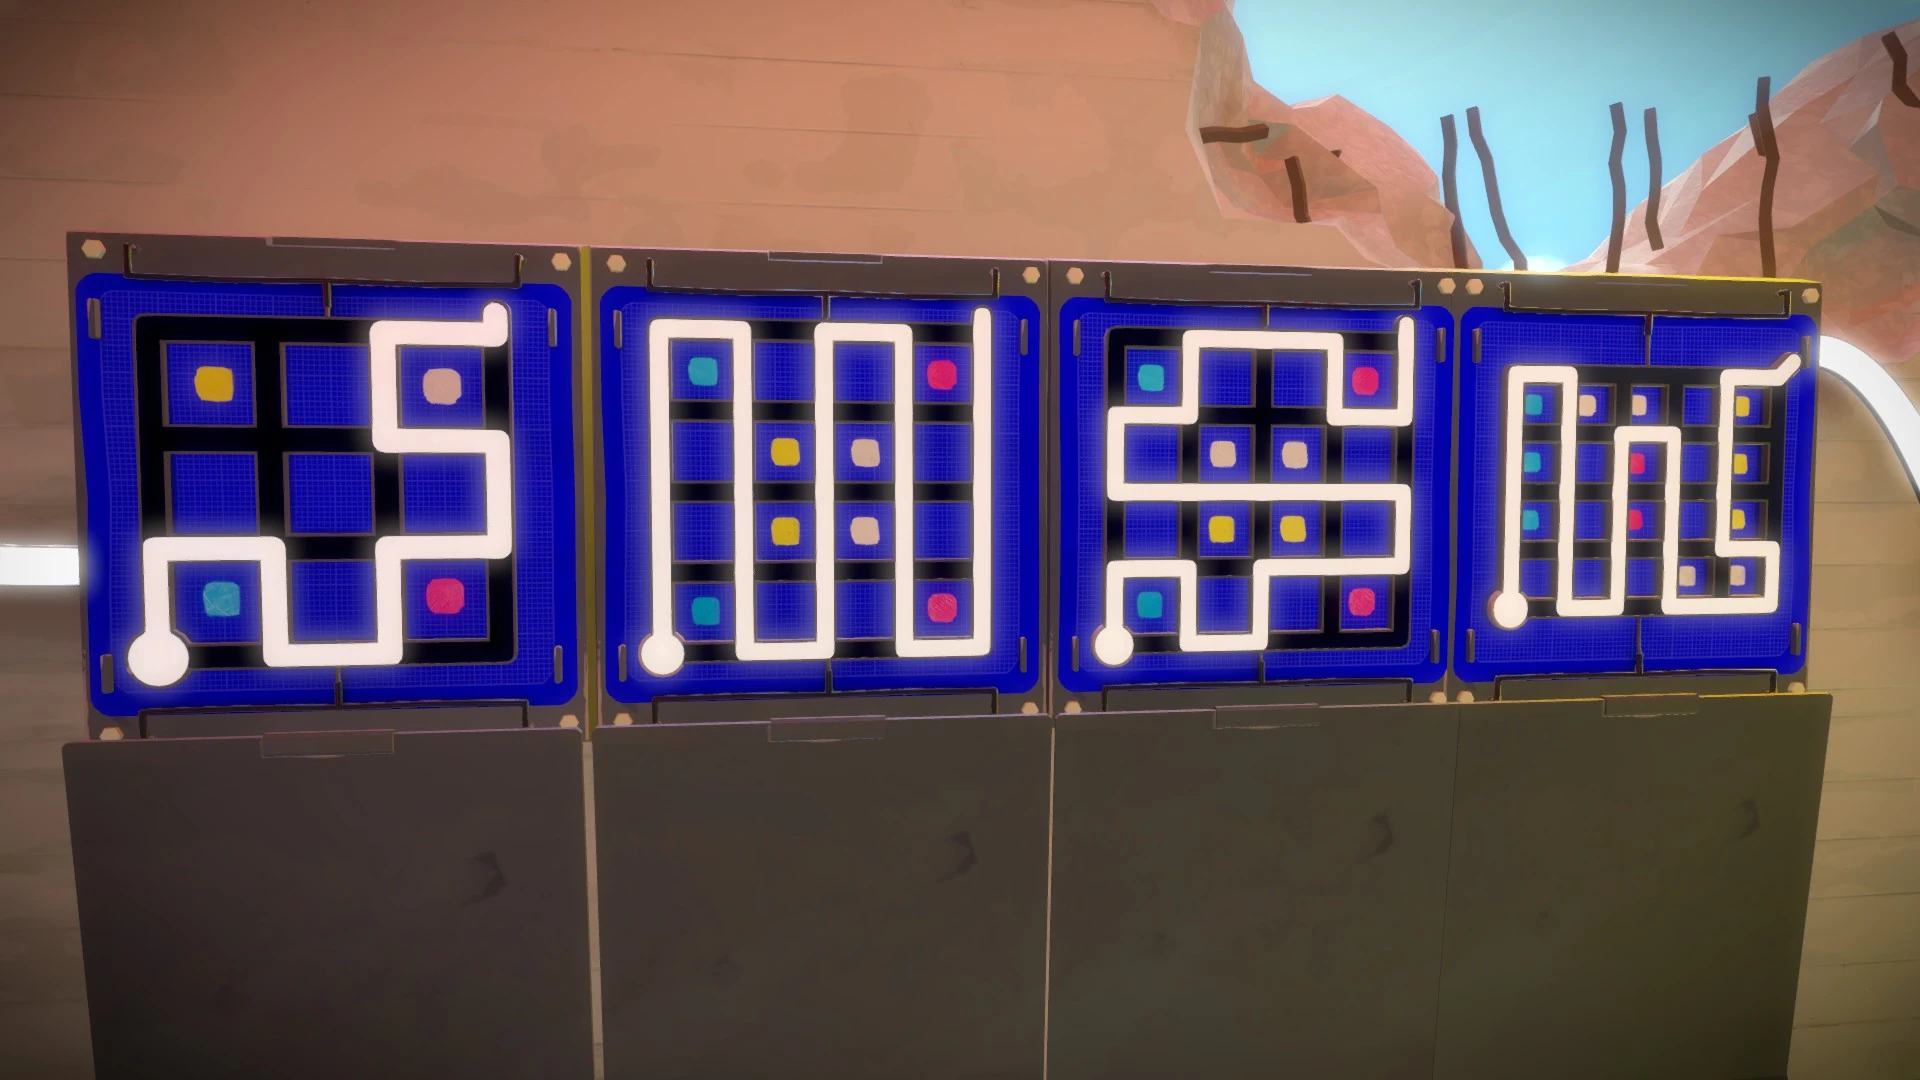
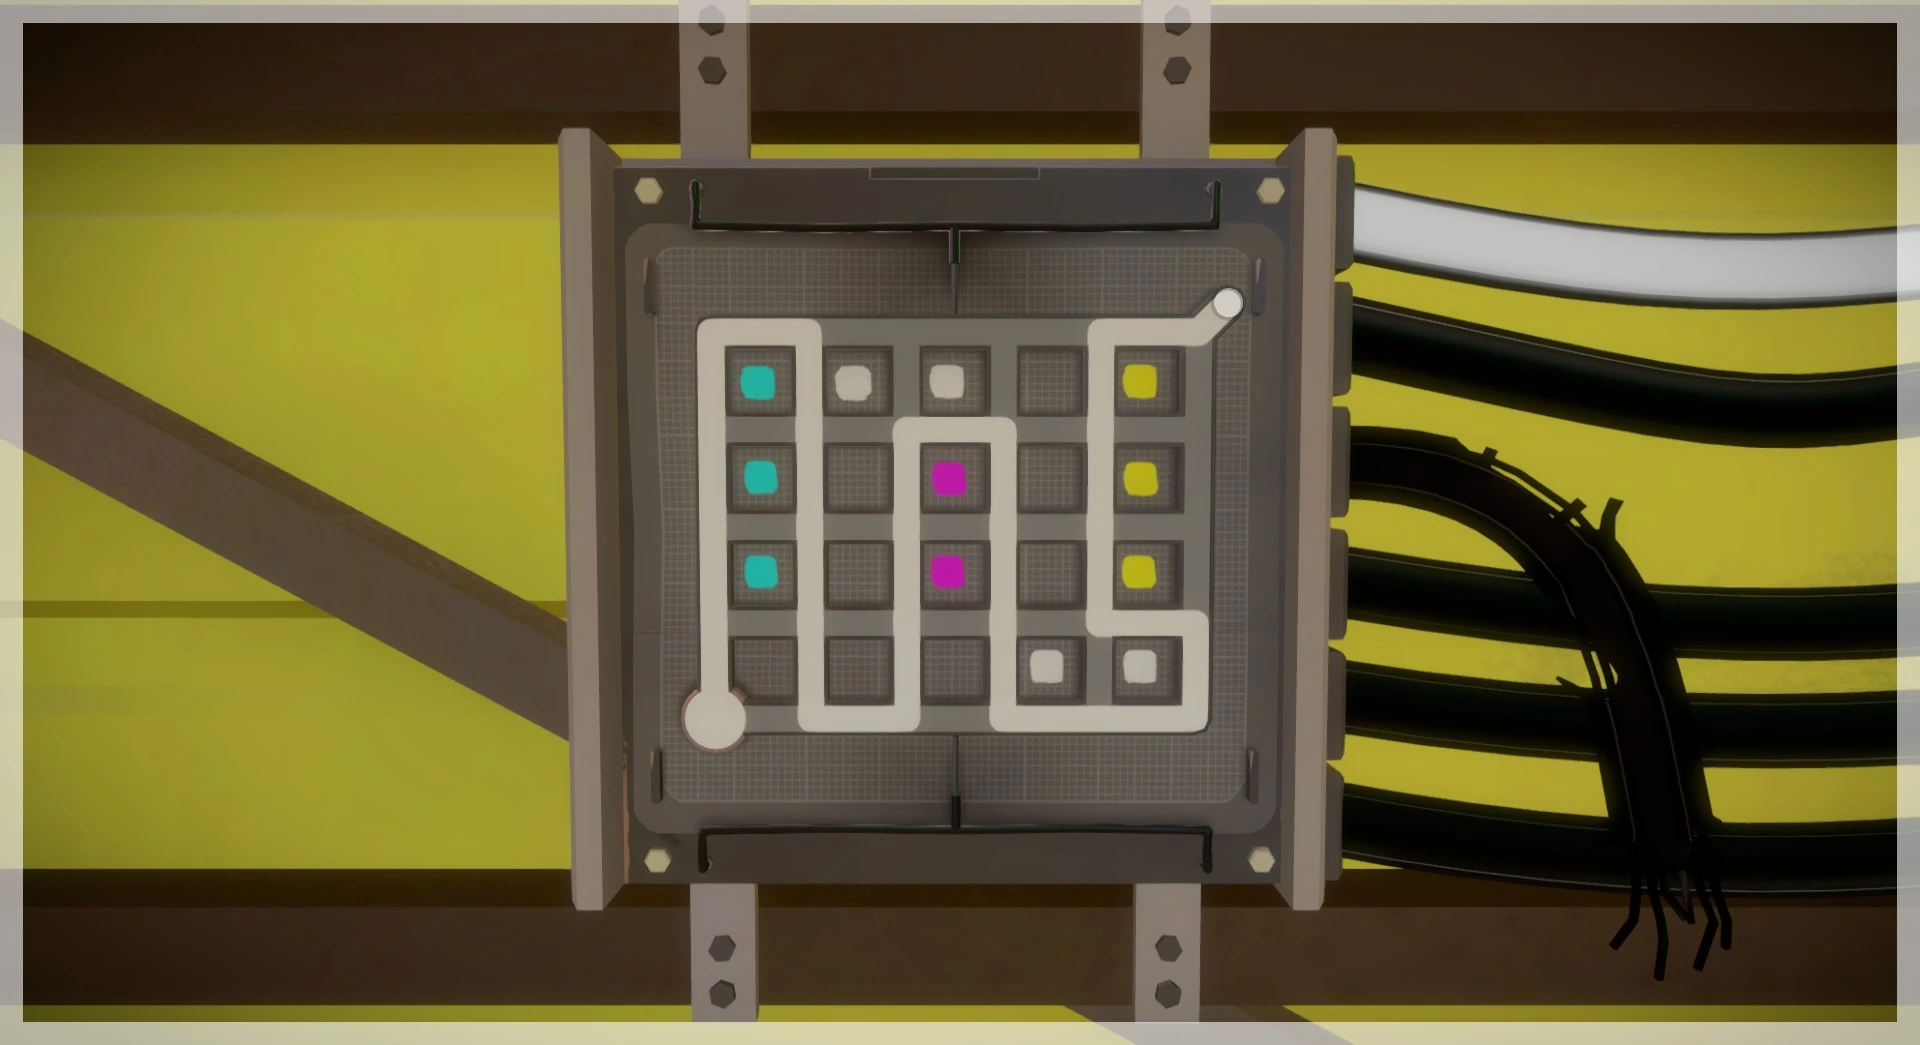
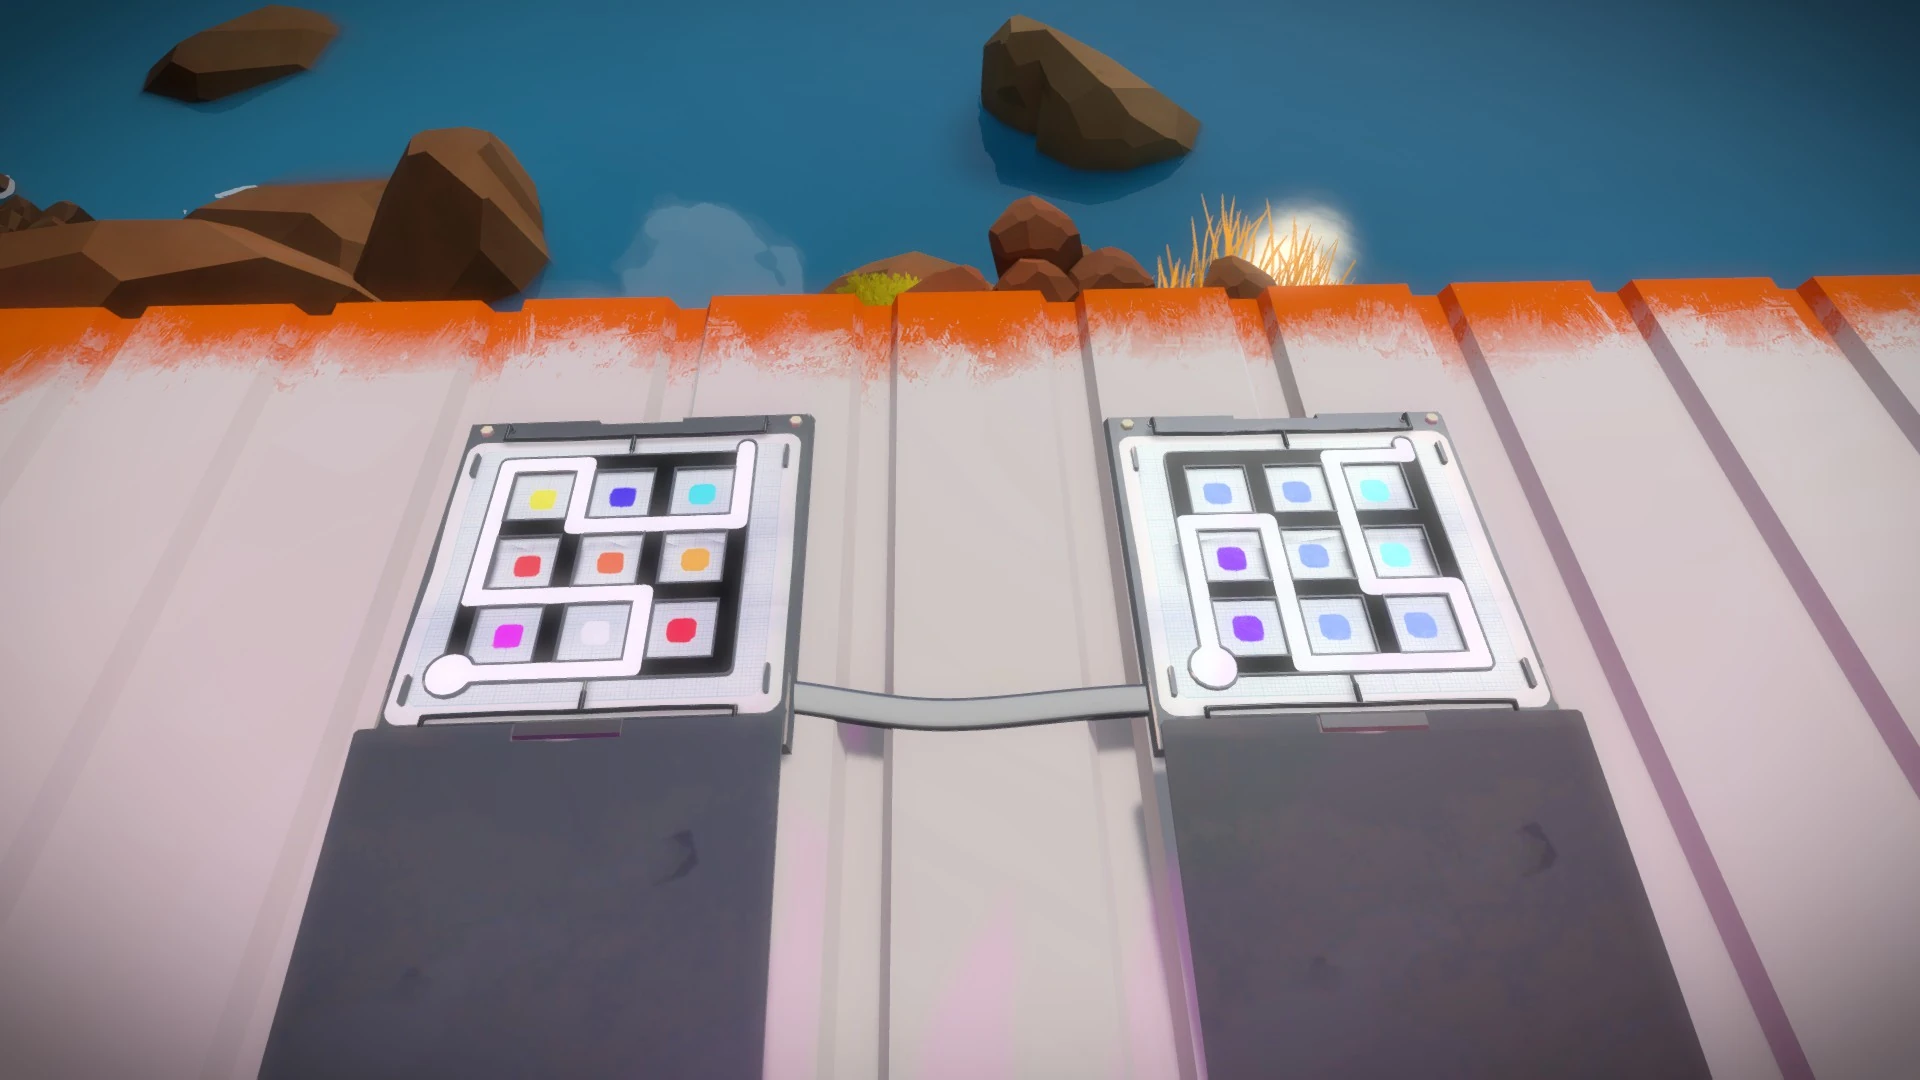
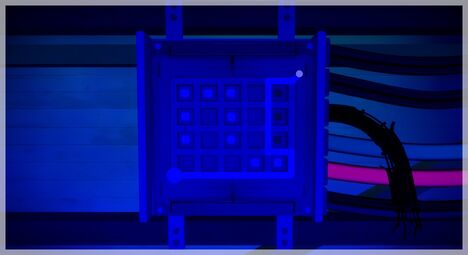
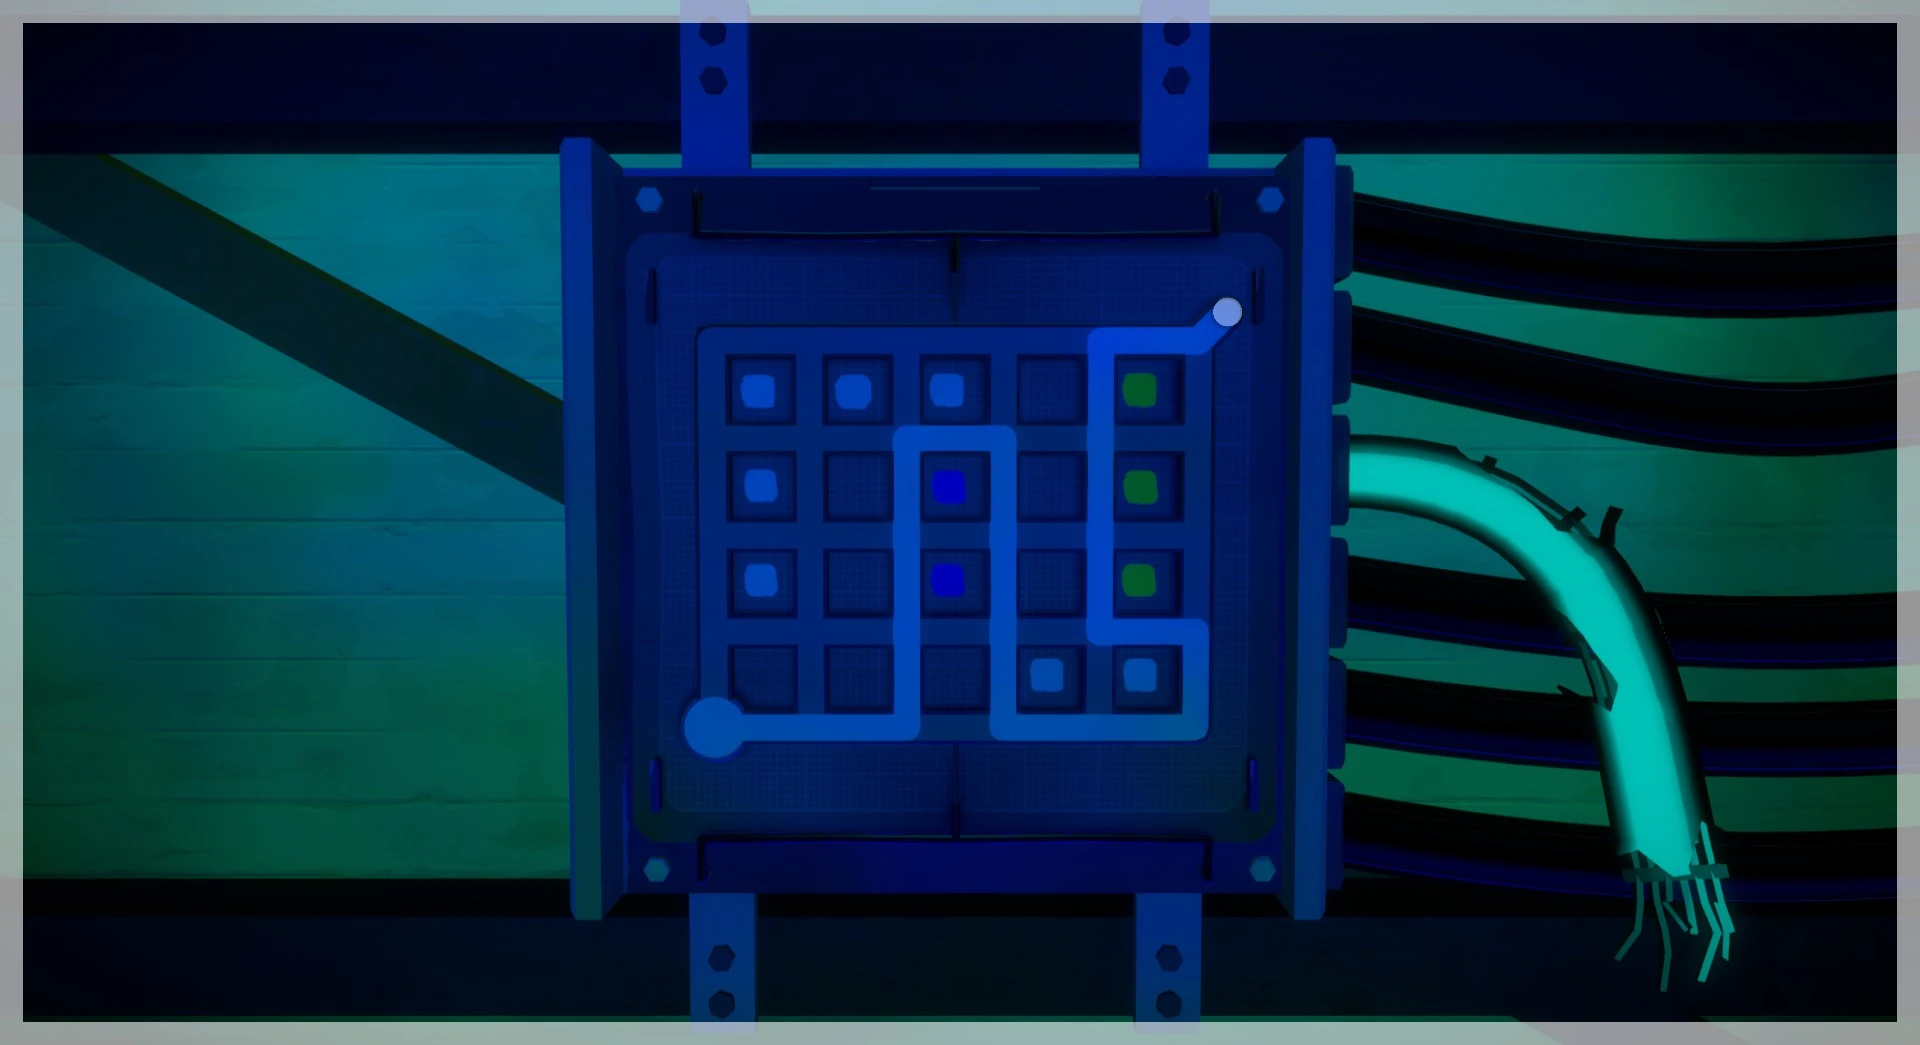
This activates the fifth wire, skipping the floor attached to the broken one. The key is figuring out that white squares would turn green when seen through the green light in the unaccesible floor, and combining white with green squares.
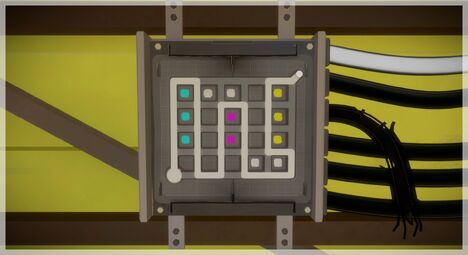
This activates the sixth wire, taking you to the top floor where you can activate a laser. You can use this solution on any floor and it will take you straight up to the top, skipping all the other floors.